1. Sissejuhatus
This manual provides comprehensive instructions for the safe and efficient use of your ACMER S2 Laser Engraver and Cutter. Please read this manual thoroughly before operating the device to ensure proper setup, operation, and maintenance. Adhering to these guidelines will help you achieve optimal results and ensure safety.
The ACMER S2 is a high-precision laser engraving and cutting machine designed for various materials such as wood, metal, leather, and acrylic. It features a 12W laser module, a 300x300mm working area, and a maximum engraving speed of 10,000 mm/min.
2. Ohutusjuhised
WARNING: Laser radiation can cause eye damage and skin burns. Always wear protective goggles during operation. Never look directly at the laser beam.
- Veenduge, et tööala oleks hästi ventileeritud, et aurud ja suits hajuksid.
- Hoidke läheduses tulekustutit.
- Ärge jätke masinat töötamise ajal järelevalveta.
- Hoidke lapsed ja lemmikloomad töötavast masinast eemal.
- Operate the machine on a stable, non-flammable surface.
- Avoid engraving or cutting highly reflective, transparent, or unknown materials without proper precautions.
- The machine includes a protective anti-UV acrylic cover. Ensure it is in place during operation.
3. Seadistamine
3.1 Lahtipakkimine ja kokkupanek
The ACMER S2 is designed for easy assembly. Carefully unpack all components and follow the included assembly guide. Ensure all screws are tightened securely before proceeding.
3.2 Seadme ühendamine
- Ühendage toiteadapter masina ja sobiva pistikupesaga.
- Connect the machine to your computer via the provided USB cable.
3.3 Tarkvara installimine
The ACMER S2 is compatible with popular laser control software such as LightBurn and LaserGRBL. It supports Windows, macOS, and Linux operating systems. Download and install the latest version of your preferred software from the official websaidid.
3.4 Fookuse reguleerimine
Accurate focus is critical for optimal engraving and cutting results. Use the provided focus block or a similar object to set the correct focal distance.
- Place the material to be processed on the work area.
- Position the laser module over the material.
- Place the focus block (typically 3mm thick) between the laser module and the material surface.
- Loosen the thumbscrew on the side of the laser module.
- Adjust the laser module's height until its bottom edge rests gently on the focus block.
- Tighten the thumbscrew to secure the laser module in place.
- Remove the focus block. The laser is now focused correctly for the material thickness.

Image: Adjusting the laser module's focus using a focus block.
Video: This video demonstrates the process of setting the laser focus and performing a test cut on MDF material. It shows the laser module being adjusted to the correct height using a small piece of material as a guide, followed by the machine cutting a square and a circle.
4. Kasutusjuhised
4.1 Materjali ettevalmistamine
Ensure your material is clean, flat, and free of obstructions. Secure the material to the work area to prevent movement during operation.
4.2 Materjali laadimine
Place the material onto the honeycomb workbed. Ensure it is positioned within the working area of 300x300mm.

Image: The ACMER S2 machine highlighting its 300x300mm working area.
4.3 Software Operation and Parameter Settings
Open your chosen software (LightBurn or LaserGRBL). Import your design and configure the engraving or cutting parameters. These parameters include:
- Kiirus: Determines how fast the laser head moves. Higher speeds are generally used for engraving or light cutting.
- Võimsus: Controls the laser's intensity. Higher power is needed for cutting thicker materials or deeper engraving.
- Pääsmed: The number of times the laser will trace the same path. Multiple passes are often required for cutting thicker materials.
Refer to the software's documentation for detailed instructions on setting up your projects. Experiment with small test pieces to find the optimal settings for your specific material and desired outcome.
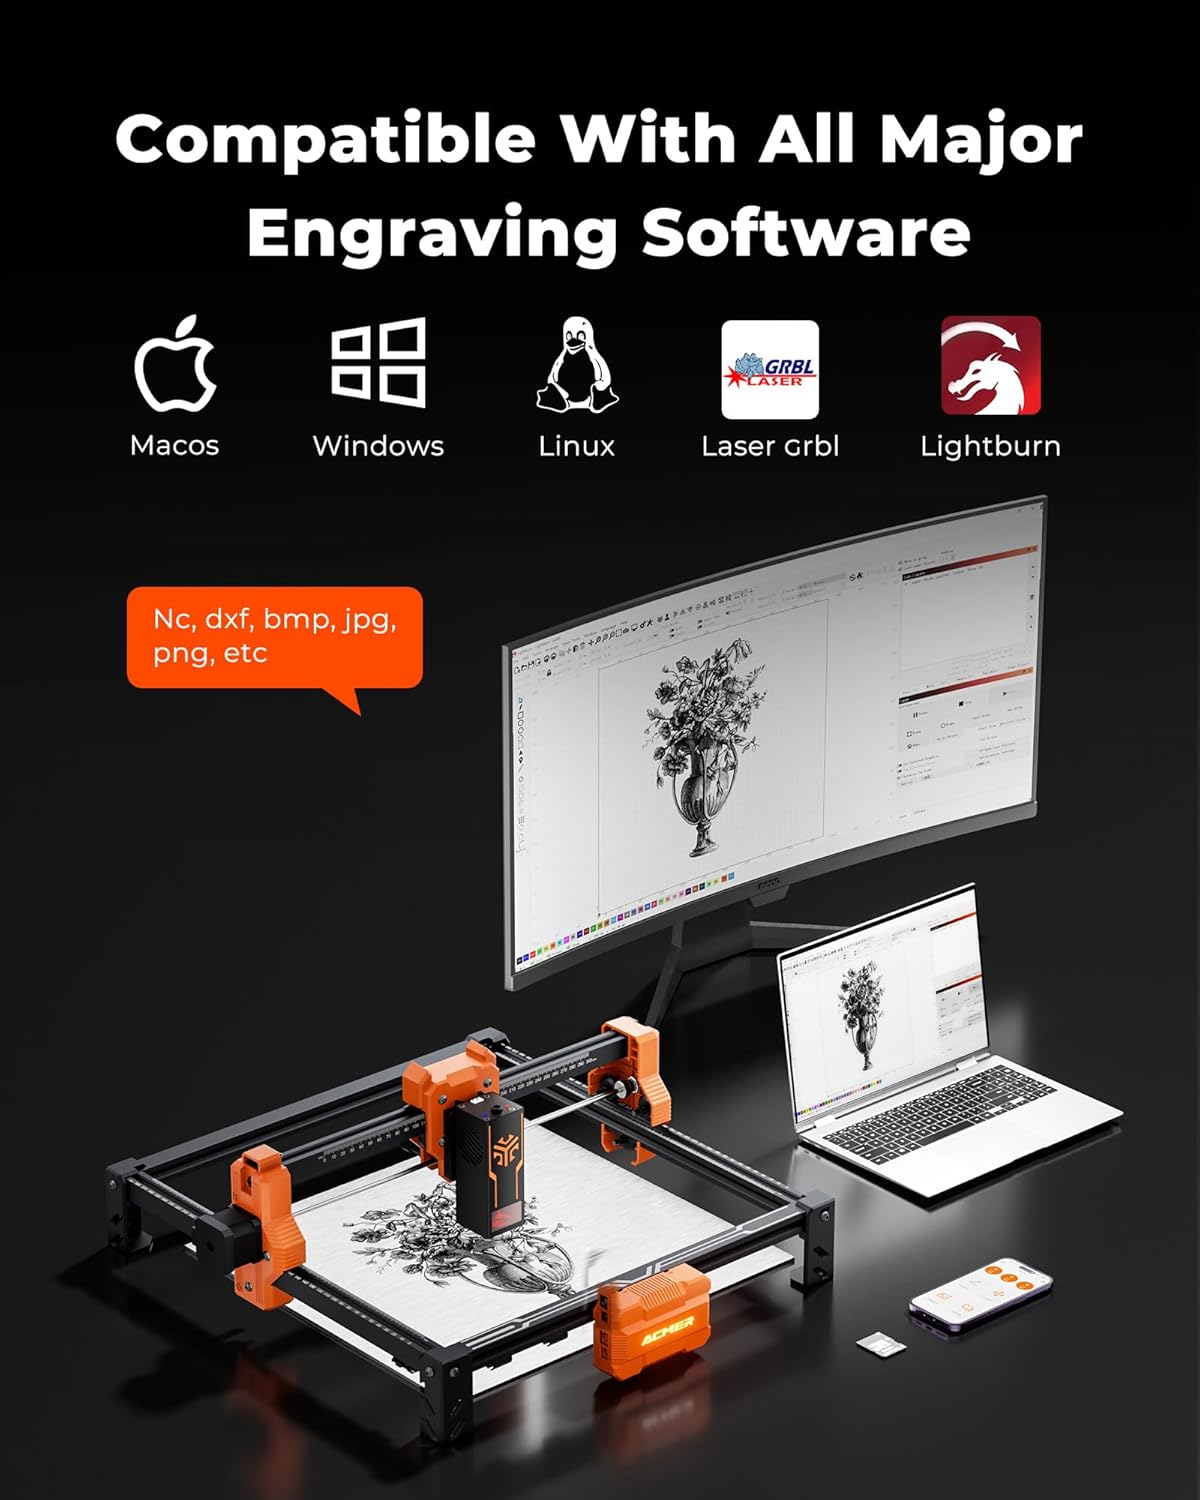
Image: Software compatibility for the ACMER S2, including LightBurn and LaserGRBL.
4.4 Käivitamine
Once parameters are set and the material is secured, initiate the engraving or cutting process from your software. The machine will begin executing the design.
4.5 Material Compatibility and Cutting Depth
The ACMER S2 can engrave over 100 different materials and cut various thicknesses depending on the laser wattage and number of passes. For example, the 12W laser can cut up to 15mm paulownia wood and 12mm black acrylic with multiple passes.

Image: Cutting depth capabilities for various laser wattages and materials.
Video: This video demonstrates the ACMER S2 12W laser cutting through 4mm black acrylic. It shows the laser module in action, making precise cuts to create a square and a circle, highlighting the machine's cutting capability on acrylic.
5. Hooldus
Regular maintenance ensures the longevity and performance of your ACMER S2.
- Lasermooduli puhastamine: Periodically clean the laser lens and nozzle with a soft, lint-free cloth and appropriate lens cleaning solution.
- Tööala puhastamine: The honeycomb workbed can accumulate debris. Clean it regularly to prevent residue buildup that could affect cutting quality or pose a fire hazard.
- Määrimine: Apply a small amount of lubricant to the guide rails and lead screws as recommended by the manufacturer to ensure smooth movement.
- Õhuabi (valikuline): If using an optional air assist pump, ensure its nozzle is clear and the air flow is unobstructed. Air assist helps achieve cleaner cuts and reduces charring.

Image: The benefit of using an air assist pump for cleaner cuts and reduced charring.
6. Veaotsing
If you encounter issues with your ACMER S2, refer to the following common problems and solutions:
- Laser ei tööta: Check power connections, USB connection, and ensure the laser module is properly seated. Verify laser power settings in your software.
- Halb graveerimis-/lõikamiskvaliteet:
- Verify laser focus.
- Reguleerige kiiruse ja võimsuse seadeid vastavalt konkreetsele materjalile.
- Puhastage laserlääts.
- Ensure the material is flat and secured.
- Masin ei ühendu arvutiga: Check USB cable, try a different USB port, reinstall software drivers, or restart both the machine and computer.
- Unexpected movement or stopping: Ensure the machine is on a stable surface. Check for loose belts or pulleys. The S2 has movement detection safety features that may pause operation if unexpected movement occurs.
For more detailed troubleshooting, consult the software documentation (LightBurn, LaserGRBL) or the ACMER official support resources.
7. Tehnilised andmed
| Funktsioon | Spetsifikatsioon |
|---|---|
| Mudeli number | S2 |
| Laseri väljundvõimsus | 12,000 mW (12 W) |
| Süsteemi koguvõimsus | 72W |
| Graveerimise täpsus | 0.01 mm (0.004 tolli) |
| Ultra-fine Laser Spot | 0.08×0.08 mm |
| Tööpiirkond | 300x300 mm |
| Graveerimise kiirus | Kuni 12 000 mm/min |
| Toetatud materjalid | Wood, Metal, Leather, Acrylic, etc. |
| Tarkvara ühilduvus | LightBurn, LaserGRBL |
| Operatsioonisüsteemid | Windows, macOS, Linux |
| Pakendi mõõtmed | 21.61 x 11.54 x 5.59 tolli |
| Kauba kaal | 8.49 naela |
| Tootja | Acmer |
8. Garantii ja tugi
For warranty information, please refer to the documentation provided with your purchase or visit the official ACMER website. For technical support, contact ACMER customer service through their official channels or the retailer from whom you purchased the product.


