1. Ohutusalane teave
Please read all instructions carefully before using this monitor. Keep this manual for future reference.
- Tulekahju või elektrilöögi vältimiseks ärge jätke monitori vihma ega niiskuse kätte.
- Ärge avage monitori korpustasing. Sees ei ole kasutaja poolt hooldatavaid osi. Pöörduge kogu hoolduse eest kvalifitseeritud personali poole.
- Asetage monitor stabiilsele ja tasasele pinnale, et see maha ei kukuks.
- Tagage monitori ümber piisav ventilatsioon. Ärge blokeerige ventilatsiooniavasid.
- Kasutage ainult monitoriga kaasasolevat toiteadapterit.
- Kui monitori pikemat aega ei kasutata, eemaldage toitejuhe pistikupesast.
2. Pakendi sisu
Veenduge, et pakis on kõik esemed olemas:
- CRUA 34-inch Ultrawide Gaming Monitor
- Monitori alus (alus ja kael)
- Toiteadapter ja kaabel
- HDMI kaabel
- DisplayPort (DP) kaabel
- Kasutusjuhend
- Aluse kokkupaneku kruvid
3. Seadistamine
3.1 Aluse kokkupanek
- Eemaldage monitor ettevaatlikult pakendist ja asetage see pehmele pinnale kaitstult.
- Kinnitage statiivi kael monitori tagapaneeli külge kaasasolevate kruvide abil.
- Ühendage statiivi alus statiivi kaelaga ja kinnitage see ettenähtud kruviga.
- Asetage kokkupandud monitor stabiilsele lauale.
Monitori alus võimaldab optimaalse kaldenurga leidmiseks reguleerida viewnurk.
3.2 Seinale kinnitamine (valikuline)
This monitor supports VESA wall mounting (75x75mm). To wall mount:
- Eemaldage monitorilt alus, kui see on juba kinnitatud.
- Attach a compatible VESA 75x75mm wall mount bracket (not included) to the monitor's rear panel using appropriate screws.
- Turvaliseks paigaldamiseks järgige seinakinnitusega kaasasolevaid juhiseid.

Pilt: Tagumine view of the monitor highlighting the 75x75mm wall mount area and various input ports.
3.3 Seadmega ühendamine
Connect your computer or gaming console to the monitor using one of the available ports:
- DisplayPort (DP 1.4): For optimal performance, especially for high refresh rates and FreeSync.
- HDMI (HDMI 1.4 x2): Compatible with most devices.
Ühendage toiteadapter monitori alalisvoolu sisendiga ja seejärel ühendage see pistikupessa.
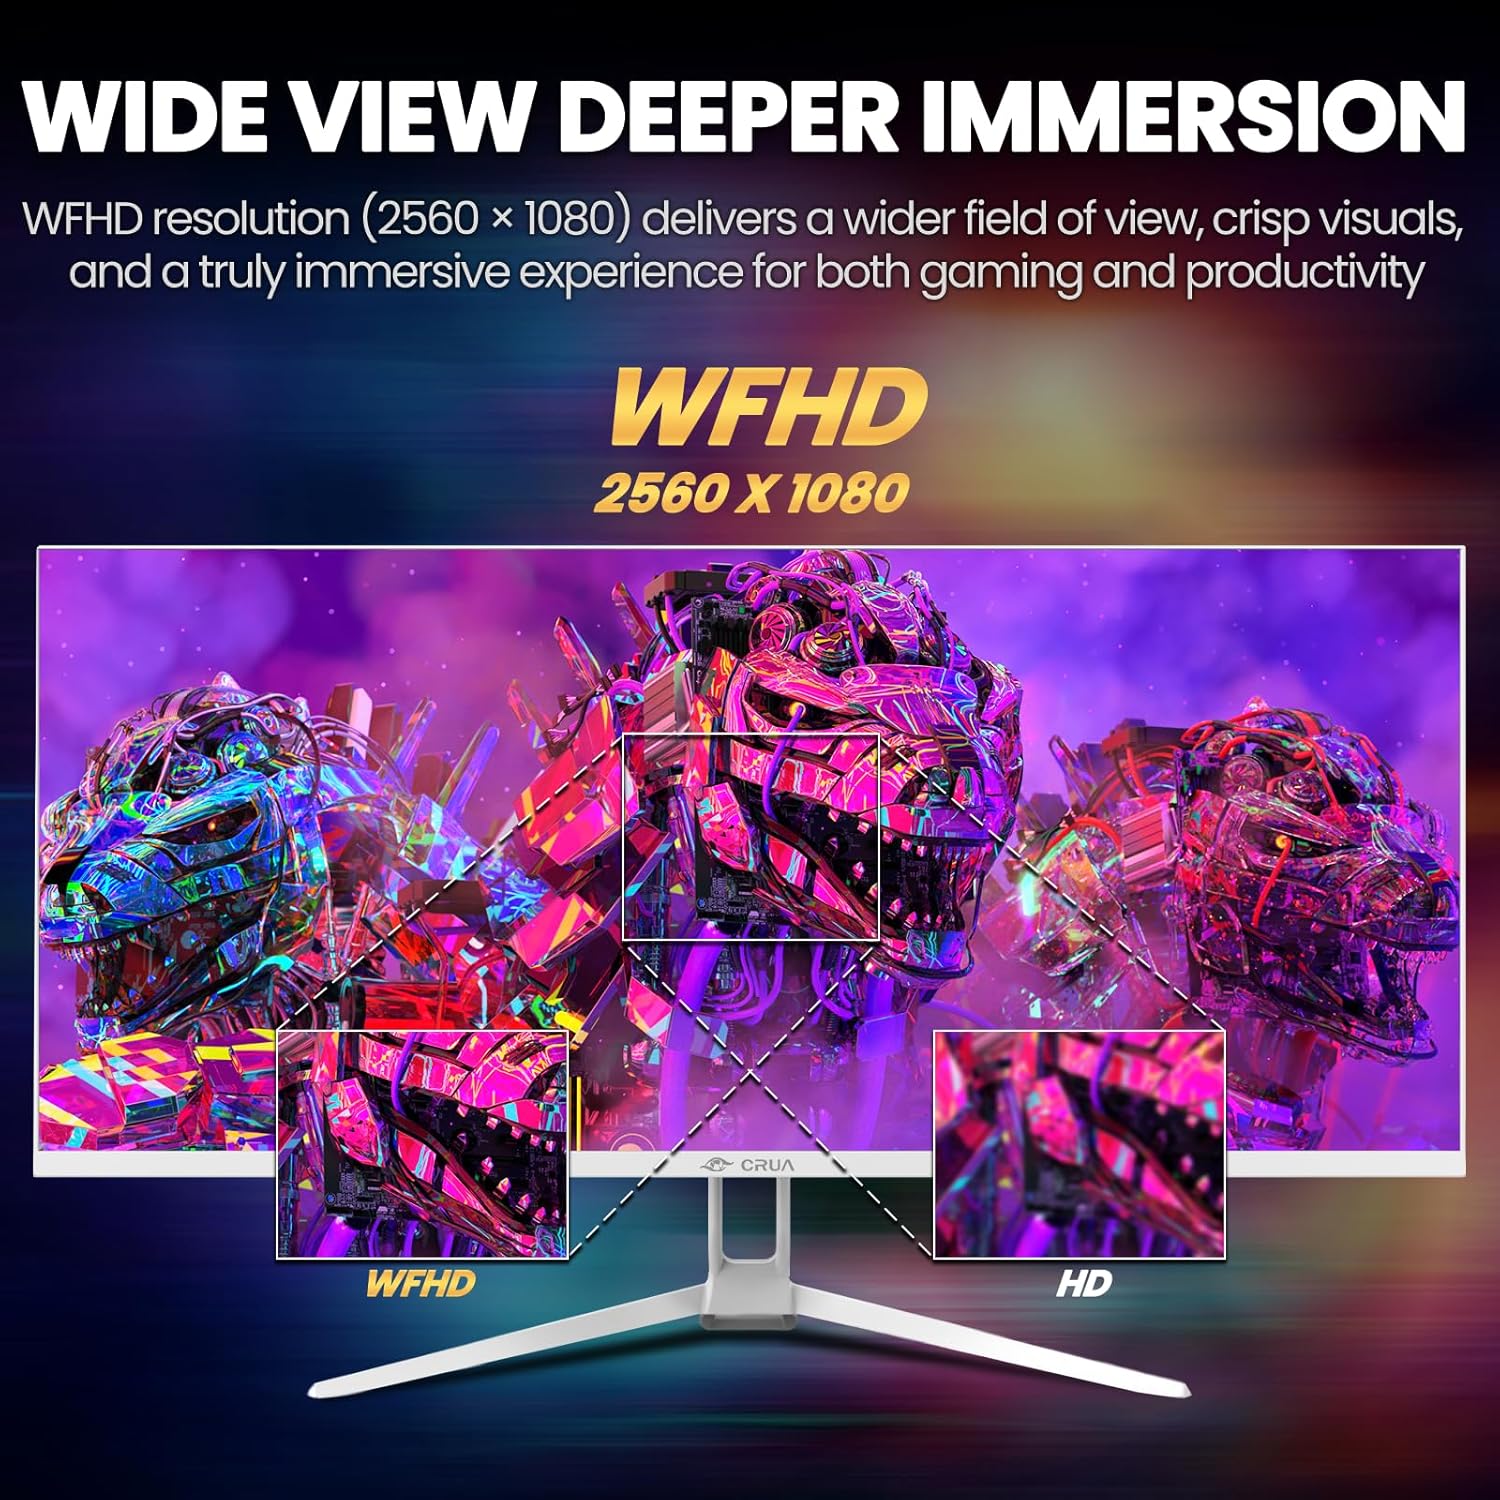
Image: A detailed diagram illustrating the monitor's connectivity options, including two HDMI 1.4 ports, one DisplayPort 1.4, an audio output, a USB charging port, and the DC power input.
4. Kasutusjuhised
4.1 Toide sisse/välja
Press the power button, typically located on the bottom or rear of the monitor, to turn it on or off. The power indicator light will illuminate when the monitor is on.
4.2 Ekraanimenüü (OSD)
The OSD menu allows you to adjust various monitor settings. Access it by pressing the OSD menu button (often a joystick-like button or a set of dedicated buttons) on the monitor.
- Navigeerimine: Use the OSD buttons or joystick to navigate through the menu options.
- Valik: Alammenüüsse sisenemiseks või sätte kinnitamiseks vajutage valimisnuppu.
- Väljumine: Use the exit button to go back or close the OSD menu.
4.3 Pildiseaded
Adjust visual parameters for optimal viewing:
- Heledus: Juhib ekraani üldist heledust.
- Kontrast: Reguleerib heledate ja tumedate alade erinevust.
- Värvi temperatuur: Valib eelseadistatud värvirežiimid (nt Soe, Külm, Kasutaja).
- Sinise valguse filter: Vähendab sinise valguse eraldumist, et minimeerida silmade väsimist pikaajalisel kasutamisel.
- Kuvasuhe: Set to 21:9 for ultrawide content or other options as needed.

Image: The CRUA ultrawide monitor showcasing its 21:9 aspect ratio, demonstrating how it provides more horizontal screen space compared to a standard 16:9 display.
4.4 Helisätted
The monitor includes built-in speakers. Adjust volume through the OSD menu or your connected device. An external audio output port is also available for headphones or external speakers.
4.5 AMD FreeSync
To enable AMD FreeSync for tear-free gaming, ensure your graphics card supports FreeSync and that it is enabled in your graphics card's control panel. Then, activate FreeSync within the monitor's OSD menu.

Image: A visual comparison demonstrating the effect of AMD FreeSync, showing a torn image when FreeSync is off and a smooth image when FreeSync is on, highlighting the 120Hz refresh rate.
5. Hooldus
5.1 Ekraani puhastamine
- Lülitage monitor välja ja eemaldage toitejuhe.
- Kasutage kergelt pehmet ebemevaba lappi dampveega või spetsiaalse ekraanipuhastusvahendiga.
- Wipe the screen gently. Do not press hard or use abrasive cleaners.
5.2 Üldine hooldus
- Hoidke monitori otsese päikesevalguse, soojusallikate ja liigse tolmu eest.
- Vältige raskete esemete asetamist monitorile või selle kaablitele.
- Do not spray cleaning liquids directly onto the monitor.
6. Veaotsing
Kui teil tekib monitoriga probleeme, vaadake järgmisi levinud probleeme ja lahendusi.
| Probleem | Võimalik lahendus |
|---|---|
| Ekraanil pole pilti | Ensure power cable is securely connected and the monitor is turned on. Check video cable (HDMI/DP) connections to both monitor and computer. Select the correct input source via the OSD menu. |
| Pilt väreleb või on ebastabiilne | Check video cable connections. Ensure your graphics card drivers are up to date. If using FreeSync, try disabling it temporarily to see if the issue persists. Adjust refresh rate in your computer's display settings. |
| Sisseehitatud kõlaritest ei tule heli | Increase volume via the OSD menu and your computer's sound settings. Ensure the correct audio output device is selected on your computer. Check if the audio cable (if used) is properly connected. |
| Värvid tunduvad valed | Reset picture settings to factory defaults via the OSD menu. Adjust color temperature and individual RGB values if available. |
If the problem persists after trying these solutions, please contact CRUA customer support.
7. Tehnilised andmed
Key technical specifications for the CRUA 34-inch Ultrawide Gaming Monitor (Model CR340AU):
| Funktsioon | Spetsifikatsioon |
|---|---|
| Ekraani suurus | 34 tolli |
| Paneeli tüüp | IPS |
| Resolutsioon | 2560 x 1080 (WFHD) |
| Kuvasuhe | 21:9 |
| Värskendussagedus | 120 Hz |
| Reageerimisaeg | (Not specified in provided data, typical for IPS is 1-5ms GTG) |
| Heledus | 350 cd/m² |
| Värvigamma | 120% sRGB |
| Värvi sügavus | 8-bitine (16.7 miljonit värvi) |
| Viewnurgad | 178° (horisontaalne/vertikaalne) |
| Adaptiivne sünkroonimine | AMD FreeSync |
| Ühenduvus | 2x HDMI 1.4, 1x DisplayPort 1.4, Audio Out, USB Charging, DC Power Input |
| Sisseehitatud kõlarid | Jah |
| Seinakinnitus | VESA 75x75mm |
| Toote mõõtmed | 9.4 x 24.13 x 17.47 tolli |
| Kauba kaal | 14.92 naela |
8. Garantii ja tugi
CRUA provides high-quality computer monitors and customer service. For any questions or support needs regarding your CRUA 34-inch Ultrawide Gaming Monitor, please contact CRUA customer support.
Refer to your purchase documentation or the official CRUA webTäpsemad garantiitingimused ja kontaktandmed leiate veebisaidilt.


