Sissejuhatus
The GAMDIAS Aura GC10m V2 WH is a micro-tower computer case designed for Micro-ATX and Mini-ITX motherboards. It features a dual-chamber design, panoramic tempered glass panels, and comes equipped with three Addressable RGB (ARGB) fans to enhance system aesthetics and cooling. This manual provides essential information for the proper installation, operation, and maintenance of your computer case.
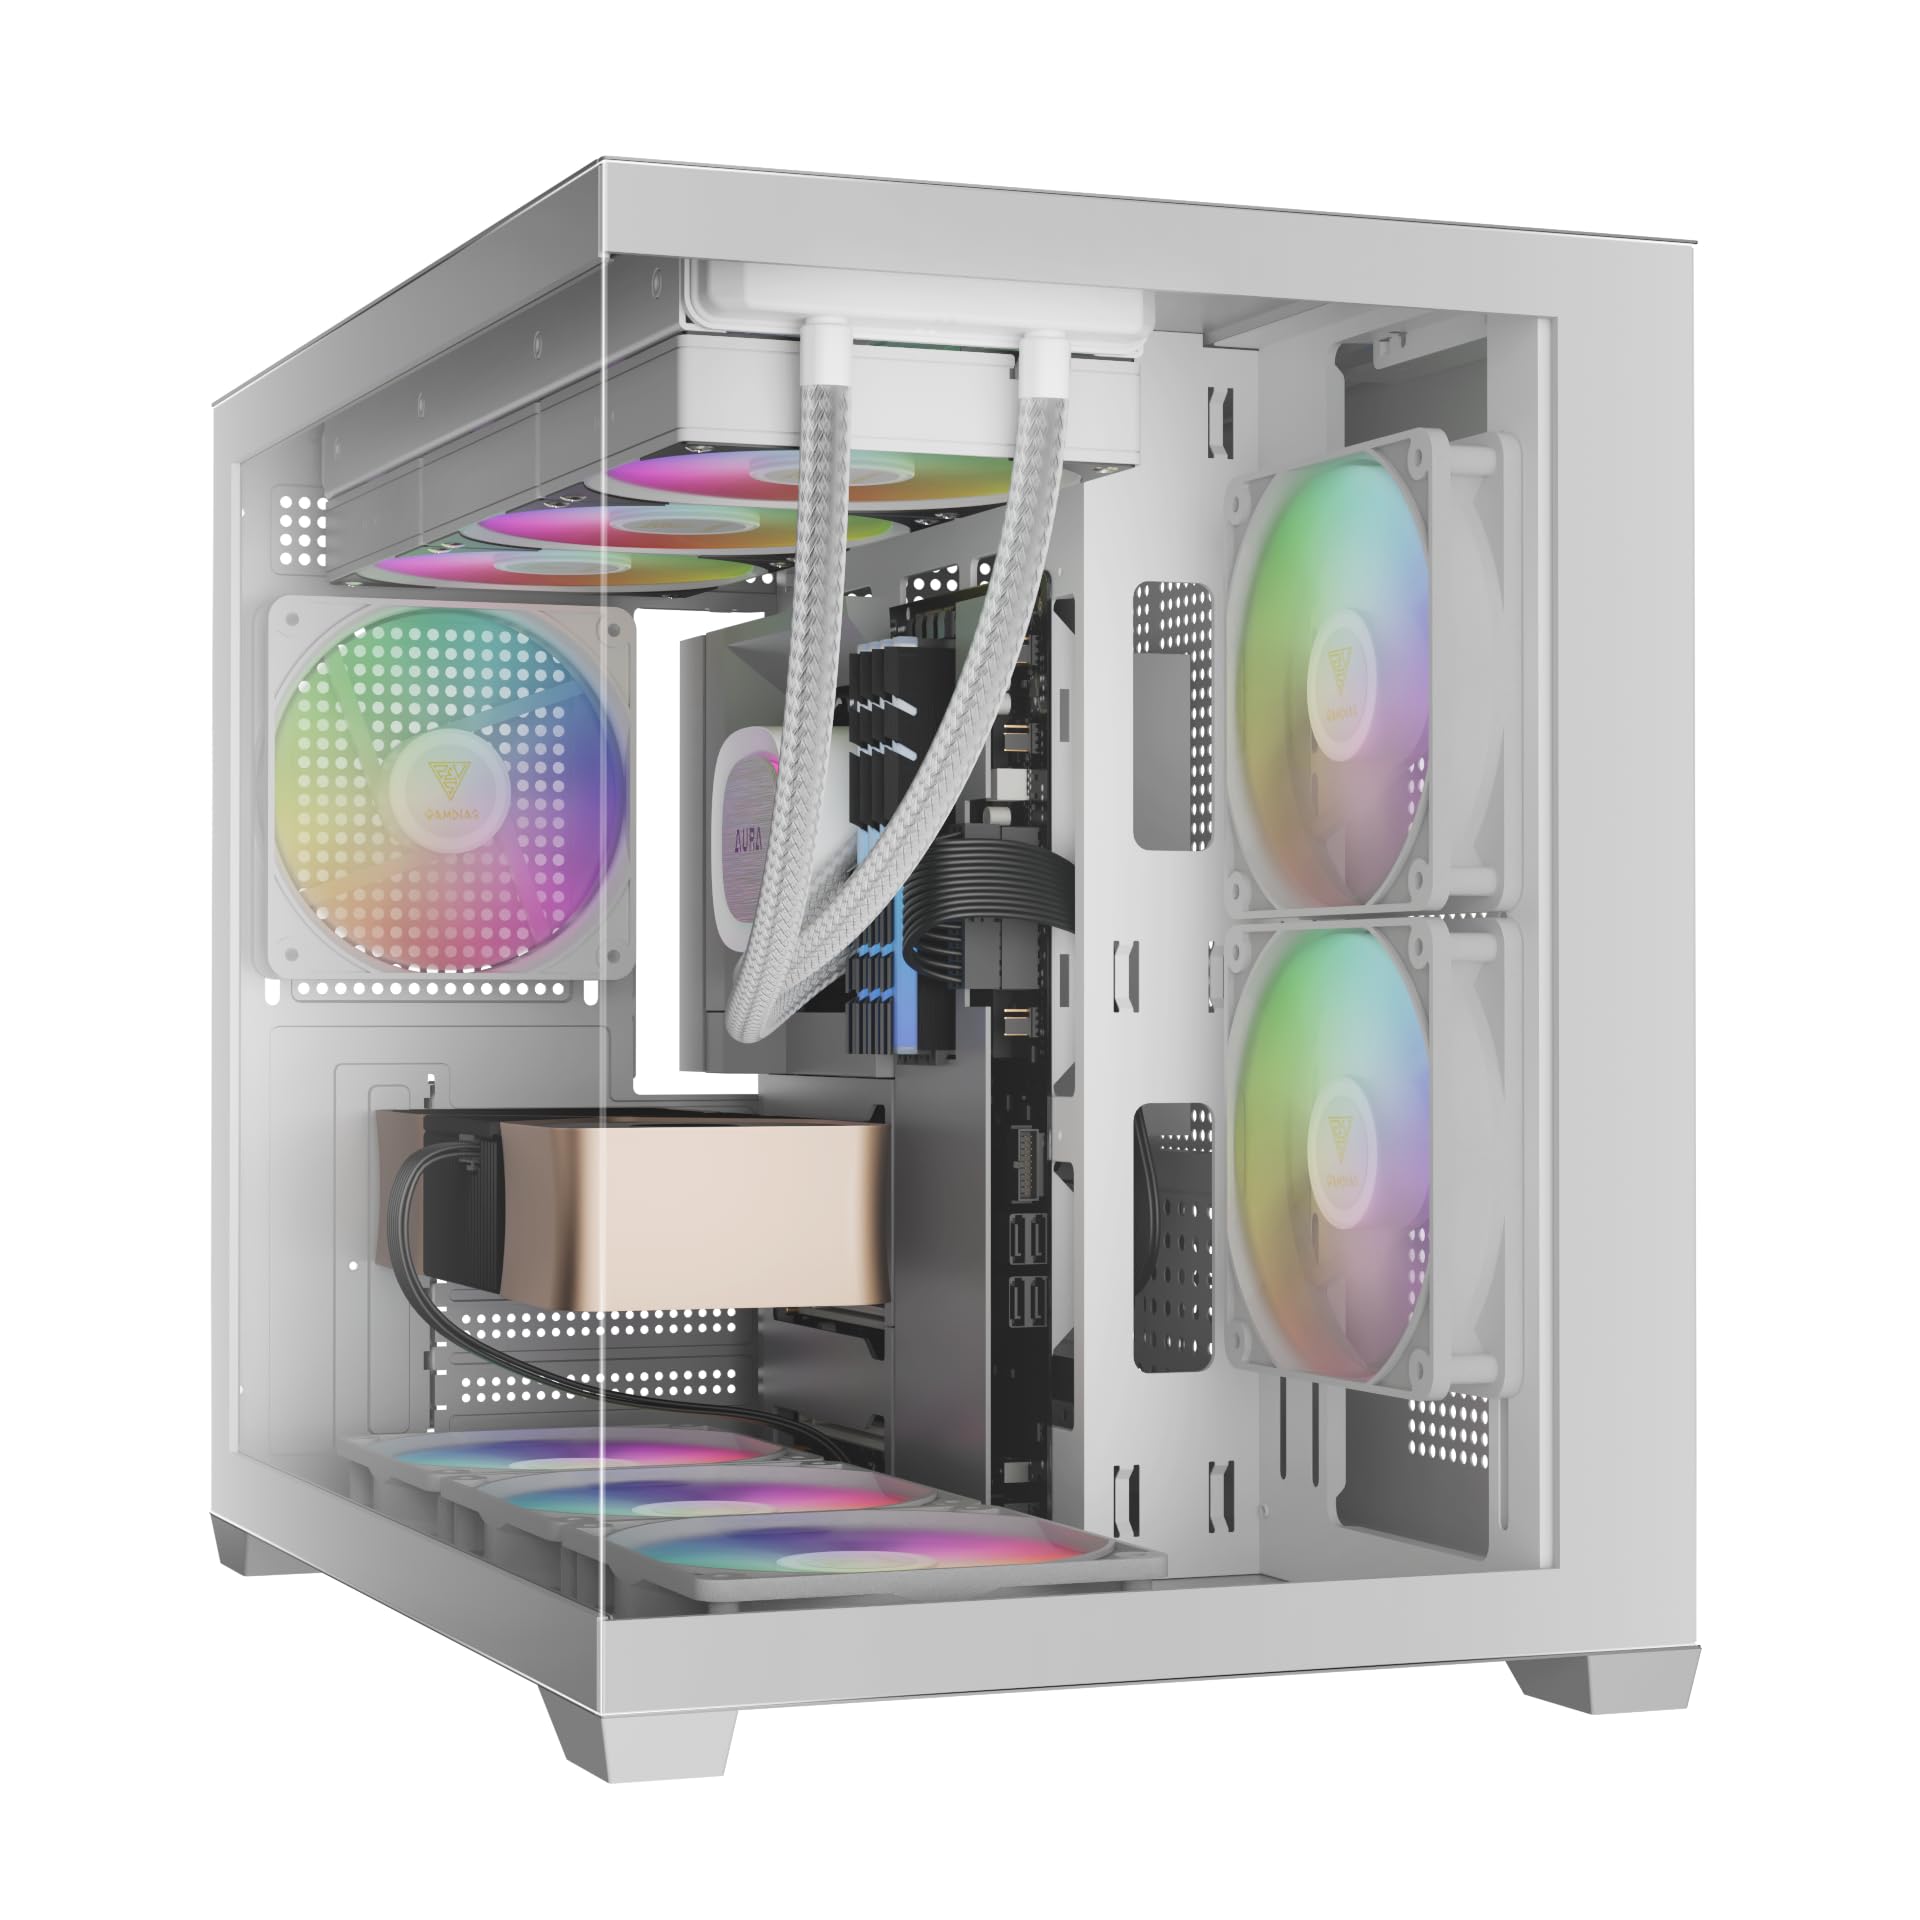
Pilt: Esikülg view of the GAMDIAS Aura GC10m V2 WH Micro-Tower Computer Case, showcasintänu karastatud klaasist paneelidele ja eelinstallitud ARGB ventilaatoritele.
Seadistamine ja installimine
Enne paigaldamise alustamist veenduge, et teil on olemas kõik vajalikud komponendid ja tööriistad. Täpsemate paigaldusjuhiste saamiseks vaadake oma emaplaadi ja komponentide kasutusjuhendeid.
1. Juhtumi ettevalmistamine
Carefully remove the tempered glass side and front panels. These are typically secured with thumbscrews or a latch mechanism. Place them on a soft, flat surface to prevent scratches.

Pilt: Nurk view of the case with the tempered glass side panel removed, showing the internal structure and fan mounts.
2. Emaplaadi paigaldamine
- Paigaldage I/O-kilp (kui see pole emaplaadile eelnevalt kinnitatud) korpuse tagumisse avasse.
- Align your Micro-ATX or Mini-ITX motherboard with the standoffs inside the case.
- Kinnitage emaplaat kaasasolevate kruvide abil.

Pilt: Sisemine view of the case, highlighting the motherboard tray area and fan mounting points.
3. Toiteploki (PSU) paigaldamine
- Install your PSU into its designated compartment, typically at the rear bottom of the case.
- Kinnitage toiteplokk korpuse tagaküljelt kruvidega.
- Ensure the PSU fan faces the correct direction for optimal airflow (usually downwards if there's a vent, or upwards if not).

Image: Rear internal view of the case, showing the PSU mounting area and cable routing options.
4. Draivi paigaldamine
- 3.5" / 2.5" Drive Bay (HDD Cage): Locate the HDD cage. Install one 3.5" HDD or one 2.5" SSD/HDD.
- 2.5-tollised kettapesad: The case supports three additional 2.5" SSDs/HDDs. Mount these drives to the designated brackets or locations within the case.
5. Ventilaatori ja radiaatori paigaldamine
The case comes with three pre-installed ARGB fans (two side, one rear). Additional fans or radiators can be installed in the following locations:
- Ülemine: Supports 3 x 120mm or 2 x 140mm fans; 360mm or 280mm radiators.
- külg: Supports 2 x 120mm or 2 x 140mm fans; 240mm radiators. (Pre-installed 2 x 120mm ARGB fans)
- Alt: Toetab 3 x 120 mm või 2 x 140 mm ventilaatorit.
- Tagumine: Supports 1 x 120mm or 1 x 140mm fan; 120mm radiators. (Pre-installed 1 x 120mm ARGB fan)

Pilt: Sisemine view showing the pre-installed ARGB fans on the side and rear, illustrating fan placement.
6. Connecting Front I/O Ports and ARGB
Connect the following cables from the case to your motherboard:
- USB 2.0: Connect the USB 2.0 header cable.
- Tüüp C: Connect the USB Type-C header cable (if your motherboard supports it).
- HD-heli: Connect the HD Audio header cable.
- Power/Reset/LEDs: Connect the front panel power, reset, HDD LED, and power LED cables according to your motherboard manual.
- ARGB Fans: Connect the ARGB fan cables to your motherboard's 5V ARGB header or to the integrated ARGB controller (if applicable). The case includes an LED Switch Button for controlling ARGB lighting if connected to the case's internal controller.

Pilt: Ülemine view of the case, showing the front I/O panel with USB ports and the LED switch button.
Operatsioon
Sisselülitamine
Once all components are installed and connected, close the side panels. Connect your monitor, keyboard, mouse, and power cable. Press the power button on the front panel of the case to start your system.
ARGB valgustuse juhtimine
Eelinstallitud ARGB ventilaatoreid saab juhtida kahel viisil:
- LED-lüliti nupp: If the ARGB fans are connected to the case's internal controller, press the dedicated LED Switch Button on the front I/O panel to cycle through various lighting effects and colors.
- Emaplaadi tarkvara: If the ARGB fans are connected directly to a compatible 5V ARGB header on your motherboard, you can control the lighting effects using your motherboard's proprietary RGB software (e.g., ASUS Aura Sync, MSI Mystic Light, Gigabyte RGB Fusion, ASRock Polychrome Sync).
Hooldus
Regular maintenance helps ensure optimal performance and longevity of your computer components.
- Tolmufiltrid: The case features removable dust filters (e.g., on the top and bottom). Periodically remove and clean these filters with compressed air or water (ensure they are completely dry before reinstallation).
- Korpuse puhastamine: Kasutage pehmet, damp Korpuse välispindade puhastamiseks kasutage lappi. Karastatud klaasist paneelide puhul kasutage klaasipuhastusvahendit ja mikrokiudlappi. Vältige abrasiivseid puhastusvahendeid.
- Sisemine tolmu eemaldamine: Every few months, open the case and use compressed air to remove dust from internal components, especially fan blades and heatsinks.
Veaotsing
Probleemide ilmnemisel kaaluge järgmisi levinud lahendusi:
- Süsteem ei lülitu sisse:
- Veenduge, et toiteplokk on sisse lülitatud ja korralikult seinakontakti ühendatud.
- Veenduge, et kõik toitekaablid (24-pin ATX, CPU, GPU, draivid) on kindlalt ühendatud.
- Check that the front panel power button cable is correctly connected to the motherboard.
- ARGB Fans Not Lighting Up/Spinning:
- Confirm ARGB cables are securely connected to a 5V ARGB header on the motherboard or the case's controller.
- Ensure fan power cables are connected to appropriate fan headers on the motherboard or PSU.
- Kui kasutate emaplaadi tarkvara, veenduge, et see on õigesti installitud ja konfigureeritud.
- Eesmised I/O-pordid ei tööta:
- Check that the USB and HD Audio cables from the front panel are correctly connected to their respective headers on the motherboard.
For persistent issues, consult your motherboard manual or contact GAMDIAS support.
Tehnilised andmed
| Mudel | AURA GC10 V2 WH |
| Juhtumi tüüp | Micro-Tower |
| Emaplaadi tugi | Micro-ATX, Mini-ITX |
| Mõõdud (PxLxK) | 42 x 29 x 37 cm |
| Kaal | 5 kg |
| Drive Bays | 1 x 3.5" or 1 x 2.5" (HDD Cage), 3 x 2.5" |
| I/O pordid | 1 x Type-C, 1 x USB 2.0, 1 x HD Audio, 1 x LED Switch Button |
| Eelinstallitud ventilaatorid | 2 x 120mm ARGB (Side), 1 x 120mm ARGB (Rear) |
| Fännide tugi |
|
| Radiaatori tugi |
|
| Protsessori jahuti kõrguse piirang | 165 mm |
| VGA pikkuse piirang | 400 mm |
| Toiteploki pikkuse piirang | 160 mm |
Garantii teave
For detailed warranty terms and conditions, please refer to the official GAMDIAS webveebisaidilt või tootega kaasasolevalt garantiikaardilt. Hoidke ostutõendit garantiinõuete esitamiseks.
Klienditugi
If you require further assistance or have questions regarding your GAMDIAS Aura GC10m V2 WH computer case, please contact GAMDIAS customer support.
- Tootja: GAMDIAS TAIWAN
- Aadress: No. 113, Jian 2nd Rd., Zhonghe, Dist., New Taipei City 235, Taiwan
- Importija (India): Allway Distributions Pvt Ltd, No-49, H.B. Samajha Road, Baswangudi , Bengaluru- 560004
- Importija kontakt (India): 8904307700
- Ametlik Websait: www.gamdias.com (Palun kontrollige ametlikku website for the most up-to-date support contact information and resources.)


