1. Sissejuhatus
This manual provides detailed instructions for setting up, operating, and maintaining your YOOSEE KAP X330 Wireless WiFi Repeater Router. Please read this manual carefully before using the device to ensure optimal performance, extended network coverage, and safety. This device is designed to easily expand the range of your existing WLAN network or create a new access point.
2. Toote lõppview
2.1 Põhifunktsioonid
- Extends the range of your WLAN network easily.
- Provides Internet access for computers located at the edge or outside the range of your main access point.
- Supports both Wireless Repeater Mode and standard Access Point (AP) Mode.
- Utilizes WLAN 802.11N for high-speed wireless access.
- Compatible with 802.11G (54 Mbps) and 802.11B (11 Mbps) standards.
- Operates on the 2.4GHz WLAN frequency.
- Ensures maximum WLAN network security with WPA2, WPA, and WEP (64/128-bit) encryptions.
- Features integrated antennas for compact design.
- Bivolt (110V / 220V) power input for versatile use.
- Supports WPS (Wi-Fi Protected Setup) for easy connection.
2.2 Pakendi sisu
- 1x YOOSEE KAP X330 Wireless WiFi Repeater Router
- 1x kasutusjuhend
2.3 Füüsiline kirjeldus
The KAP X330 is a compact, white device designed to plug directly into a wall outlet. It features indicator lights on the front panel and an Ethernet port on the side for wired connections.
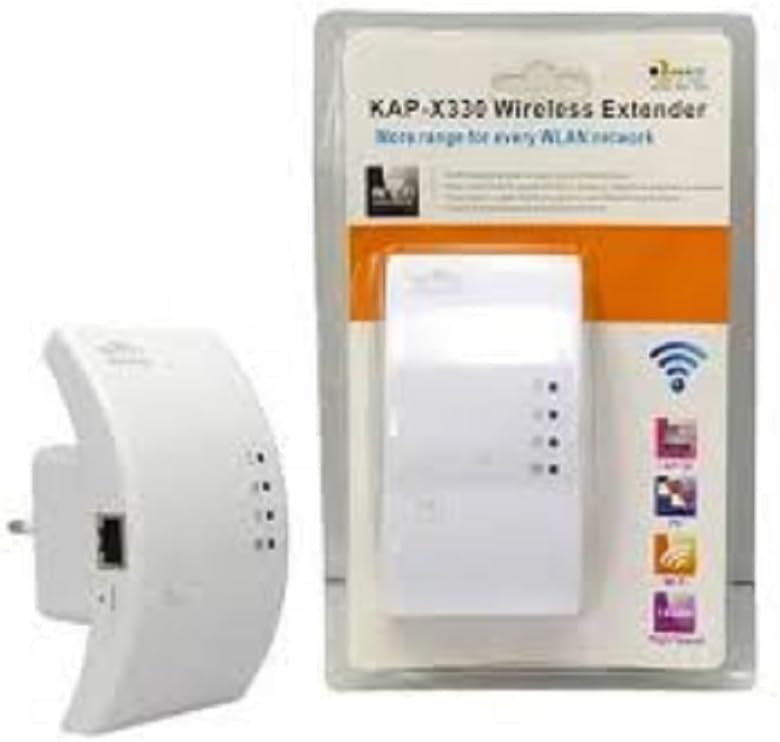
Figure 2.1: YOOSEE KAP X330 Wireless Repeater in its retail packaging and as a standalone unit. The packaging highlights its 'KAP-X330 Wireless Extender' name and 'More range for every WLAN network' slogan. The device itself is white with indicator lights and an Ethernet port visible.
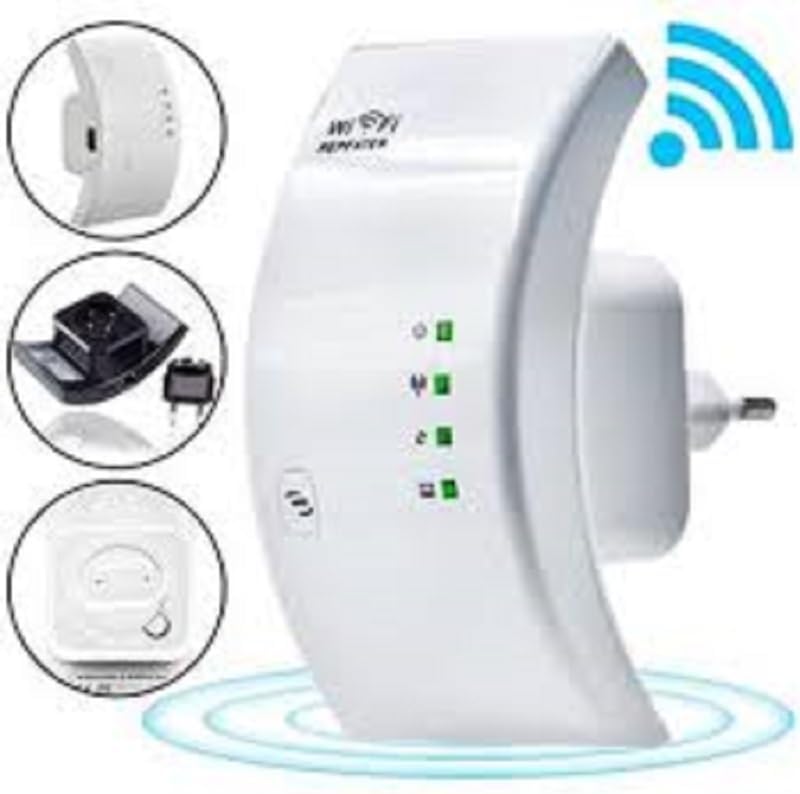
Figure 2.2: A closer look at the YOOSEE KAP X330 Wireless Repeater, emphasizing its design and features. It shows the device plugged into an outlet, with indicator lights illuminated. Insets highlight the side view with an Ethernet port, the power plug, and a reset button, along with a prominent WiFi signal icon.
3. Seadistusjuhend
3.1 Sisselülitamine
- Plug the KAP X330 into a standard electrical outlet within the range of your existing WiFi network (for Repeater Mode) or near your wired internet source (for AP Mode).
- Wait for the power indicator light to turn on, indicating the device is ready.
3.2 Ühendusrežiimid
The KAP X330 supports two main operational modes:
- Repiiteri režiim: Laiendab olemasoleva traadita võrgu leviala.
- AP (pääsupunkti) režiim: Creates a new wireless network from a wired Ethernet connection.
3.3 Configuration Steps (Repeater Mode)
- Ühendage repiiteriga: On your computer or smartphone, connect to the repeater's default WiFi network (SSID usually starts with 'Wireless-N' or similar, without a password).
- Juurdepääs Web Liides: Avage a web brauser ja sisestage vaike IP-aadress (nt
192.168.1.1or192.168.10.1) or the default domain name (e.g.,repeater.net). Refer to the label on the device or the quick start guide for the exact address. - Logi sisse: Sisestage vaikimisi kasutajanimi ja parool (tavaliselt mõlema puhul „admin”).
- Valige repiiteri režiim: On the setup page, select 'Repeater Mode'.
- Võrkude otsimine: The device will scan for available wireless networks. Select your home WiFi network from the list.
- Sisestage parool: Enter the password for your home WiFi network.
- Laiendatud SSID seadistamine (valikuline): Saate valida, kas säilitada sama SSID mis teie põhivõrgul või luua uue (nt „TeieVõrgu_VÄLJAS”).
- Salvesta sätted: Click 'Apply' or 'Save'. The repeater will restart.
- Ühendage uuesti: After the restart, connect your devices to the extended WiFi network.
3.4 Configuration Steps (AP Mode)
- Etherneti kaabli ühendamine: Connect an Ethernet cable from your router or modem to the LAN/WAN port on the KAP X330.
- Ühendage repiiteriga: On your computer or smartphone, connect to the repeater's default WiFi network (SSID usually starts with 'Wireless-N' or similar, without a password).
- Juurdepääs Web Liides: Avage a web brauser ja sisestage vaike IP-aadress (nt
192.168.1.1or192.168.10.1) or the default domain name (e.g.,repeater.net). - Logi sisse: Sisestage vaikimisi kasutajanimi ja parool (tavaliselt mõlema puhul „admin”).
- Valige AP režiim: On the setup page, select 'AP Mode'.
- Configure New Network: Määrake oma uuele traadita võrgule uus SSID (võrgu nimi) ja tugev parool.
- Salvesta sätted: Click 'Apply' or 'Save'. The device will restart.
- Ühendage uuesti: After the restart, connect your devices to the newly created WiFi network.
3.5 WPS Setup (Wi-Fi Protected Setup)
WPS allows for a quick and easy connection to your main router without needing to enter the password manually.
- Plug in the KAP X330 and wait for it to power on.
- Vajutage oma peamise ruuteri WPS-nuppu.
- Within two minutes, press the WPS button on the KAP X330.
- The devices will automatically connect and configure the repeater. The signal indicator lights on the repeater should show a strong connection.
4. Operatsioon
4.1 Märgutuled
The KAP X330 features several indicator lights on its front panel to provide status information:
- Toite LED: Näitab, kas seade on sisse lülitatud.
- WLAN/WiFi LED: Shows wireless activity and connection status.
- LAN/WAN-i LED-tuli: Näitab aktiivsust Etherneti pordil.
- Signaali tugevuse LEDid: (If present) Indicate the strength of the signal received from the main router in Repeater Mode. More lights usually mean a stronger signal.
4.2 Optimaalne paigutus
For best performance in Repeater Mode, place the KAP X330 halfway between your main router and the area where you need extended WiFi coverage. Avoid placing it near large metal objects, concrete walls, or other devices that emit radio frequency interference (e.g., microwaves, cordless phones).
5. Hooldus
5.1 Puhastamine
To clean the device, unplug it from the power outlet. Use a soft, dry cloth to wipe the exterior. Do not use liquid cleaners or aerosol sprays.
5.2 Püsivara värskendused
Periodically check the YOOSEE official website for firmware updates. Firmware updates can improve performance, add new features, or fix bugs. Follow the instructions provided with the firmware update package carefully.
6. Veaotsing
6.1 Pärast seadistamist pole internetiühendust
- Ensure the repeater is receiving a strong signal from your main router (check signal strength LEDs).
- Verify that you entered the correct WiFi password for your main network during setup.
- Try restarting both your main router and the KAP X330.
- If in AP Mode, ensure the Ethernet cable is securely connected and your main router is providing internet.
6.2 Nõrk signaal või aeglane kiirus
- Relocate the KAP X330 closer to your main router, ensuring it's still within the desired coverage area.
- Väldi füüsilisi takistusi, nagu paksud seinad või suured metallesemed.
- Kontrollige häireid muudest elektroonikaseadmetest.
6.3 Juurdepääs puudub Web Liides
- Ensure your device is connected to the repeater's WiFi network (or via Ethernet if in AP mode).
- Veenduge, et brauserisse sisestatud IP-aadress või domeeninimi on õige.
- Tühjendage oma brauseri vahemälu või proovige mõnda teist brauserit.
- Keelake ajutiselt kõik oma arvutis olevad VPN- või tulemüüritarkvarad.
6.4 Tehaseseadetele lähtestamine
Kui teil esineb püsivaid probleeme või unustate oma sisselogimisandmed, saate tehaseseadetele lähtestada:
- With the device powered on, use a paperclip or a thin object to press and hold the reset button (usually located in a small pinhole) for about 5-10 seconds.
- Release the button when the indicator lights flash or the device restarts.
- The device will revert to its factory default settings, and you will need to reconfigure it.
7. Tehnilised andmed
| Funktsioon | Spetsifikatsioon |
|---|---|
| Tootja | YOOSEE |
| Mudel | KAP-X330 |
| Traadita ühenduse standard | 802.11n (compatible with 802.11g/b) |
| Sagedus | 2.4 GHz |
| Turvaprotokollid | WPA2, WPA, WEP (64/128-bit) |
| Eriomadused | WPS, Standard AP Mode |
| Toite sisend | Bivolt 110V / 220V |
| Mõõdud (P x L x K) | 15 x 12 x 8 cm |
| Kaal | 200 grammi |
| Ühilduvad seadmed | Laptop, Smartphone, Tablet, Smart TV |
8. Garantii ja tugi
For warranty information and technical support, please refer to the contact details provided by your retailer or visit the official YOOSEE webveebisait. Hoidke ostutšekk ostutõendina garantiinõuete korral.


