1. Sissejuhatus
This manual provides essential information for the safe and efficient operation, installation, and maintenance of your Daikin 12,000 BTU 18 SEER2 Single Zone Ductless Mini Split Heat Pump System. Please read this manual thoroughly before using the unit and retain it for future reference.
2. Ohutusalane teave
Always adhere to local electrical codes and safety regulations during installation and maintenance. Only qualified personnel should perform electrical work. Ensure the unit is properly grounded. Disconnect power before servicing. Keep children away from the unit during operation and maintenance.
3. Toote lõppview
The Daikin Mini Split Heat Pump System offers efficient heating and cooling for single zones. It features inverter technology for consistent temperature control and energy savings. The indoor unit is designed for wall-mounted installation, while the outdoor unit handles the heat exchange process.
3.1 siseseade

Image: The indoor unit of the Daikin mini split system, wall-mounted. It features a sleek white design with a visible Daikin logo and a blue indicator light.
3.2 Välisseade
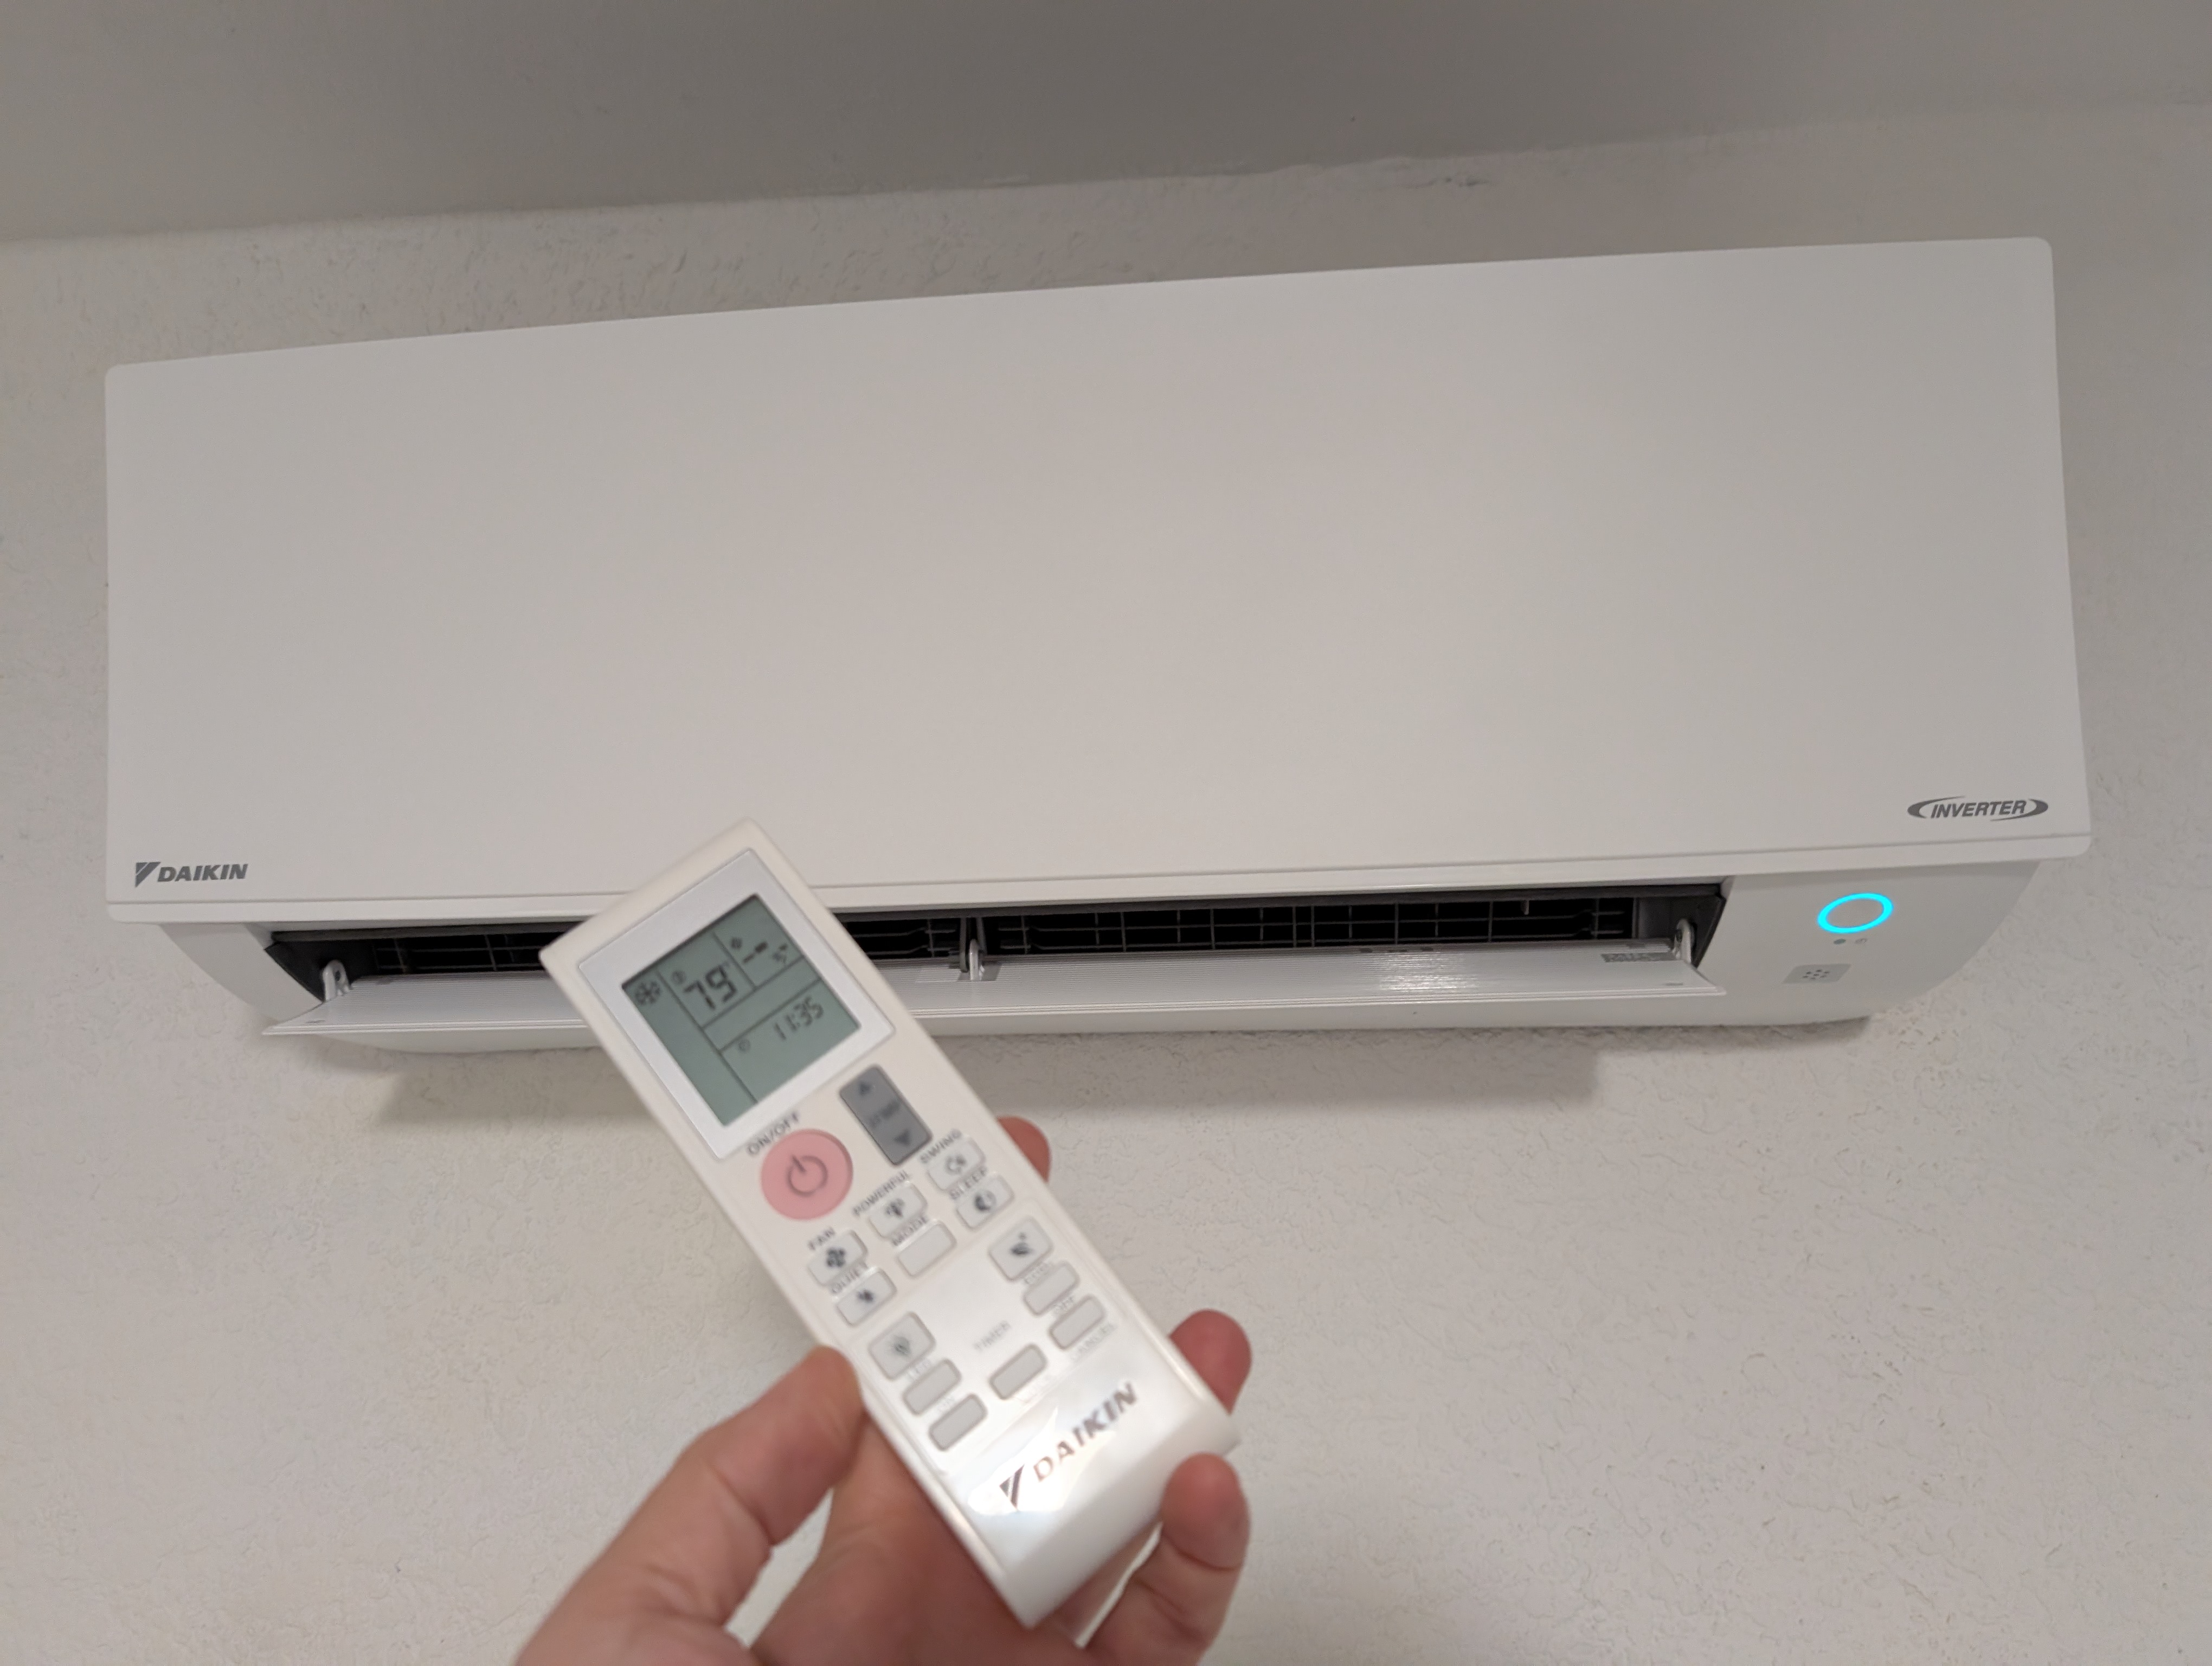
Image: The outdoor unit of the Daikin mini split system, mounted on an exterior wall. It is a compact, gray unit with a protective grille and the Daikin logo.
3.3 kaugjuhtimispult

Image: A close-up of the Daikin mini split remote control, displaying a set temperature of 79°F and the current time. It features various buttons for fan speed, mode, sleep, and timer functions.
4. Seadistamine ja installimine
Professional installation is recommended for optimal performance and safety. Ensure proper placement of both indoor and outdoor units, considering factors like air circulation, drainage, and electrical access. The outdoor unit requires a stable mounting surface and adequate clearance for airflow.
4.1 Installimine lõppenudview
Video: Üleview of the Daikin mini split system, showcasing both the indoor and outdoor units. The video discusses the unit's efficiency, installation considerations, and features like the remote control. It highlights the quiet operation and the importance of proper installation, including addressing potential issues like refrigerant leaks and insulation.
4.2 Elektriühendused
The system requires a dedicated electrical circuit. Ensure all wiring is correctly connected and secured according to the wiring diagram provided in the full installation guide. The electrical conduit should be routed efficiently to minimize visual impact and protect wiring.
4.3 Refrigerant Lines and Drainage
Proper connection and insulation of refrigerant lines are crucial for efficiency. Ensure the condensate drain line is correctly installed with a downward slope to allow for proper water drainage, preventing leaks and water damage.
5. Kasutusjuhised
Your Daikin Mini Split system is controlled via a wireless remote. Familiarize yourself with the remote's functions for optimal comfort.
5.1 Põhitoimingud
- ON/OFF nupp: Vajutage seadme sisse- või väljalülitamiseks.
- MODE nupp: Töörežiimide vahel liikumine: Jahutus, Küte, Ventilaator, Kuivatus, Automaatne.
- TEMP Up/Down Buttons: Reguleerige soovitud temperatuuri seadistust.
- FAN nupp: Select fan speed (Auto, Low, Medium, High).
5.2 Täpsemad funktsioonid
- SWING nupp: Activates or deactivates the automatic vertical airflow swing. Horizontal airflow direction is typically adjusted manually.
- Puhkerežiim: Adjusts temperature automatically during sleep for comfort and energy saving.
- Taimeri funktsioon: Seadistage seade kindlatel aegadel sisse või välja lülituma.
- VAIKNE režiim: Vähendab ventilaatori kiirust vaiksema töö tagamiseks.
5.3 Unit Functionality Demonstration
Video: A demonstration of the indoor unit's operation, highlighting its ability to provide both cooling and heating. The video emphasizes the convenience of the remote control for adjusting settings and maintaining comfortable temperatures in various environments.
6. Hooldus
Regular maintenance ensures the longevity and efficiency of your Daikin system.
- Õhufiltri puhastus: Clean the air filters every two weeks or as needed. Refer to the full manual for instructions on how to remove and clean the filters.
- Välisüksuse puhastamine: Keep the outdoor unit free from debris, leaves, and other obstructions to ensure proper airflow.
- Professionaalne teenindus: Schedule annual professional maintenance to check refrigerant levels, clean coils, and inspect electrical components.
7. Veaotsing
If you encounter issues with your unit, refer to the following common problems and solutions before contacting service personnel.
- Seade ei lülitu sisse: Check the power supply and ensure the circuit breaker is not tripped. Verify the remote control batteries.
- Ebapiisav jahutus/küte: Ensure air filters are clean. Check for obstructions around the indoor and outdoor units. Verify the temperature setting on the remote.
- Ebatavalised helid: Minor noises during operation are normal. If loud or unusual noises occur, contact a qualified technician.
- Vee leke: Check the condensate drain line for blockages or improper slope.
8. Tehnilised andmed
| Funktsioon | Detail |
|---|---|
| Kaubamärk | DAIKIN |
| Mudeliteave | RXC12AXVJU, FTXC12AXVJU |
| Toote mõõtmed | 9.68 x 30.31 x 11.3 tolli |
| Tõhusus | Kõrge |
| Vormitegur | Mini-split |
| Põrandapind | 550 ruutjalga |
| Jahutusvõimsus | 12000 Briti soojusühikut |
| Hooajaline energiatõhususe suhtarv (SEER) | 18 |
| Kontrollimeetod | Kaugjuhtimispult |
| Inverteri tüüp | Inverteriga |
| Kompressori tüüp | rotary_scroll |
| Välisseade on vajalik | Jah |
9. Garantii ja tugi
For warranty information and technical support, please refer to the documentation included with your product or visit the official Daikin webveebisait. Hoidke ostutšekk ostutõendina garantiinõuete korral.