1. Sissejuhatus
Thank you for choosing the Hayve DM7 Digital Microscope. This device is designed for detailed observation and analysis of various objects, offering up to 1000X magnification and a clear 4.3-inch IPS display. It is suitable for applications such as coin inspection, PCB board examination, insect and plant observation, and jewelry appraisal. This manual provides essential information for the safe and effective use of your microscope.

Figure 1: Hayve DM7 Digital Microscope with 32GB TF Card
2. Ohutusalane teave
Please read all safety instructions carefully before using the Hayve DM7 Digital Microscope to prevent injury or damage to the device.
- Hoidke seadet veest ja niiskusest eemal.
- Do not attempt to disassemble or modify the microscope. Repairs should only be performed by authorized personnel.
- Vältige seadme jätmist äärmuslike temperatuuride või otsese päikesevalguse kätte.
- Kasutage ainult kaasasolevat laadimiskaablit ja adapterit.
- Veenduge, et mikroskoop oleks töötamise ajal asetatud stabiilsele ja tasasele pinnale.
- Hoida väikelastele kättesaamatus kohas, et vältida väikeste osade juhuslikku allaneelamist.
3. Pakendi sisu
Veenduge, et pakis on kõik esemed olemas:
- Hayve DM7 Digital Microscope (with 4.3-inch IPS screen)
- Reguleeritav alus
- 32 GB TF-kaart (eelinstallitud või eraldi kaasas)
- C-tüüpi USB-kaabel
- Kasutusjuhend (see dokument)
4. Toote lõppview
Familiarize yourself with the main components of your Hayve DM7 Digital Microscope.

Figure 2: Flexible Stand and Screen Adjustments
- 4.3-tolline IPS-ekraan: High-resolution screen for live viewesitamine ja taasesitus.
- Fookuse ratas: Adjusts magnification and focus.
- LED valgustus: 8 adjustable LEDs for optimal lighting of the specimen.
- Mikroskoobi lääts: Jäädvustab suurendatud pilte.
- Reguleeritav alus: Provides stability and allows for height and angle adjustments.
- Base with Scale: Features measurement markings for precise positioning.
- Juhtnupud: Power, Menu, Capture/Record, Up/Down navigation.
- TF-kaardi pesa: For storage of captured images and videos.
- C-tüüpi USB-port: Laadimiseks ja arvutiga ühendamiseks.
5. Seadistamine
Mikroskoobi kokkupanekuks ja esmakordseks kasutamiseks ettevalmistamiseks järgige neid samme:
- Pange alus kokku:
- Insert the vertical pole into the base.
- Kinnitage kronstein posti külge.
- Secure the microscope unit onto the bracket.
- Tighten all knobs to ensure stability.
- Sisestage TF-kaart: If not pre-installed, gently insert the provided 32GB TF card into the TF card slot on the side of the display unit until it clicks into place.
- Laadige seadet: Connect the Type-C USB cable to the microscope and a suitable USB power adapter (not included) or computer USB port. The charging indicator will illuminate. A full charge provides approximately 5 hours of working time.
- Toide sisse: Press and hold the Power button (usually located on the display unit) for a few seconds until the screen illuminates.

Figure 3: Assembly Steps

Figure 4: TF Card Insertion

Figure 5: Charging the Microscope
6. Kasutusjuhised
6.1 Põhivaatlus
- Place the object you wish to observe on the microscope's base.
- Adjust the distance between the microscope lens and the object using the stand's adjustment knobs.
- Rotate the focus wheel to achieve a clear image on the IPS screen.
- Adjust the LED illumination as needed (see Section 6.4).

Joonis 6: Põhitoimingud
6.2 Suurenduse ja fookuse reguleerimine
The Hayve DM7 offers 50X to 1000X magnification. Magnification is adjusted by changing the distance between the lens and the object, and then fine-tuning with the focus wheel.
- To increase magnification, lower the microscope lens closer to the object.
- To decrease magnification, raise the microscope lens further from the object.
- After adjusting the height, rotate the Fookuseratas (typically on the side of the lens barrel) until the image on the screen is sharp and clear.
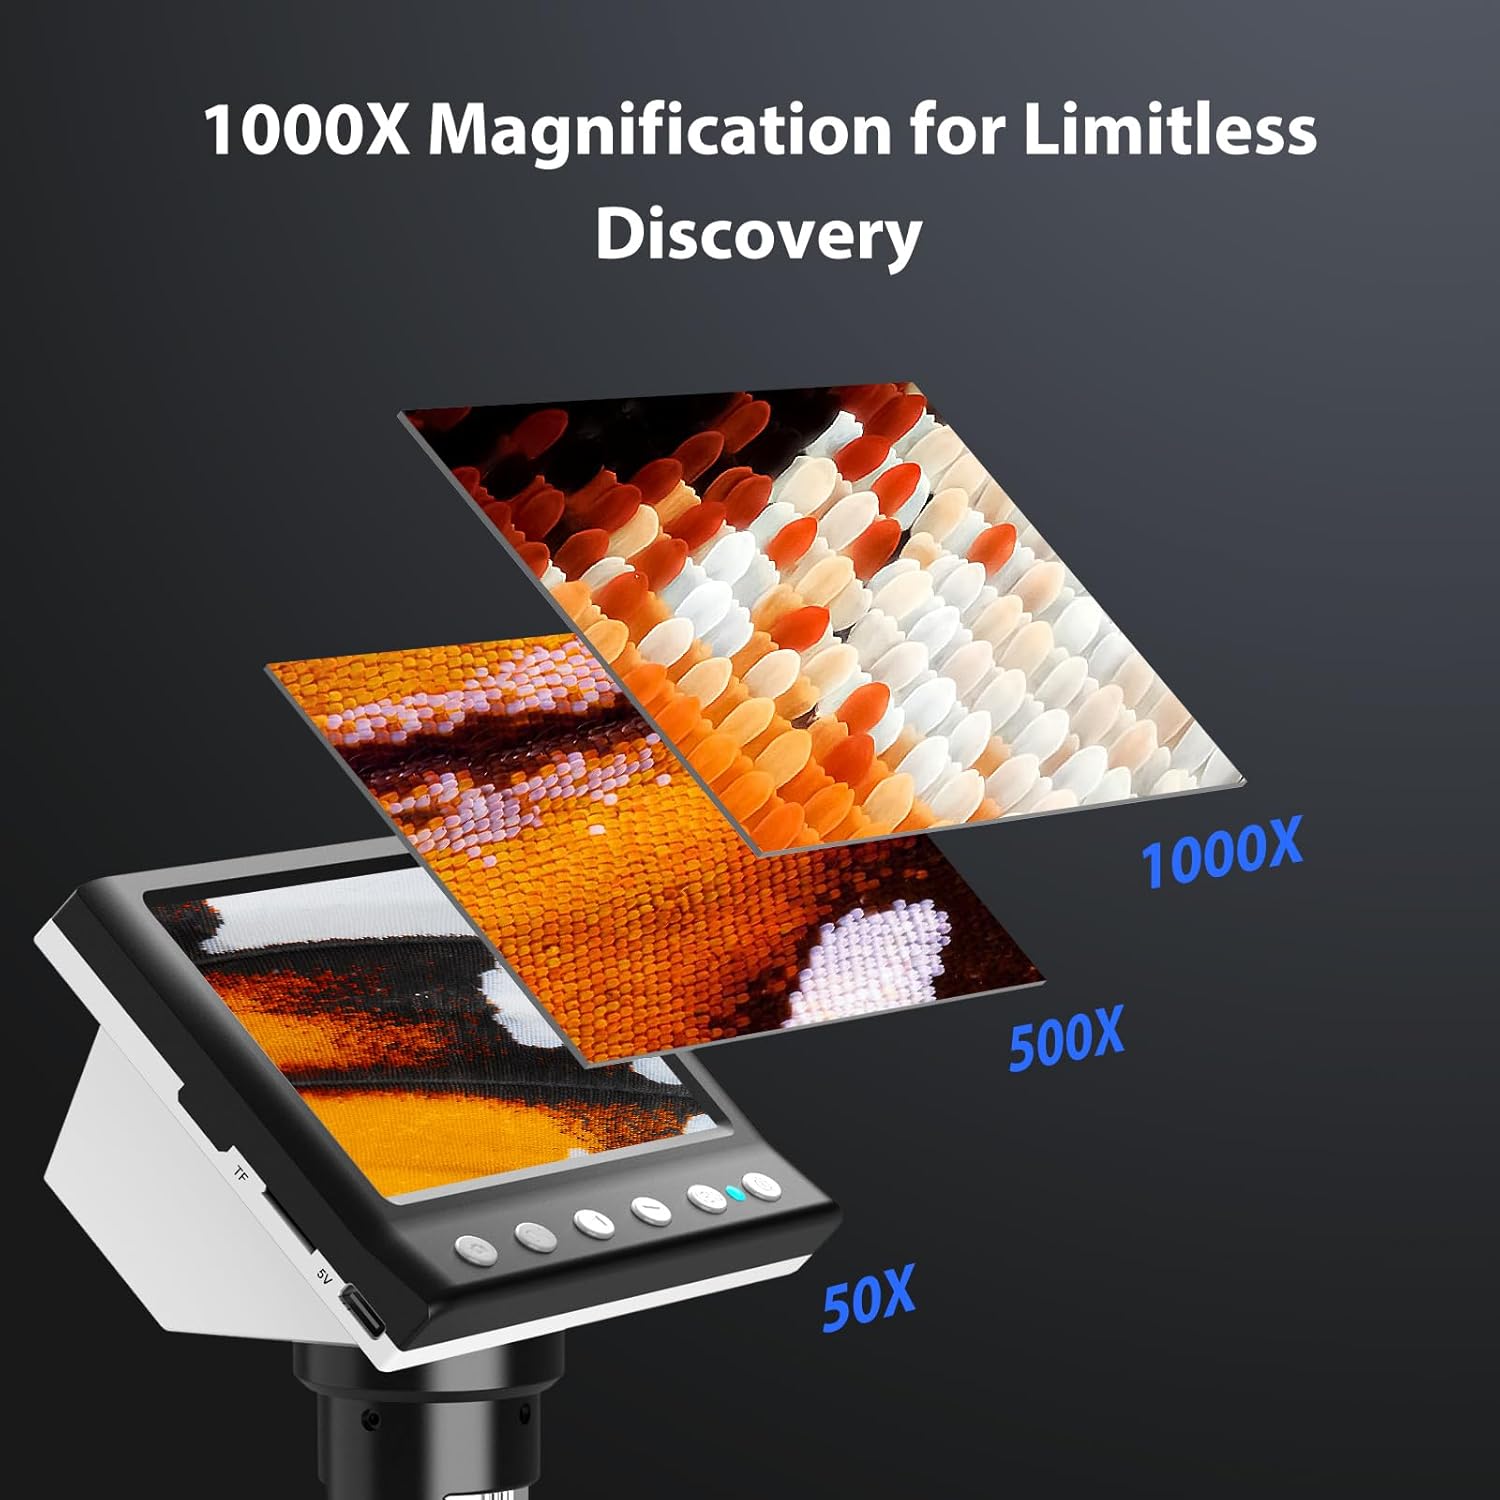
Joonis 7: Suurendusastmed
6.3 Piltide ja videote jäädvustamine
The microscope allows you to capture high-quality photos and record videos directly to the installed TF card.
- Foto tegemiseks toimige järgmiselt. While observing, press the 'Capture' button (often marked with a camera icon). The image will be saved to the TF card.
- Video salvestamiseks tehke järgmist. Press the 'Record' button (often marked with a video camera icon) once to start recording. Press it again to stop. The video will be saved to the TF card.
- Access saved files through the 'Playback' or 'Gallery' option in the microscope's menu.
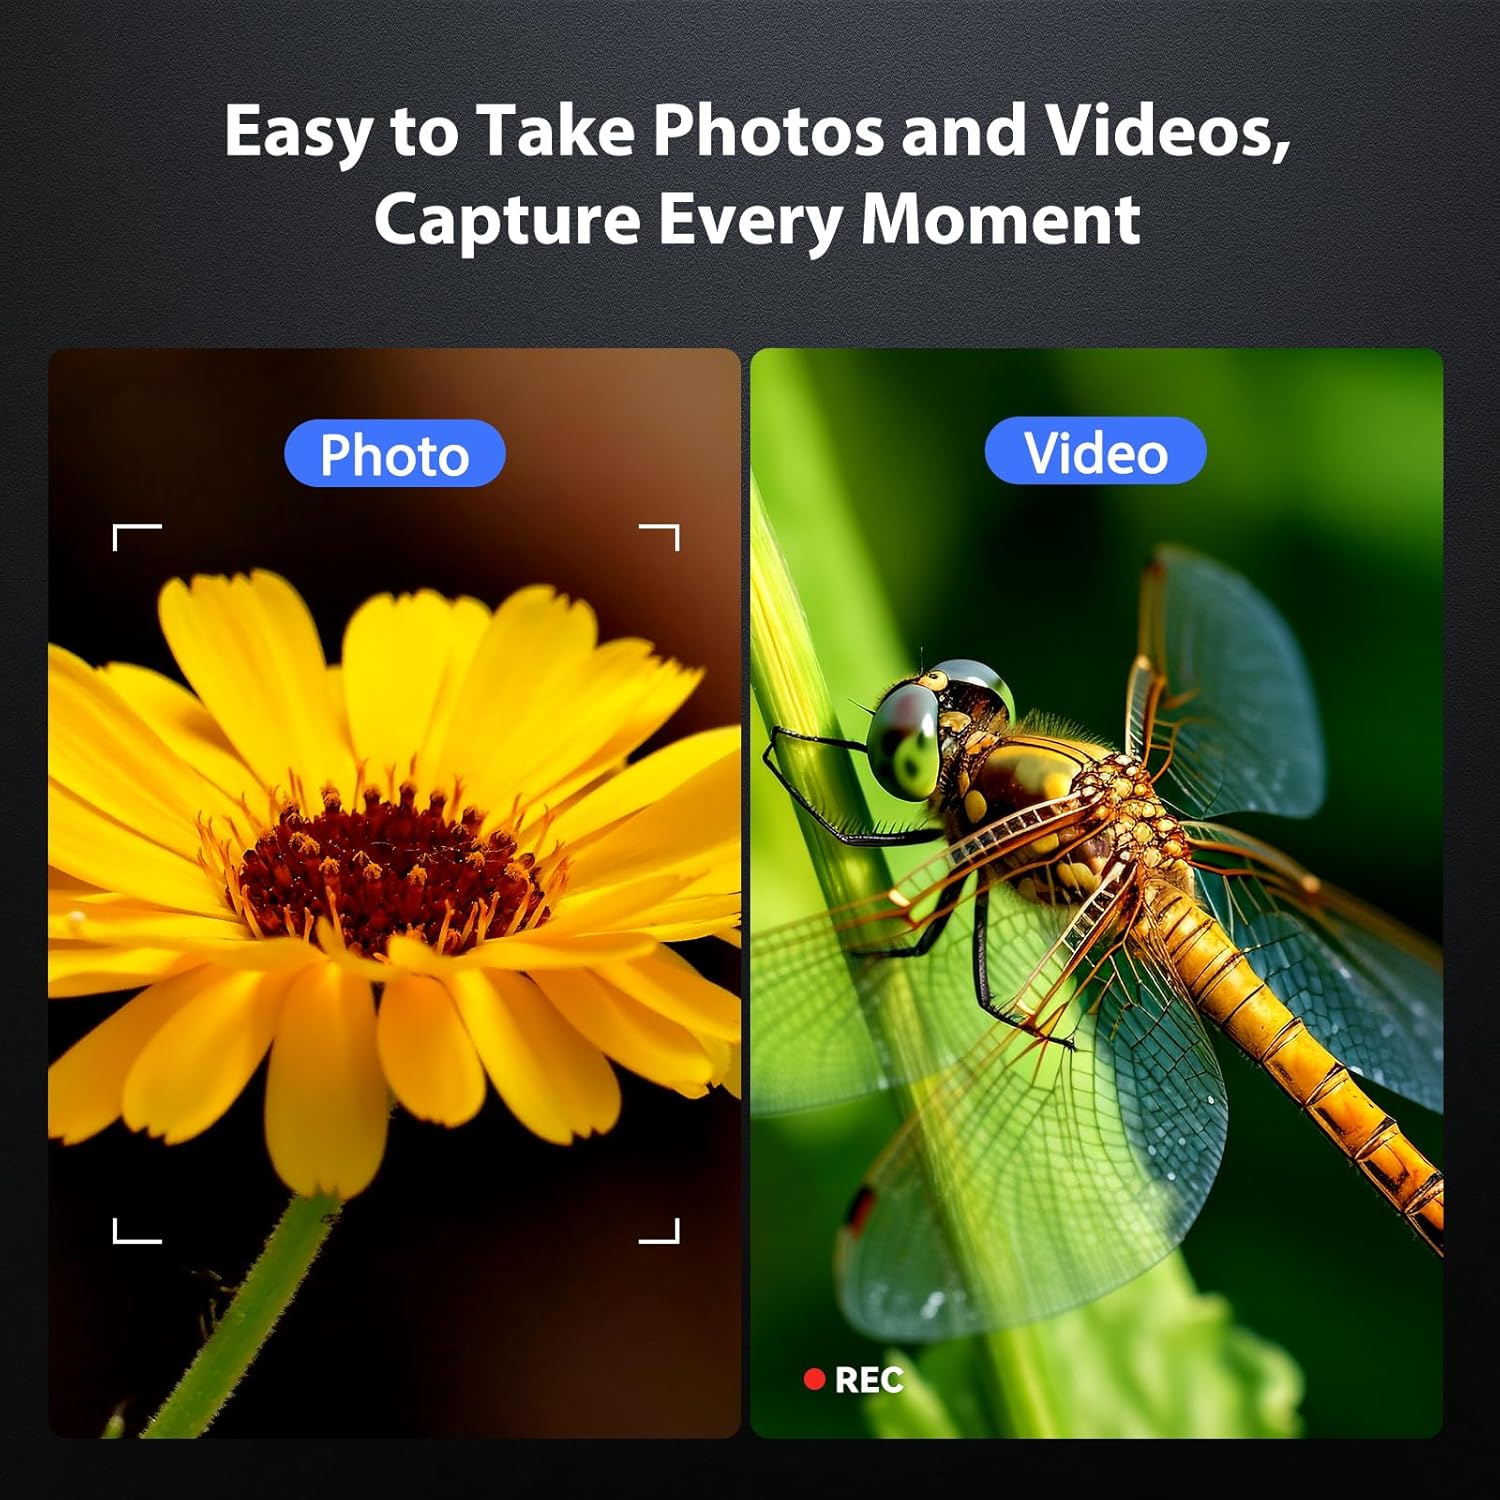
Figure 8: Photo and Video Capture
6.4 Adjusting LED Illumination
The 8 adjustable LED lights provide optimal illumination for various specimens. You can control their brightness from 0% to 100%.
- Locate the LED control button or dial on the microscope unit.
- Rotate the dial or press the button to increase or decrease the brightness.
- Adjust until the object is evenly lit without glare or shadows.

Figure 9: LED Brightness Adjustment
6.5 Connecting to a Computer (PC Mode)
Suurematele viewing, precise measurements, or sharing, you can connect the microscope to a Windows-compatible computer.
- Veenduge, et mikroskoop on sisse lülitatud.
- Connect the microscope to your computer using the provided Type-C USB cable.
- The microscope screen may display "PC Cam" or prompt you to select a mode. Choose "PC Camera" or "UVC" mode.
- On your computer, open a camera application (e.g., Windows Camera app) or a dedicated microscope software (if provided or downloaded) to view elav sööt.
- Some software may allow for measurement functions.

Figure 10: PC Connection for Measurement
7. Hooldus
Proper maintenance ensures the longevity and optimal performance of your microscope.
- Objektiivi puhastamine: Kasutage pehmet ja ebemevaba lappi, mis on spetsiaalselt mõeldud optiliste läätsede jaoks. Kangekaelsete plekkide korral võib lapile kanda väikese koguse läätsepuhastuslahust (mitte otse läätsele).
- Cleaning the Screen and Body: Wipe the screen and body with a soft, dry cloth. Avoid abrasive cleaners or solvents.
- Hoiustamine: When not in use, store the microscope in a clean, dry, dust-free environment. Consider using a protective cover.
- Aku hooldus: For long-term storage, charge the battery to about 50% every few months to maintain battery health.
8. Veaotsing
Levinud probleemide lahenduste leidmiseks vaadake seda jaotist.
| Probleem | Võimalik põhjus | Lahendus |
|---|---|---|
| Mikroskoop ei lülitu sisse. | Aku tühjeneb; toitenuppu pole õigesti vajutatud. | Charge the microscope fully. Press and hold the power button for 3-5 seconds. |
| Pilt on udune. | Incorrect focus; Object too far/close to lens. | Adjust the focus wheel. Adjust the height of the microscope unit on the stand. |
| Ekraan on liiga tume/hele. | LED illumination not adjusted. | Adjust the LED brightness using the control dial/button. |
| Fotosid/videoid ei saa salvestada. | TF card full or not inserted correctly; TF card error. | Check TF card insertion. Delete old files or replace TF card. Format TF card (backup data first). |
| PC connection not working. | Incorrect mode selected; Driver issue; Cable fault. | Ensure "PC Camera" mode is selected on the microscope. Try a different USB port or cable. Check computer's device manager for driver issues. |
9. Tehnilised andmed
Technical specifications for the Hayve DM7 Digital Microscope:
| Funktsioon | Detail |
|---|---|
| Mudel | DM7 |
| Ekraan | 4.3-tolline IPS |
| Suurendus | 50X kuni 1000X |
| Valgusallikas | 8 reguleeritavat LED-i |
| Säilitamine | 32 GB TF-kaart (kaasas) |
| Aku | 1 liitium-ioon aku (kaasas) |
| Tööaeg | u. 5 tundi |
| Ühenduvus | Type-C USB (for charging and PC connection) |
| Ühilduv OS | Windows (PC connection) |
| Materjal | Plastikust |
| Värv | Must |
| Kauba kaal | 1.3 naela (0.59 kg) |
| Pakendi mõõtmed | 7.91 x 7.44 x 3.78 tolli |
10. Garantii ja tugi
Hayve provides customer support for its products. If you encounter any issues or have questions regarding your DM7 Digital Microscope, please contact our customer service team.
- Klienditeenindus: Hayve offers 24-hour professional and kind after-sales service.
- Kontaktandmed: Refer to the product packaging or the official Hayve websaidilt uusimad kontaktandmed.
- Garantii: Specific warranty terms and conditions may apply. Please retain your proof of purchase for warranty claims.
11. Tootevideod
No official product videos were provided in the input data for embedding in this manual.


