1. Sissejuhatus
This manual provides detailed instructions for the installation, operation, and maintenance of the Duex Dx B75ZG M.2 Motherboard. This motherboard is designed to support Intel Core i7, i5, and i3 processors from the 2nd and 3rd generations, utilizing the LGA 1155 socket. It features DDR3 memory support and an M.2 slot for modern storage solutions.
2. Põhiomadused
- CPU tugi: Intel Core i7 / i5 / i3 processors (2nd/3rd Generation) with LGA 1155 socket.
- Kiibistik: Intel B75.
- Mälu: Dual Channel DDR3 1066/1333/1600MHz, 2x DDR3 slots, supporting up to 16GB maximum.
- LAN: Realtek 10/100/1000 Mbps (Gigabit Ethernet).
- Heli: Integrated Realtek audio chip.
- Laienduspesad: 1x PCI Express x16 slot, 1x PCI Express x1 slot, 1x M.2 slot.
- Hoiustamine: 3x SATA ports.
- Tagapaneeli ühenduvus: 1x VGA port, 1x HDMI port, 4x USB 2.0 ports, 2x USB 3.0 ports, 1x LAN (RJ45) port, 3x audio jacks.
- Sisemised pistikud: 24-pin ATX power connector, 4-pin ATX 12V power connector, 2x USB connectors (supporting 4 additional USB ports), front panel audio connector, system panel connector, M.2 connector, speaker connector, 2x fan connectors.
- BIOS: EFI BIOS.
- Vormitegur: Micro ATX (190x170 mm).
3. Pakendi sisu
Veenduge, et pakendis on kõik esemed olemas:
- 1x Duex Dx B75ZG M.2 Motherboard
- 1x draiveri CD
- 1x Kasutusjuhend (käesolev dokument)
- 1x I/O Backboard Shield
- 1x SATA kaabel
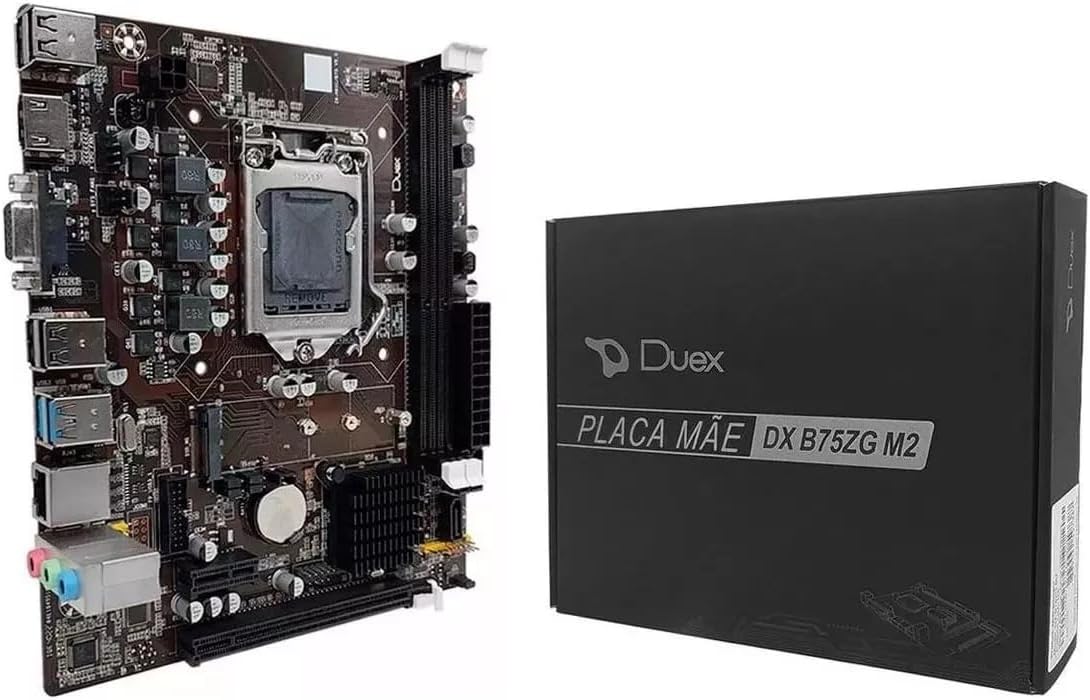
Image 1: The Duex Dx B75ZG M.2 Motherboard alongside its retail packaging.
4. Tehnilised andmed
| Komponent | Spetsifikatsioon |
|---|---|
| Kaubamärk | Duex |
| Protsessori pistikupesa | LGA 1155 |
| Ühilduvad protsessorid | Intel Core i7, i5, i3 (2nd/3rd Gen) |
| Kiibistik | Intel B75 |
| Mälu tehnoloogia | DDR3 |
| mälupesasid | 2x DDR3 (240-pin) |
| Maksimaalne mälumaht | 16 GB |
| Mälu kella kiirus | 1066/1333/1600 MHz |
| PCIe x16 Slots | 1 |
| PCIe x1 Slots | 1 |
| M.2 Pilud | 1 |
| SATA pordid | 3 |
| USB 2.0 pordid (taga) | 4 |
| USB 3.0 pordid (taga) | 2 |
| Videoväljundid | 1x VGA, 1x HDMI |
| LAN-port | 1x RJ45 (Gigabit) |
| Audiopistikud | 3 (taga) |
| Vormitegur | Micro ATX (190x170 mm) |
| Toite sisend | 24-pin ATX, 4-pin ATX 12V |
| Toote kaal | 560 g |
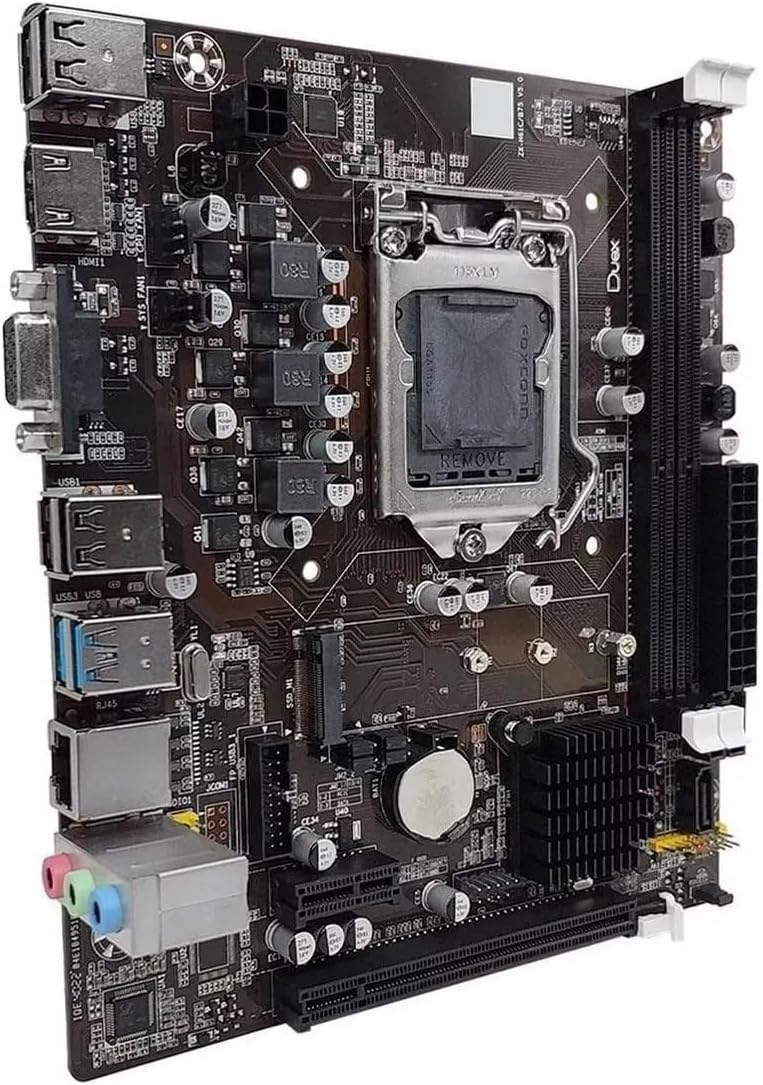
Pilt 2: Detailne view of the motherboard's various components, including the CPU socket, RAM slots, and expansion slots.
5. Seadistamine ja installimine
Enne paigaldamise alustamist veenduge, et teie süsteem on välja lülitatud ja pistik seinakontaktist eemaldatud. Kandke antistaatilist randmepaela, et vältida komponentide kahjustusi elektrostaatilise laengu (ESD) tõttu.
5.1. Protsessori paigaldamine
- Leidke emaplaadil LGA 1155 pesa.
- Lükake laadimishooba õrnalt alla ja tõmmake seda küljele, et avada protsessori pesa kate.
- Joondage oma Intel LGA 1155 protsessori kolmnurkne märk pesa vastava märgisega. Asetage protsessor ettevaatlikult pessa ilma seda jõuga surumata.
- Close the socket cover and push the load lever back into its locked position.
- Kandke protsessorile termopastat ja paigaldage protsessori jahuti vastavalt tootja juhistele.
5.2. Mälu (RAM) paigaldamine
- Leidke kaks DDR3 DIMM-pesa.
- Avage DIMM-pesa mõlemas otsas olevad klambrid.
- Joondage DDR3-mälumooduli sälk DIMM-pesa võtmega.
- Sisestage mälumoodul kindlalt pessa, kuni klambrid klõpsuga paika klõpsavad. Veenduge, et mõlemad klambrid on täielikult suletud.
5.3. Storage Device Installation (SATA & M.2)
- SATA-draivid: Connect one end of the SATA data cable to a SATA port on the motherboard and the other end to your SATA hard drive or SSD. Connect a SATA power cable from your power supply to the drive.
- M.2 SSD: Locate the M.2 slot. Insert the M.2 SSD into the slot at an angle, then gently push it down and secure it with the provided screw.
5.4. Toiteallika ühendus
- Ühenda toiteploki 24-kontaktiline ATX-toitepistik emaplaadi vastava päisega.
- Connect the 4-pin ATX 12V CPU power connector from your power supply to the header near the CPU socket.
5.5. Esipaneeli ja välisseadmete ühendused
- Connect the front panel headers (Power LED, HDD LED, Power Switch, Reset Switch) to the system panel connector on the motherboard, observing polarity.
- Ühendage esipaneeli USB- ja helikaablid vastavate pesadega.
- Install the I/O backboard shield into your computer case.
- Mount the motherboard into the computer case using standoffs and screws.

Image 3: The rear input/output panel of the motherboard, showing ports for USB, video, LAN, and audio.
6. Kasutusjuhised
6.1. Esialgne käivitamine ja BIOS-i seadistamine
- Pärast kõigi komponentide kokkupanekut ühendage monitor, klaviatuur ja hiir.
- Power on your system. During the boot process, repeatedly press the DEL or F2 key (refer to your screen for the exact key) to enter the EFI BIOS setup utility.
- In the BIOS, you can configure boot order, system time, and other hardware settings. Save changes and exit the BIOS to continue.
6.2. Operatsioonisüsteemi installimine
- Insert your operating system installation media (USB drive or DVD) into the computer.
- Restart the computer and enter the BIOS to set the boot order to prioritize your installation media.
- Follow the on-screen instructions to install your operating system.
- After OS installation, install the necessary drivers from the included driver CD or download the latest drivers from the Duex websaidile.
7. Hooldus
Nõuetekohane hooldus tagab teie emaplaadi pikaealisuse ja stabiilse töö.
- Tolmu eemaldamine: Regularly clean dust from inside your computer case using compressed air. Pay attention to CPU cooler fins and fan blades.
- Kaabli haldamine: Ensure cables are neatly routed to promote airflow and prevent obstruction.
- BIOS-i värskendused: Kontrollige tootja poolt website periodically for BIOS updates. Update only if necessary and follow instructions carefully.
- Draiveri värskendused: Keep your device drivers updated for optimal performance and compatibility.
- Keskkonnatingimused: Kasutage emaplaati hästi ventileeritavas kohas, eemal otsesest päikesevalgusest, liigsest kuumusest ja niiskusest.
8. Veaotsing
See jaotis käsitleb levinud probleeme, millega võite kokku puutuda.
8.1. Toide puudub / käivitus puudub
- Ensure the power supply is connected correctly to the motherboard (24-pin ATX and 4-pin ATX 12V).
- Verify that the power switch on the front panel is correctly connected to the motherboard's system panel header.
- Check if the power supply unit (PSU) is functional and switched on.
8.2. Ekraaniväljund puudub
- Confirm that the monitor is connected to the correct video output (VGA or HDMI) on the motherboard or discrete graphics card.
- Ensure the RAM modules are properly seated in their slots. Try reseating them or testing with one module at a time.
- Verify that the CPU is correctly installed and the CPU cooler is functioning.
8.3. Peripherals Not Working (USB, LAN, Audio)
- USB: Ensure USB devices are connected to functional ports. Install or update USB drivers.
- LAN: Check the Ethernet cable connection. Install or update the LAN driver. Verify LAN settings in the operating system.
- Heli: Ensure speakers/headphones are connected to the correct audio jacks. Install or update audio drivers. Check audio settings in the operating system.
8.4. Süsteemi ebastabiilsus / krahhid
- Check for overheating. Ensure CPU and case fans are working correctly.
- Käivitage mälu diagnostikatööriistad, et kontrollida vigast RAM-i.
- Veenduge, et kõik draiverid oleksid ajakohased.
- Kontrollige toiteallika stabiilsust.
9. Garantii ja tugi
For warranty information and technical support, please refer to the documentation provided with your purchase or visit the official Duex webveebisait. Hoidke ostutõendit garantiinõuete esitamiseks.
When contacting support, be prepared to provide your motherboard model (DX B75ZG M.2), serial number, and a detailed description of the issue.