1. Olulised kaitsemeetmed
Elektriseadmete kasutamisel tuleb alati järgida põhilisi ettevaatusabinõusid, et vähendada tulekahju, elektrilöögi ja inimeste vigastuste ohtu, sealhulgas järgmist:
- Enne seadme kasutamist lugege läbi kõik juhised.
- Ärge kasutage ühtegi seadet kahjustatud juhtme või pistikuga või pärast seda, kui seade on tõrgeteta või on mingil viisil kahjustatud.
- Ärge kasutage õues.
- Ärge kastke juhet, pistikuid ega seadet vette või muusse vedelikku.
- Hoolikas järelevalve on vajalik, kui seadet kasutavad lapsed või nende läheduses.
- Ärge laske juhtmel rippuda üle laua või leti serva ega puudutada kuumi pindu.
- Ärge asetage kuuma gaasi- või elektripliidi peale ega lähedusse ega kuumutatud ahju.
- Ühendage pistik alati esmalt seadmega ja seejärel juhtmega seinakontakti. Lahtiühendamiseks lülitage ükskõik milline juhtnupp asendisse "väljas" ja seejärel eemaldage pistik seinakontaktist.
- Ärge kasutage seadet muul kui ettenähtud otstarbel.
- Always ensure the glass turntable is properly seated before operation.
- Ärge kuumutage vedelikke ega muid toiduaineid suletud mahutites, kuna need võivad plahvatada.
- Maintain the inside of the oven. Food particles or spilled liquids can cause arcing or fire.
- Ärge proovige seda ahju kasutada avatud uksega, sest avatud uksega töötamine võib kahjustada mikrolaineenergiat.
- Ärge asetage mingeid esemeid ahju esikülje ja ukse vahele ega laske mustusel või puhastusvahendite jääkidest koguneda tihenduspindadele.
- Do not operate the oven if it is damaged. It is particularly important that the oven door closes properly and that there is no damage to the (1) door (bent), (2) hinges and latches (broken or loosened), (3) door seals and sealing surfaces.
- Ahju ei tohi reguleerida ega remontida keegi peale nõuetekohaselt kvalifitseeritud teeninduspersonali.
2. Toote lõppview
The West Bend 900-Watt 0.9 Cu. Ft. Compact Microwave Oven (Model WBMW92W) is designed for convenient and efficient cooking in various settings. It features a compact footprint, electronic control panel, and a rotating glass turntable for even heating.

Joonis 2.1: The West Bend Microwave Oven (Model WBMW92W) positioned on a kitchen countertop, showcasing its compact design and white finish. The microwave features a black door and control panel, with a silver trim.
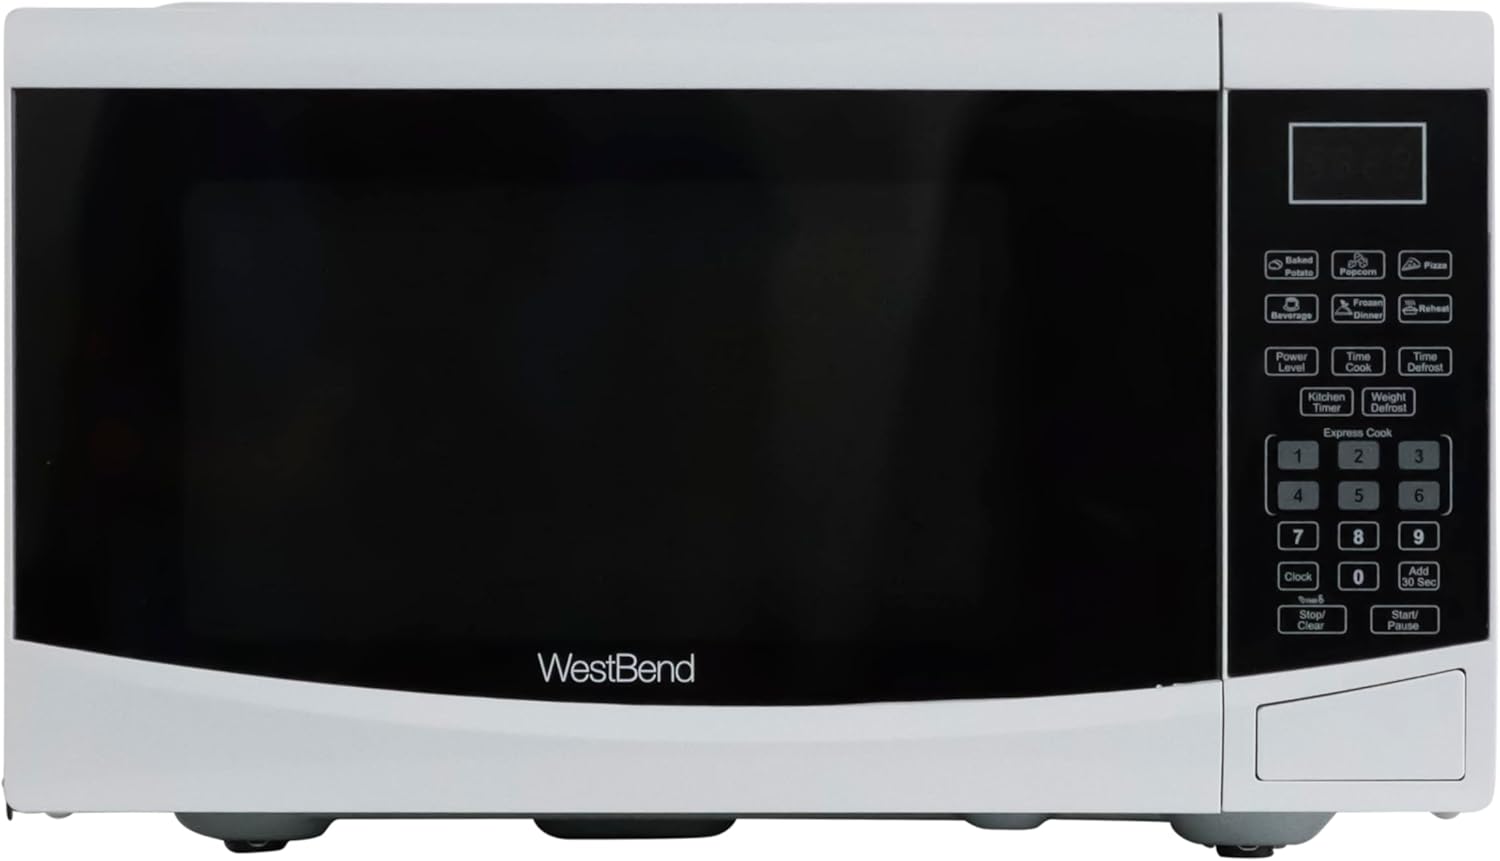
Joonis 2.2: Otsene rinne view of the West Bend Microwave Oven, highlighting the door, control panel, and the West Bend logo. The unit is white with a black door and silver accents.
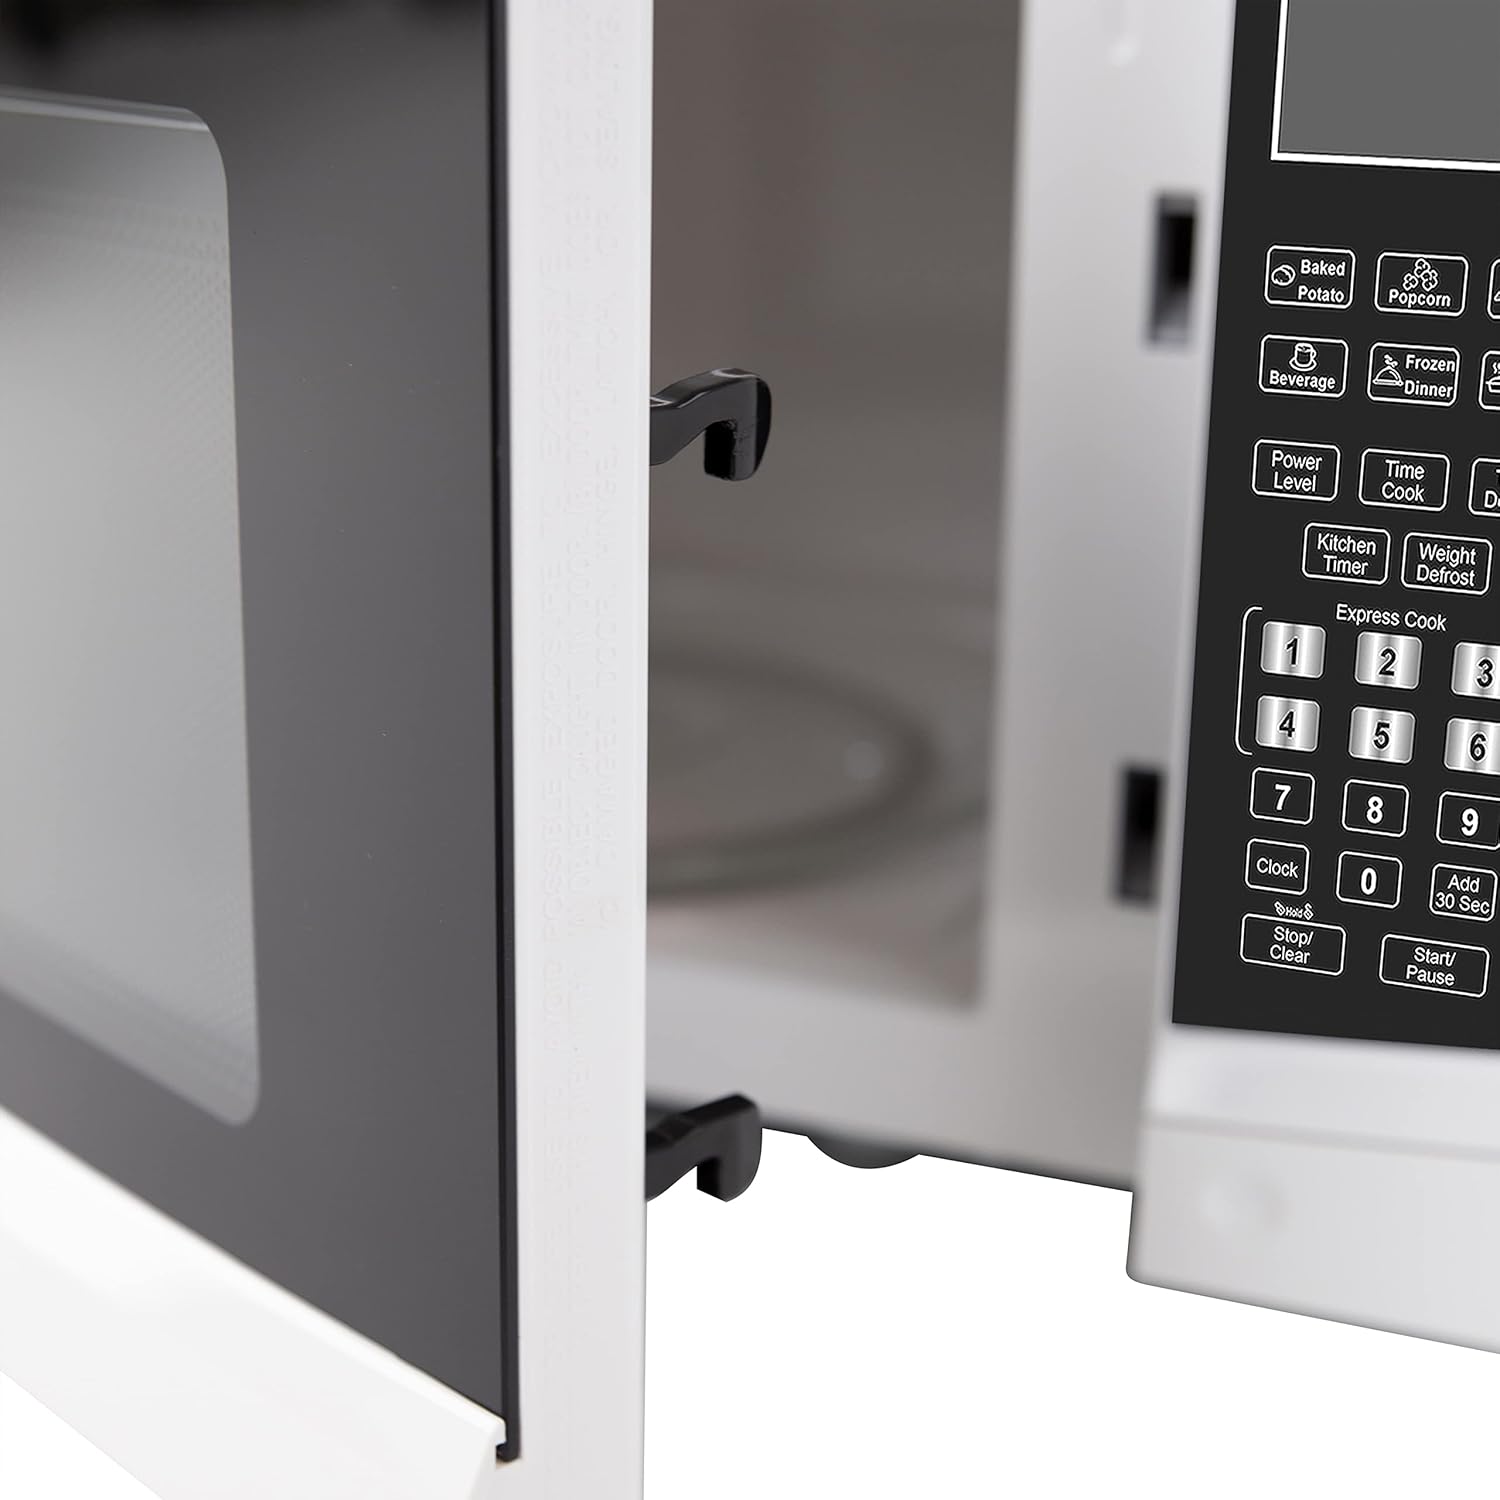
Joonis 2.3: The interior of the microwave oven with the door open, revealing the glass turntable and the oven cavity. The interior is white, and the 900 WATTS power rating is visible above the door opening.
3. Seadistamine ja installimine
3.1 Lahtipakkimine
Carefully remove the microwave oven from its packaging. Remove all packing materials, including any protective film or tape from the oven surfaces. Check the oven for any damage, such as dents or a misaligned door. Do not operate the oven if it is damaged. Contact customer support if any damage is found.
3.2 Plaadimängija kokkupanek
Place the roller ring in the depression in the bottom of the microwave oven. Place the glass turntable on top of the roller ring, ensuring it is securely seated in the center support.
- Ärge kunagi asetage klaasist salve tagurpidi.
- The glass tray and roller ring must always be used during cooking.
- Kõik toiduained ja toidunõud tuleb küpsetamiseks alati asetada klaasalusele.
3.3 Paigutus
Place the microwave oven on a flat, stable surface that can support its weight and the heaviest food item likely to be cooked in it. Ensure there is adequate ventilation around the oven. Maintain a minimum of 3 inches (7.5 cm) of space on the top, sides, and rear for proper airflow.
3.4 Elektrinõuded
The microwave oven requires a standard 120V AC, 60Hz electrical outlet. Do not use an extension cord. Ensure the outlet is properly grounded.
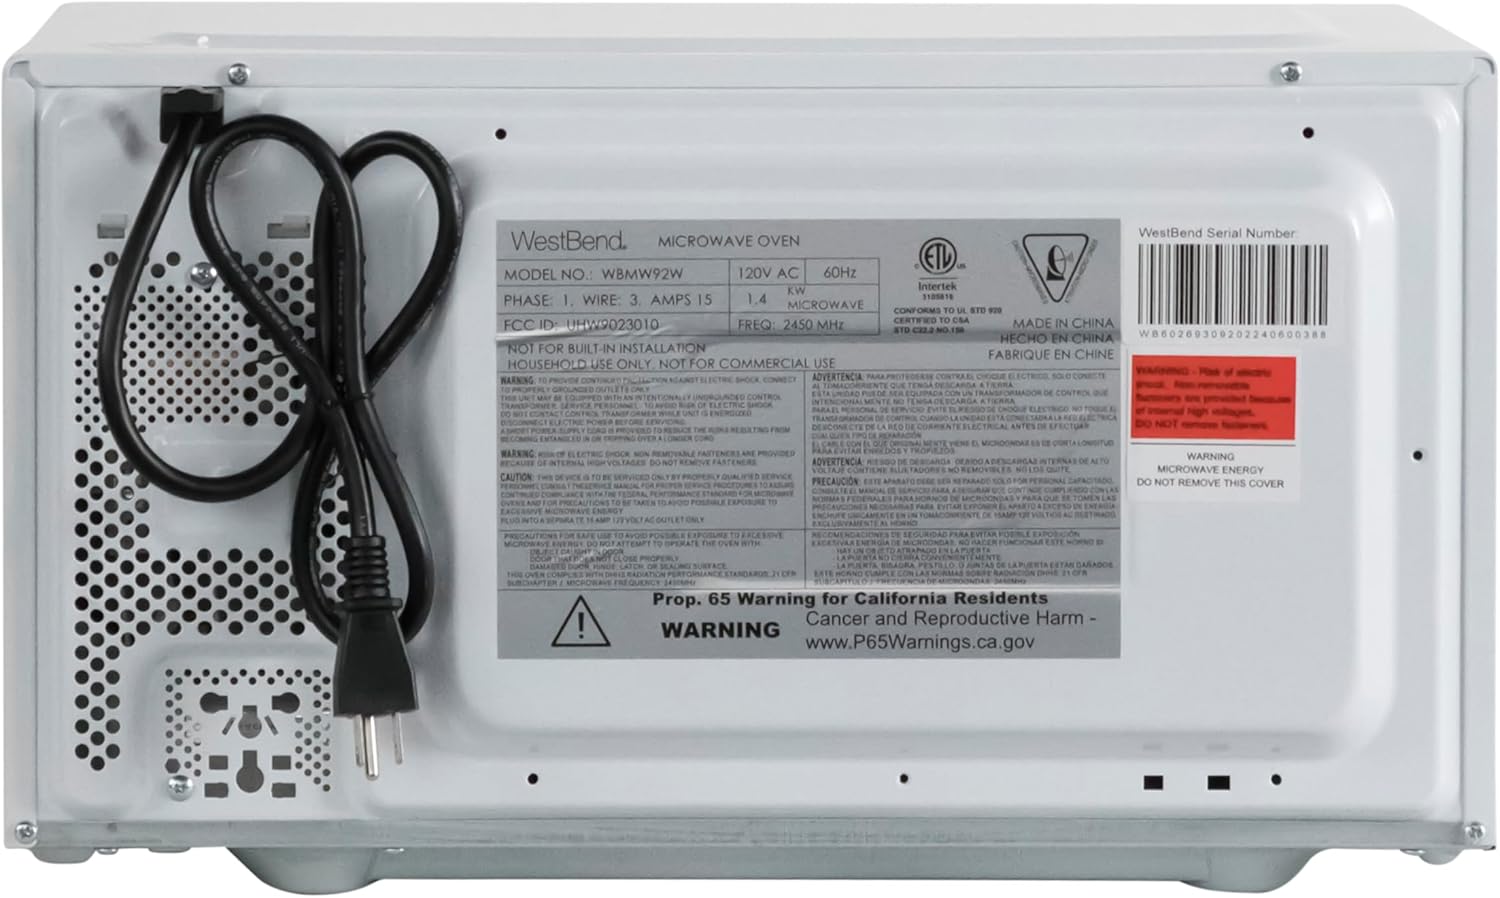
Joonis 3.1: The rear of the microwave oven, displaying the power cord and the product information label with electrical specifications and model number WBMW92W.
4. Kasutusjuhised
The control panel allows you to set cooking times, power levels, and use pre-programmed functions.

Joonis 4.1: Üksikasjalik view of the electronic control panel, showing buttons for Time Cook, Time Defrost, Weight Defrost, Power Level, Clock, Kitchen Timer, Popcorn, Potato, Pizza, Frozen Vegetable, Beverage, Dinner Plate, Express Cook numbers, Stop/Clear, and Start/+30 Sec.
4.1 Kella seadistamine
- Vajutage nuppu KELL nuppu üks kord.
- Sisestage numbriklahvistiku abil praegune kellaaeg (nt 12:30, kui soovite 12:30 PM).
- Vajutage nuppu KELL kinnitamiseks uuesti nuppu.
4.2 Mikrolaineahjus küpsetamise põhitõed (aegküpsus)
- Asetage toit mikrolaineahju.
- Vajutage nuppu AEG KOKK nuppu.
- Sisestage soovitud küpsetusaeg numbriklahvistiku abil.
- (Valikuline) Võimsustaseme reguleerimiseks vajutage VÕIMSUSTASE ja seejärel arv vahemikus 1–10 (10 on 100% võimsus).
- Vajutage START/+30 SEK toiduvalmistamise alustamiseks.
4.3 Kiirküpsetus
For quick cooking at 100% power, simply press one of the number buttons (1-6) to cook for that many minutes. Press START/+30 SEK to add 30 seconds to the current cooking time or to start cooking for 30 seconds at 100% power if no other function is selected.
4.4 Pre-Set Cooking Functions
The microwave includes 6 pre-set cooking options for common food items:
- POPKORN: For microwave popcorn.
- KARTUL: Kartulite küpsetamiseks.
- PIZZA: Pitsaviilude ülessoojendamiseks.
- FROZEN VEGETABLE: Külmutatud köögiviljade küpsetamiseks.
- JOOK: Jookide soojendamiseks.
- DINNER PLATE: Õhtusöögi taldriku soojendamiseks.
To use a pre-set function, simply press the corresponding button. The oven will automatically set the cooking time and power level. For some functions, you may need to press the button multiple times to select the desired quantity (e.g., number of potatoes).

Joonis 4.2: The interior of the microwave oven with a bag of microwave popcorn placed on the glass turntable, ready for cooking using the Popcorn pre-set function.
4.5 Sulatusfunktsioonid
The microwave offers two defrost modes:
- AEG SULATAMINE:
- Vajutage SULATUSAEG.
- Sisestage soovitud sulatusaeg.
- Vajutage START/+30 SEK.
- KAALU SULATUS:
- Vajutage KAALU SULATUS.
- Enter the weight of the food in ounces (e.g., 16 for 1 lb).
- Vajutage START/+30 SEK.
4.6 Köögitaimer
The Kitchen Timer operates independently of the microwave cooking functions.
- Vajutage nuppu KÖÖGI TAIMER nuppu.
- Sisestage soovitud aeg numbriklahvistiku abil.
- Vajutage START/+30 SEK. The timer will count down without activating the microwave.
4.7 Lapselukk
The Child Lock feature prevents unintended operation of the microwave oven, enhancing safety.
- Aktiveerimiseks: Vajutage ja hoidke all nuppu STOP/CLEAR nuppu 3 sekundit all. Ekraanile ilmub luku indikaator.
- Deaktiveerimiseks: Vajutage ja hoidke all nuppu STOP/CLEAR nuppu uuesti 3 sekundit all. Lukustusnäidik kaob.

Joonis 4.3: An informational graphic detailing the new mandatory 2-step child safety lock feature, explaining how it reduces risks by preventing the oven door from being opened during cooking cycles when enabled.
5. Hooldus ja hooldus
Regulaarne puhastamine ja hooldus tagavad teie mikrolaineahju pikaealisuse ja optimaalse jõudluse.
5.1 Välispinna puhastamine
Pühkige välispindu pehme, damp lapiga. Vältige abrasiivsete puhastusvahendite või karmide kemikaalide kasutamist, mis võivad viimistlust kahjustada.
5.2 Sisemuse puhastamine
To clean the interior, wipe with a soft, damp cloth and mild soap. For stubborn food splatters, place a bowl of water with lemon slices inside and microwave on high for 2-3 minutes. The steam will loosen the residue, making it easier to wipe clean. Ensure the oven is unplugged before cleaning.
5.3 Klaasist pöördaluse puhastamine
Klaasist pöördalust ja rullrõngast saab puhastamiseks eemaldada. Peske neid soojas seebivees või nõudepesumasinas. Enne ahju tagasi panemist veenduge, et need on täiesti kuivad.
6. Veaotsingu juhend
Kui teil tekib mikrolaineahjuga probleeme, vaadake levinud probleemide ja lahenduste kohta järgmist tabelit.
| Probleem | Võimalik põhjus | Lahendus |
|---|---|---|
| Ahi ei käivitu. | Toitejuhe pole pistikupessa ühendatud; uks pole korralikult suletud; kaitse on läbi põlenud või kaitselüliti on rakendunud; lapselukk on aktiveeritud. | Ensure power cord is securely plugged into a grounded outlet; Close the oven door firmly; Check household fuse/circuit breaker; Deactivate child lock by holding STOP/CLEAR for 3 seconds. |
| Toit ei kuumene. | Vale küpsetusaeg või võimsustase on valitud; uks pole korralikult suletud. | Adjust cooking time and power level as needed; Ensure the door is fully closed and latched. |
| Pöördalus ei pöörle. | Turntable or roller ring not positioned correctly; Obstruction under the turntable. | Remove and re-seat the turntable and roller ring; Check for any debris or obstructions. |
| Sädemed või kaarleek ahju sees. | Metal in microwave; Food splatters or grease buildup. | Remove any metal objects or containers; Clean the oven interior thoroughly. |
| Ekraanil kuvatakse "E" või veakood. | Sisemine rike. | Eemaldage ahju juhe üheks minutiks vooluvõrgust ja seejärel ühendage see uuesti. Kui viga ei lahene, võtke ühendust klienditoega. |
7. Tehnilised andmed
Key technical specifications for the West Bend 900-Watt 0.9 Cu. Ft. Compact Microwave Oven.
| Funktsioon | Detail |
|---|---|
| Mudeli number | WBMW92W |
| Mahutavus | 0.9 kuupjalga |
| Wattage | 900 vatti |
| Võimsustasemed | 10 |
| Toote mõõtmed (L x S x K) | 19" x 14.5" x 11" (umbes) |
| Kauba kaal | 27 naela |
| Värv | Valge |
| Plaadiplaadi materjal | Klaas |
| Installi tüüp | Töötasapind |
| Kaasatud komponendid | Mikrolaineahi, klaasplaadimängija, hooldus- ja kasutusjuhend |

Joonis 7.1: A diagram illustrating the approximate dimensions of the microwave oven: 19 inches wide, 14.5 inches deep, and 11 inches high.
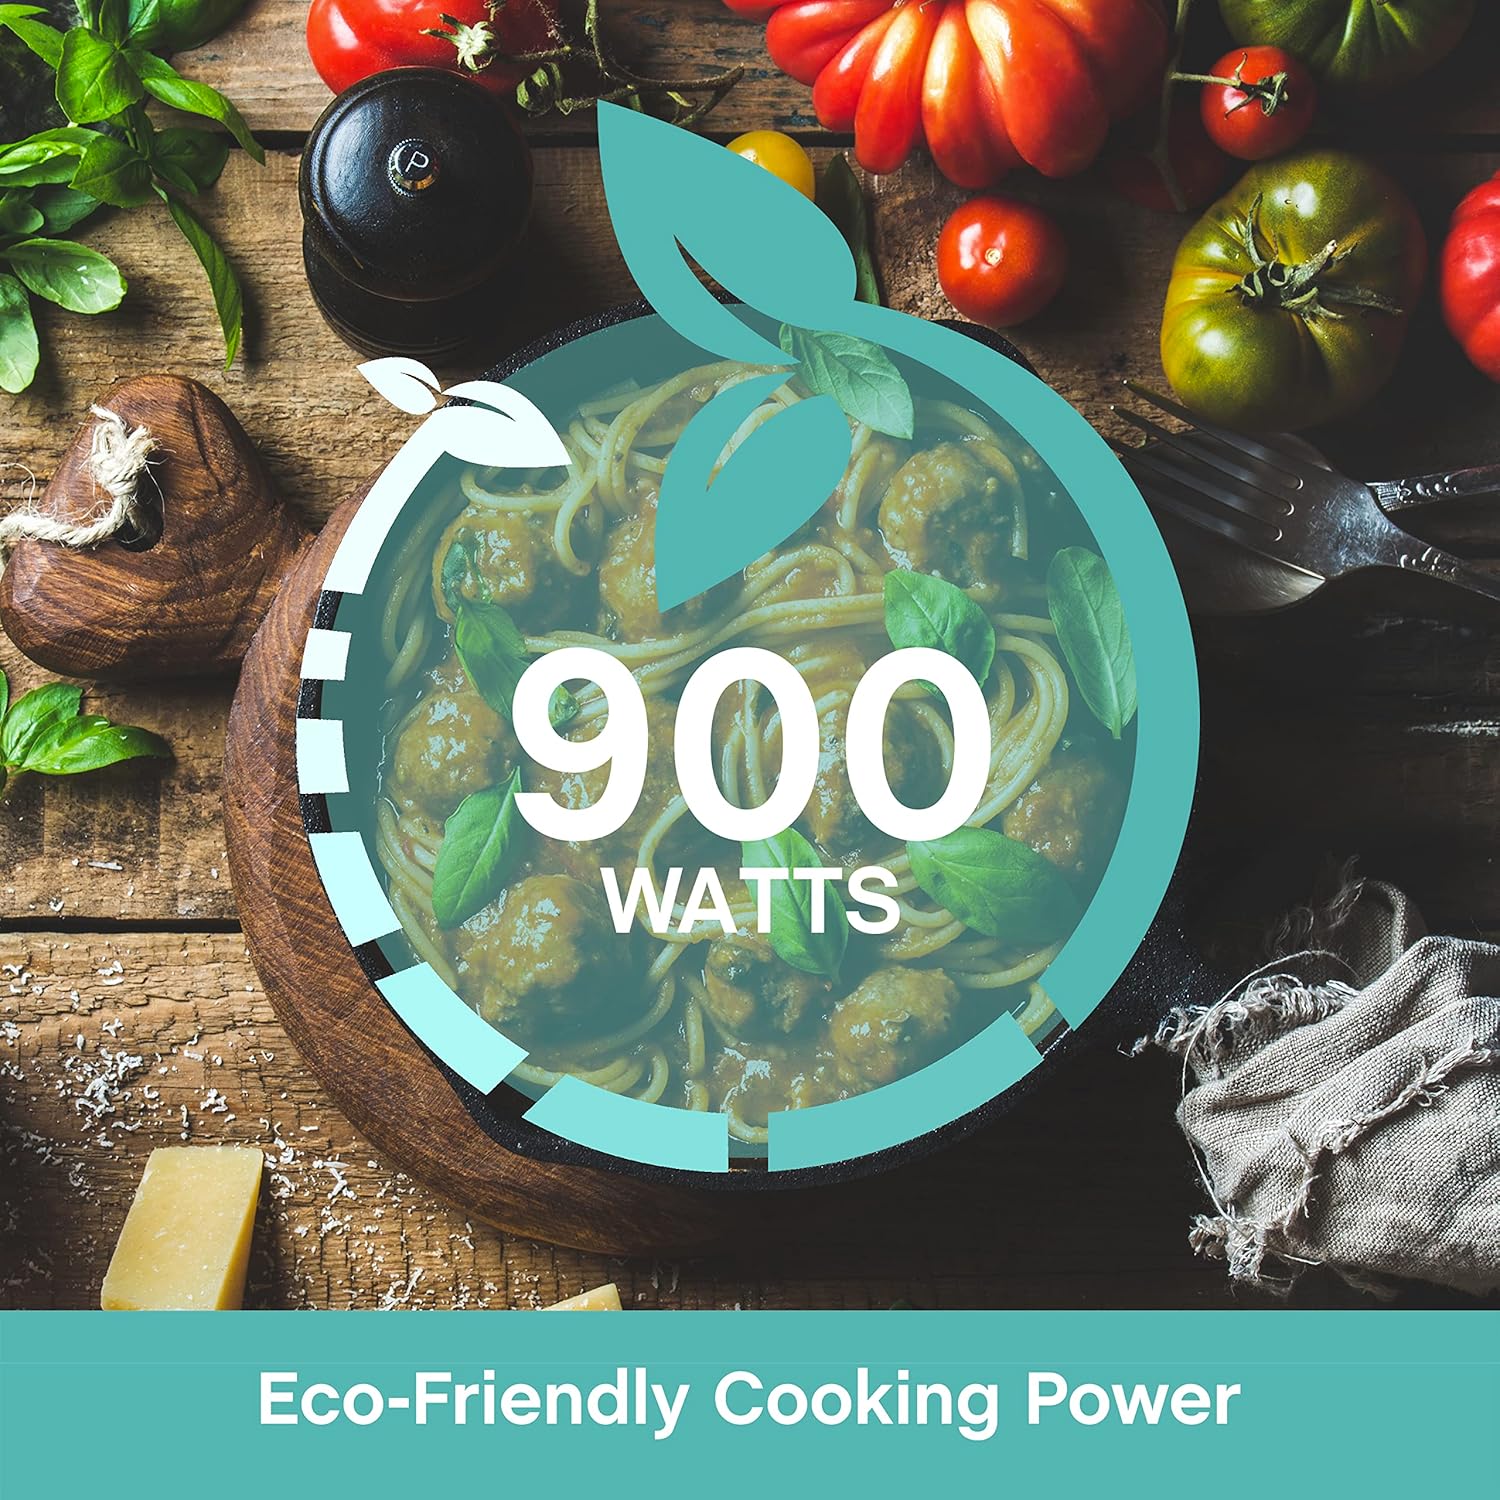
Joonis 7.2: A graphic emphasizing the 900 Watts of cooking power, indicating efficient performance.
8. Garantii ja tugi
This West Bend microwave oven is covered by a manufacturer's warranty. Please refer to the included "Care and Use Manual" for specific warranty details, terms, and conditions. For technical assistance, troubleshooting beyond this guide, or warranty claims, please contact West Bend Customer Support.
Klienditugi: Refer to the official West Bend website or the contact information provided in your product's packaging for the most up-to-date support details.


