Sissejuhatus
This manual provides detailed instructions for the setup, operation, and maintenance of your ClocTeck Nixie Tube Clock Model KIT. This digital clock features a simulated Nixie tube display with RGB glow, Wi-Fi time calibration, alarm, and 12/24-hour display options. Please read this manual thoroughly before using the product to ensure proper functionality and longevity.

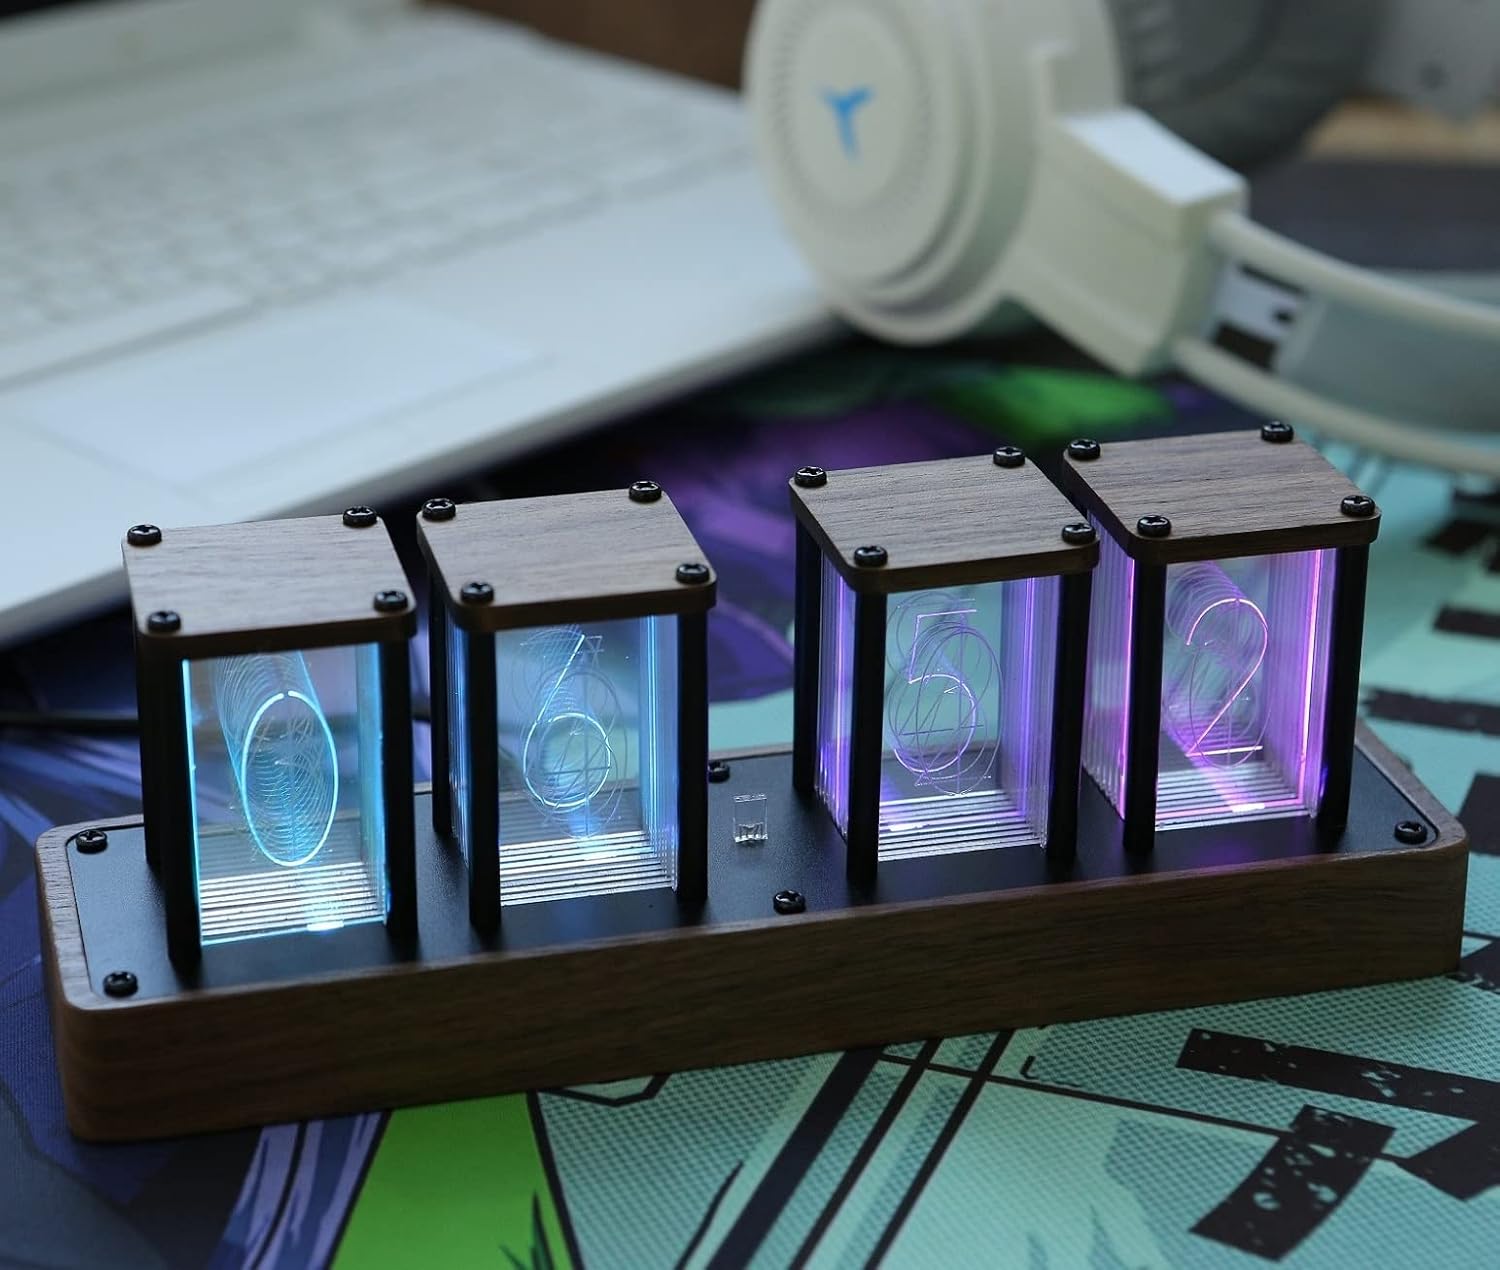
Image: The ClocTeck Nixie Tube Clock, showcasing its simulated glowing number display on a wooden base.
Seadistamine
1. Esialgne ühendus
The ClocTeck Nixie Tube Clock requires no assembly. Simply connect the provided USB-C cable to the clock and plug the other end into a compatible power adapter (not included) or a USB port. The clock will power on automatically.
Pilt: Tagumine view of the clock showing the USB-C port for power connection.
2. Wi-Fi Setup and Time Calibration
The clock supports Wi-Fi connectivity for automatic time calibration and advanced settings control via a mobile phone or web browser. This product requires a 2.4GHz Wi-Fi network.
- Ühenduse loomine kella WiFi-võrguga: When the clock is first powered on or after a reset, it will broadcast its own Wi-Fi network. Connect your mobile phone or computer to this network.
- Access Settings Page: Avage a web browser on your connected device and navigate to the clock's IP address (usually displayed on the clock screen during setup, or refer to the quick start guide for default IP).
- Võrgu seadistamine: On the settings page, select your home 2.4GHz Wi-Fi network from the list and enter its password.
- Määra ajavöönd: Choose your correct time zone from the available options.
- Sünkroonimisaeg: Click the "Sync Time" button to calibrate the clock's time automatically via Wi-Fi.
- Salvesta sätted: Ensure you save all changes before exiting the settings page. The clock will then connect to your home Wi-Fi network.
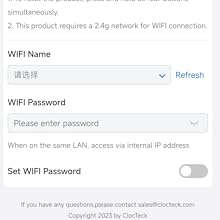
Image: Screenshot of the Wi-Fi settings interface, showing options for Wi-Fi network selection and password entry.

Image: Screenshot of the Time settings interface, including options for 12/24-hour format, Auto DST, and Sync Time.
Kasutusjuhised
1. Time Display (12/24h Format)
The clock supports both 12-hour and 24-hour time display formats. This setting can be adjusted via the Wi-Fi settings interface on your connected device. Navigate to the "Time settings" section and select your preferred format.
2. Äratuse seadistamine
An alarm function is integrated into the clock. You can set a single alarm time through the Wi-Fi settings interface. Access the "Alarm" section, set the desired hour and minute, and enable the alarm.
3. Taimeri funktsioon
The clock includes a timer function with a maximum countdown of 99 minutes. To use the timer, access the "Timer Function" section in the Wi-Fi settings, select the desired number of minutes, and start the countdown.
4. Custom Display Color & Mode
The RGB light source allows for extensive customization of the display colors and modes. You can customize each display group's color using a full RGB color selection. Available display modes include:
- Kontrolli režiim
- Ühevärviline režiim
- Monochrome alternate display mode
- Hingamisrežiim
- Rainbow flashing mode
- Water flowing mode
These settings are accessible via the "Display Settings" section in the Wi-Fi interface. You can select a mode and then adjust individual number colors or sync a color across all tubes.
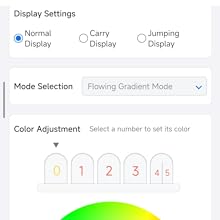
Image: Screenshot of the Display settings interface, showing options for display modes and color adjustment for individual numbers.
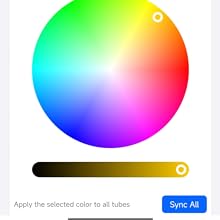
Image: Screenshot of the Color Adjustment interface, featuring a color wheel and options to sync colors across all display tubes.
Video: Demonstration of the ClocTeck Nixie Tube Clock's various display color modes and effects.
Hooldus
- Puhastamine: Use a soft, dry cloth to gently wipe the clock's surface. Avoid abrasive cleaners or solvents, as they may damage the wood finish or acrylic display panes.
- Paigutus: Place the clock on a stable, flat surface away from direct sunlight, excessive heat, or moisture to prevent damage to the electronic components and wooden casing.
- Võimsus: Always use a compatible USB-C power source. Disconnect power during extended periods of non-use.
Veaotsing
| Probleem | Võimalik põhjus | Lahendus |
|---|---|---|
| Kell ei lülitu sisse. | No power, faulty cable, or power adapter. | Ensure USB-C cable is securely connected. Try a different USB-C cable or power adapter. |
| WiFi-ühendus ebaõnnestub. | Incorrect Wi-Fi password, 5GHz network, or out of range. | Verify Wi-Fi password. Ensure you are connecting to a 2.4GHz network. Move the clock closer to the Wi-Fi router. |
| Time is incorrect after Wi-Fi sync. | Vale ajavööndi seadistus. | Access Wi-Fi settings and ensure the correct time zone is selected. Re-sync time. |
| Display numbers flicker or go out. | Power fluctuation or internal component issue. | Try disconnecting and reconnecting power. If the issue persists, contact customer support. |
| Cannot access settings page via browser. | Not connected to the clock's Wi-Fi, incorrect IP address, or browser issue. | Ensure your device is connected to the clock's Wi-Fi network. Verify the IP address. Try a different web brauser. |
Tehnilised andmed
- Kaubamärk: ClocTeck
- Mudel: KOMPLEKT
- Kuva tüüp: Digital (Simulated Nixie Tube)
- Materjal: Walnut Wood (Frame)
- Toote mõõtmed: 9 cm lai ja 2.4 cm kõrge
- Toiteallikas: Juhtmega elektriline (USB-C)
- Ühenduvus: WiFi (2.4 GHz)
- Omadused: Alarm Clock, Timer Function (max 99 min), 12/24h Display, Customizable RGB Colors & Modes, Wi-Fi Time Calibration
- Kauba kaal: 1.54 naela (0.7 kilogrammi)
- Sise-/välikasutus: Siseruumides
Garantii ja tugi
ClocTeck products are designed for reliability and performance. For warranty information or technical support, please refer to the contact details provided with your purchase or visit the official ClocTeck website. Please have your model number (KIT) and purchase date available when contacting support.
For inquiries, you may also contact sales@clocteck.com.


