Sissejuhatus
This manual provides instructions for the installation, operation, and maintenance of your Wansview Solar Panel. This solar panel is designed to provide continuous power to compatible outdoor battery-powered security cameras, ensuring uninterrupted surveillance without the need for frequent manual recharging.

Image: The Wansview Solar Panel, a rectangular black panel with a mounting bracket attached.
Seadistamine ja installimine
Wansidview Solar Panel is designed for easy installation. Follow these steps to set up your solar panel:
Pakendi sisu:
- Wansview Solar Panel with Type-C power cable x 1
- Seinakinnitus x 1
- Mounting screws x 1 set
- Type-C to Micro USB adapter x 1
- Kasutusjuhend x 1
Paigaldamise etapid:
- Kinnitage kronstein: Secure the wall mount to your desired location using the provided screws. Choose a location that receives maximum direct sunlight throughout the day.
- Päikesepaneeli kinnitamine: Connect the solar panel to the mounted bracket.
- Adjust the Panel Direction: Adjust the panel's angle and orientation to ensure optimal exposure to sunlight. The mount allows for 360-degree swivel and 90-degree tilt.
- Ühenda kaameraga: Connect the solar panel to your battery-powered security camera using the Type-C power cable. If your camera uses a Micro USB port, use the included Type-C to Micro USB adapter.

Image: An illustration showing the solar panel connected to a security camera, highlighting the 90-degree tilt and 360-degree swivel capabilities of the mounting bracket.

Image: A four-step diagram illustrating the installation process: 1. Mount the bracket, 2. Attach the solar panel, 3. Adjust the panel for sun, 4. Connect the panel to the battery camera.
Operatsioon
Once installed and connected, the Wansview Solar Panel will automatically begin charging your compatible battery-powered security camera when exposed to sunlight. The panel utilizes monocrystalline silicon for efficient solar energy absorption, providing continuous power to your camera.
Ühilduvus:
The solar panel is designed for universal compatibility with various outdoor wireless battery-powered security cameras. It includes both a Type-C cable and a Type-C to Micro USB adapter to accommodate different camera input ports.

Image: A central image of the solar panel with Type-C and Micro USB adapters, surrounded by various models of security cameras, illustrating broad compatibility.

Image: A Wansview solar panel mounted on the side of a house, connected to a security camera, demonstrating continuous power supply in an outdoor setting.
Hooldus
Wansidview Solar Panel is constructed with high-quality, waterproof materials, making it resistant to harsh weather conditions including rain and snow. This ensures continuous operation with minimal maintenance.
Puhastamine:
- Periodically inspect the surface of the solar panel for dirt, dust, leaves, or other debris that may obstruct sunlight.
- Gently clean the panel surface with a soft, damp cloth. Avoid using abrasive cleaners or harsh chemicals that could damage the panel.
- Ensure the panel is dry after cleaning to prevent water spots from affecting efficiency.
Ülevaatus:
- Regularly check the mounting bracket and screws to ensure they remain securely fastened.
- Inspect the power cable and adapter for any signs of wear, damage, or corrosion. Replace if necessary.
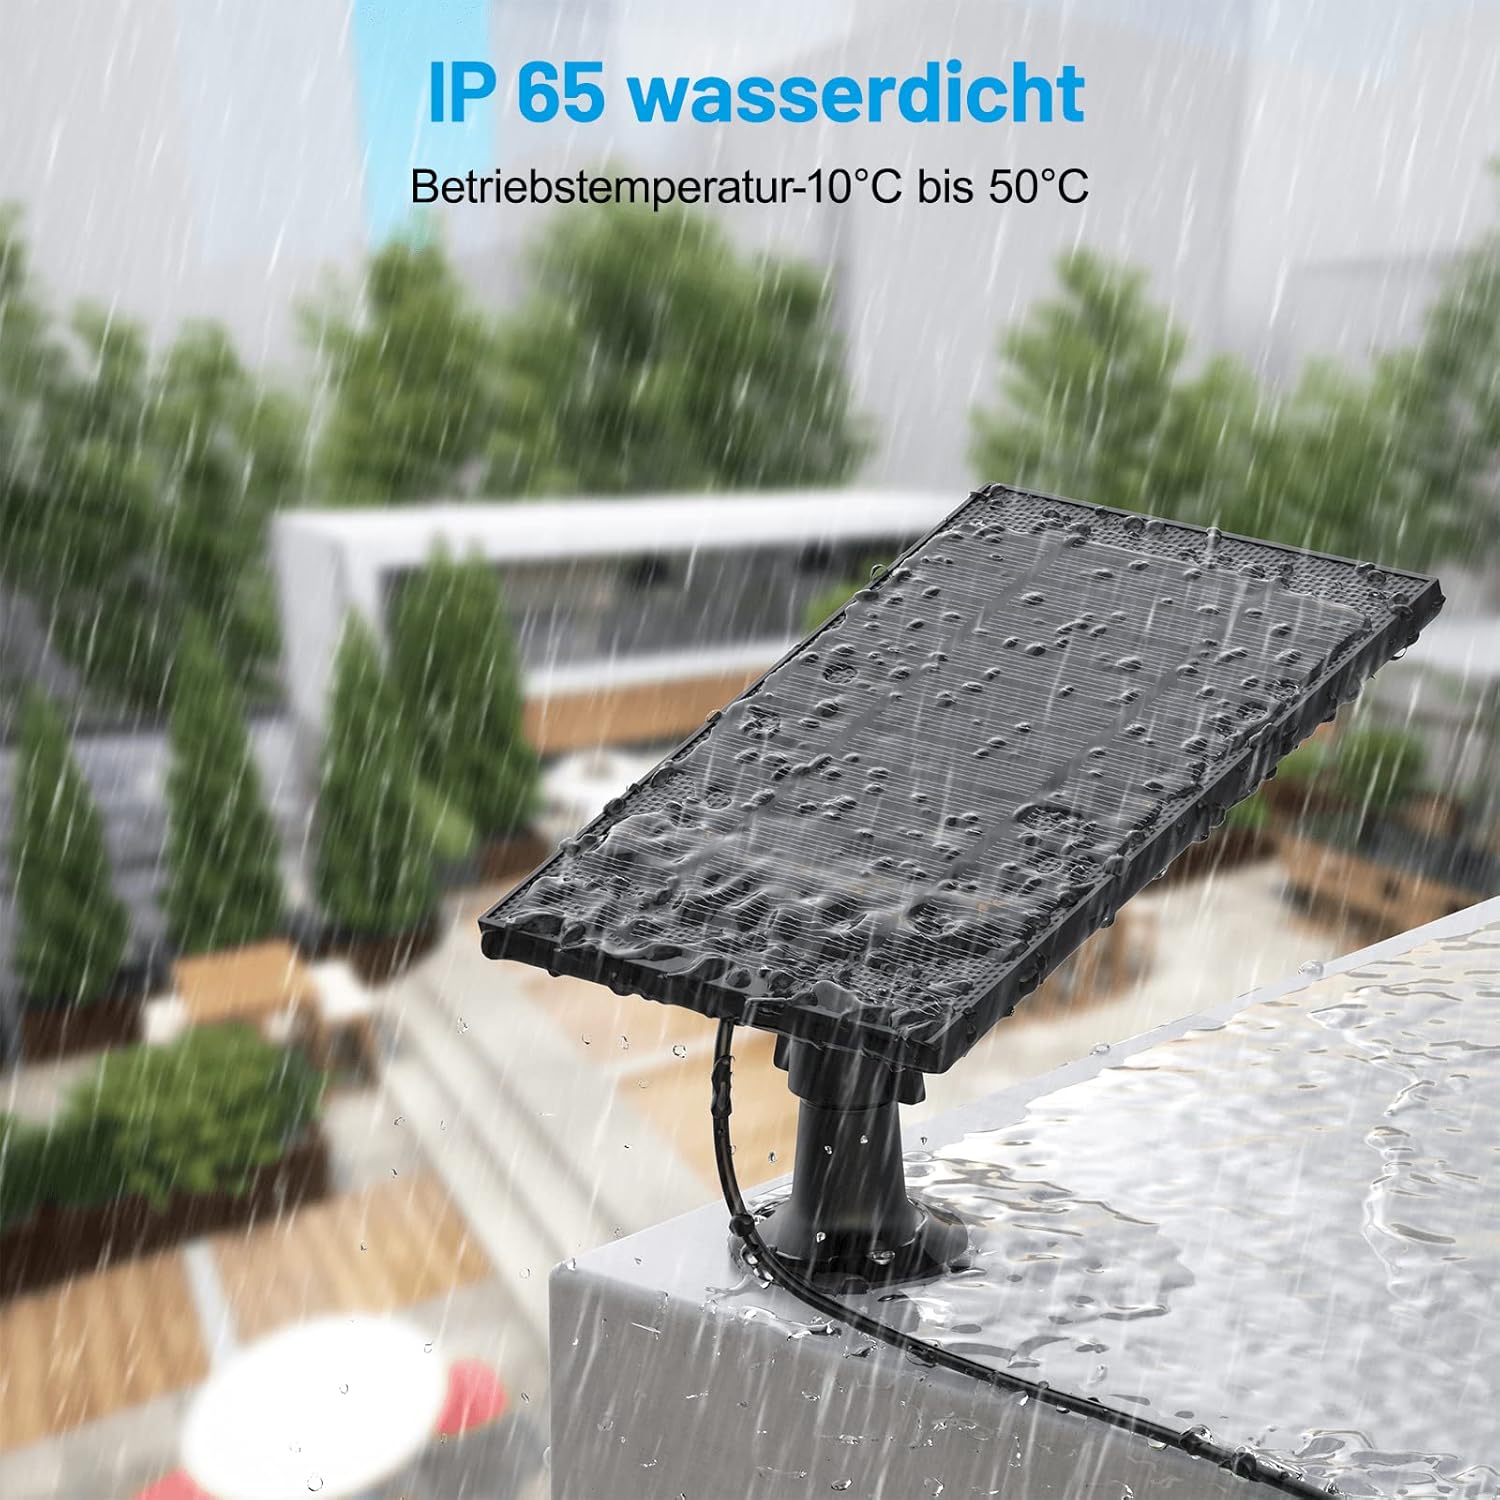
Image: The Wansview solar panel shown outdoors during rainfall, demonstrating its IP65 waterproof rating and ability to withstand wet conditions.

Image: A split image showing the solar panel under bright sunlight on one side and under rain on the other, emphasizing its weather-resistant design for both sunny and wet conditions.
Veaotsing
Kaamera ei lae:
- Kontrollige päikesevalguse käes viibimist: Ensure the solar panel is receiving direct sunlight for several hours a day. Adjust its position if necessary.
- Puhastage paneel: Dust, dirt, or debris on the panel surface can reduce charging efficiency. Clean the panel as described in the Maintenance section.
- Ühenduste kinnitamine: Ensure the power cable is securely connected to both the solar panel and the camera. Check if the Type-C to Micro USB adapter (if used) is properly seated.
- Inspect Cable for Damage: Look for any visible damage to the power cable or adapter. A damaged cable may prevent charging.
- Kaamera ühilduvus: Confirm that your security camera is a battery-powered model compatible with the Wansview Päikesepaneel.
Panel Appears Loose:
- Tighten Mount Screws: Check and tighten the screws securing the wall mount to the surface and the panel to the mount.
Tehnilised andmed
| Kaubamärk | WAN'idview |
| Mudeli number | 7be222b8-da02-4a5f-a41b-23f4b96dfb67 |
| Tootja | SHENZHEN ZJ LIGHTING TECHNOLOGY.CO.,LTD. |
| Värv | Must |
| Materjal | Plastikust |
| Toiteallikas | Päikeseenergial töötav |
| Tõhusus | Kõrge efektiivsus |
| Pakendi mõõtmed | 30.9 x 23.5 x 10.9 cm |
| Kauba kaal | 530 grammi |
| Kaasas patareid | Ei |
Garantii teave
Specific warranty details for this product may vary by region and retailer. Please refer to the warranty card included in your product packaging or contact Wansview customer support for detailed information regarding warranty coverage and terms.
Klienditugi
For technical assistance, troubleshooting, or any questions regarding your Wansview Solar Panel, please visit the official Wansview website or contact their customer support team. Contact information can typically be found on the product packaging or on the Wansview support page online.