1. Sissejuhatus
The Lorex LW2231 is a wireless real-time security camera equipped with an audio microphone, designed for both indoor and outdoor surveillance. This camera utilizes MPEG4 compression for clear video at 640 x 480 VGA resolution and features Lorex Signal Guard technology to maintain a stable connection. It includes night vision capabilities for low-light conditions and is built with weatherproof and vandal-resistant housing. This manual provides detailed instructions for the proper installation, operation, and maintenance of your LW2231 camera.
2. Pakendi sisu
Verify that all components are present in your package. If any items are missing or damaged, contact Lorex customer support.
- Lorex LW2231 Wireless Real-Time Security Camera with Audio Microphone
- Kaamera toiteadapter
- Kinnitusdetailid (kruvid ja seinatüüblid)
- Kiirjuhend
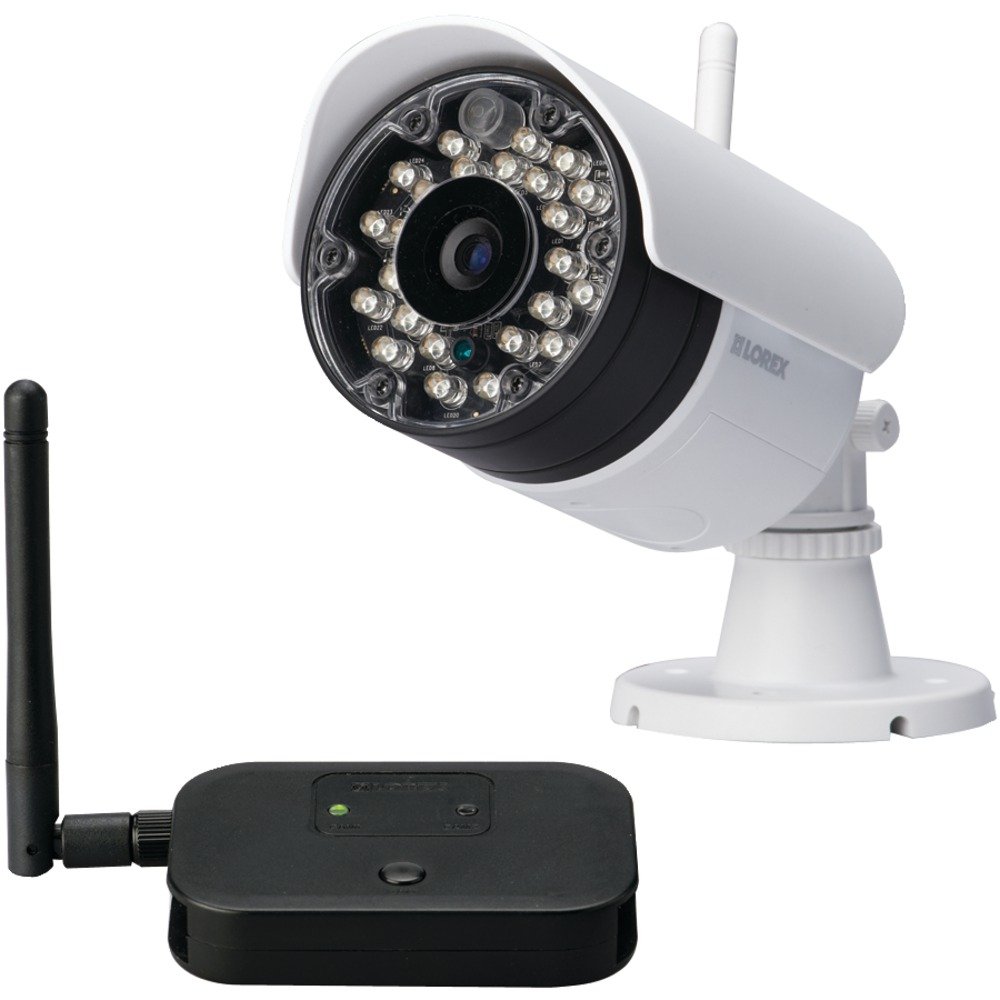
Joonis 2.1: Lorex LW2231 Wireless Security Camera with Audio Microphone. This image shows the front view of the white camera unit, highlighting its compact design and integrated antenna.
3. Ohutusalane teave
Please read and follow all safety instructions to prevent damage to the product and ensure user safety.
- Toiteallikas: Use only the power adapter supplied with the camera. Using an unauthorized power supply may damage the camera and void the warranty.
- Ventilatsioon: Do not block any ventilation openings. Ensure proper airflow around the camera to prevent overheating.
- Vesi ja niiskus: Although weatherproof, avoid submerging the camera in water. Do not install in areas where it may be exposed to extreme water pressure or prolonged submersion.
- Temperatuur: Operate the camera within the specified temperature range. Extreme temperatures can affect performance and lifespan.
- Puhastamine: Disconnect power before cleaning. Use a dry, soft cloth. Do not use liquid or aerosol cleaners.
- Teenindus: Ärge proovige seda toodet ise hooldada. Andke kõik hooldustööd kvalifitseeritud hooldustöötajatele.
4. Toote lõppview ja funktsioonid
The LW2231 camera offers advanced features for reliable surveillance:
- MPEG4 Compression: Provides efficient video encoding with 640 x 480 VGA resolution.
- Auto-mechanical IR Camera Filter: Ensures accurate color reproduction during the day and enhanced night vision.
- Signal Guard Technology: Automatically re-establishes connection upon detecting low signal strength, ensuring continuous monitoring.
- Lai väli View: A 3.6mm lens provides a 55-degree field of view.
- Reaalajas video voogesitus: Delivers smooth video with strong signal conditions at 30 frames per second.
- Audio Microphone: Integrated microphone for audio monitoring.
- Öine nägemine: Infrared illumination for clear viewvähese valguse tingimustes.
- Ilmastikukindel disain: IP65 kaitseklass välitingimustes kasutamiseks.
5. Seadistamine ja installimine
5.1 Paigalduse planeerimine
Before mounting, plan the camera's location. Consider the following:
- Katvusala: Position the camera to cover the desired surveillance area effectively.
- Signaali tugevus: For optimal wireless performance, minimize obstacles (walls, large metal objects) between the camera and its receiver. Test the signal strength before final mounting.
- Toitejuurdepääs: Ensure a power outlet is within reach of the camera's power adapter cable.
- Keskkonnategurid: While weatherproof, avoid direct exposure to extreme weather conditions if possible to prolong the camera's life.
5.2 Kaamera paigaldamine
- Choose a suitable mounting surface (wall or ceiling).
- Use the included mounting template (if provided) or mark the screw holes using the camera base as a guide.
- Drill pilot holes for the screws. If mounting on drywall or masonry, insert the provided wall anchors.
- Secure the camera base to the surface using the screws.
- Adjust the camera's angle and orientation to achieve the desired view.
5.3 Toite ühendamine
Connect the camera's power adapter to the camera's power input port, then plug the adapter into a standard electrical outlet. The camera will power on automatically.
5.4 Pairing with a Receiver (if applicable)
If your system requires manual pairing, refer to your Lorex receiver's manual for specific instructions. Typically, this involves activating a pairing mode on both the camera and the receiver within a short timeframe.
6. Kaamera kasutamine
6.1 Otseülekanne View
Once the camera is powered and successfully connected to your Lorex receiver/system, you can view the live video feed. Consult your receiver's manual for instructions on selecting and viewkaamerakanalite valimine.
6.2 Öine nägemine
The LW2231 camera automatically activates its infrared (IR) LEDs in low-light conditions to provide black and white night vision. The auto-mechanical IR filter ensures optimal image quality during both day and night.
6.3 Heli jälgimine
The integrated microphone captures audio from the camera's vicinity. Ensure your receiver or viewing device has audio output enabled to hear the sound. Audio recording capabilities depend on your connected recording device.
7. Hooldus
7.1 Kaamera puhastamine
Periodically clean the camera lens and housing to ensure clear image quality. Use a soft, damp cloth. Do not use harsh chemicals or abrasive cleaners, as these can damage the lens or finish.
7.2 Keskkonnakaalutlused
While the camera is weatherproof (IP65 rated), extreme weather conditions such as heavy snow accumulation or direct, prolonged exposure to saltwater spray can affect its performance over time. Regularly check the camera's mounting for stability, especially after severe weather.
8. Veaotsing
This section addresses common issues you might encounter with your LW2231 camera.
- Videosignaal puudub:
- Ensure the camera is powered on and its power adapter is securely connected.
- Verify that the camera is within range of its receiver and that there are no significant obstructions.
- Check the receiver/DVR settings to ensure the correct camera channel is selected.
- If using a wireless system, try re-pairing the camera with the receiver.
- Poor Video Quality / Interference:
- Wireless interference can be caused by other 2.4 GHz devices (e.g., Wi-Fi routers, cordless phones, microwaves). Try repositioning the camera or receiver, or adjust Wi-Fi channels on other devices if possible.
- Ensure the camera lens is clean and free from dirt or smudges.
- Check for strong signal conditions; weak signals can lead to choppy or pixelated video.
- Heli puudub:
- Veenduge, et mikrofoni ees pole midagi takistatud.
- Check the audio settings on your receiver or viewseade.
- Öine nägemine ei tööta:
- Ensure the area around the camera is sufficiently dark for IR LEDs to activate.
- Check for any obstructions directly in front of the IR LEDs.
9. Tehnilised andmed
| Funktsioon | Spetsifikatsioon |
|---|---|
| Mudeli nimi | LW2231 |
| Kasutamine siseruumides/välistingimustes | Toas, Väljas |
| Ühenduvusprotokoll | Wi-Fi |
| Video jäädvustamise eraldusvõime | 480p (640 x 480 VGA) |
| Kaadrisagedus | 30 kaadrit sekundis |
| Objektiiv | 3.6mm (55 Degree field of view) |
| Vähese valguse tehnoloogia | Öine värv (infrapuna) |
| Heli | Integreeritud mikrofon |
| Rahvusvaheline kaitse hinnang | IP65 (ilmastikukindel) |
| Kauba mõõtmed (P x L x K) | 10.5 x 10.1 x 4.3 tolli |
| Kauba kaal | 0.6 naela (9.6 untsi) |
| Toiteallikas | Wired Electric (No Batteries Required) |
| Tootja | Lorexi korporatsioon |
10. Garantii ja tugi
Lorex products are designed for reliability and performance. For specific warranty information, please refer to the warranty card included with your product or visit the official Lorex websait. Tehnilise toe, toote registreerimise või lisaressurssidele juurdepääsu saamiseks külastage palun www.lorex.com/support or contact Lorex customer service directly.


