1. Sissejuhatus
Thank you for choosing the Vivitar VIV-385HV Professional Flash. This advanced shoe-mount flash unit is designed to provide versatile and powerful lighting for your photography needs. Featuring a guide number of 126' (42m) at ISO 100 and 85mm, a zoom flash head, auto bounce control, and built-in vari-power control, the VIV-385HV offers enhanced creative control and reliable performance. Please read this manual thoroughly before using the flash to ensure proper operation and to maximize its capabilities.
2. Ohutusmeetmed
- Ärge võtke välklampi lahti ega muutke seda. This can cause electric shock or damage the unit.
- Keep the flash unit dry. Do not expose it to rain, moisture, or high humidity. Water can cause electric shock or malfunction.
- Vältige välgu otsest silma sattumist. The intense light can temporarily impair vision.
- Kasutage ainult ettenähtud patareisid. Incorrect battery types or improper installation can lead to leakage, overheating, or explosion.
- Hoida lastele kättesaamatus kohas.
- Ärge töötage tuleohtlike gaaside või vedelike läheduses.
- Käsitseda ettevaatlikult. Vältige seadme maha kukkumist või tugevate löökide saamist.
3. Pakendi sisu
Veenduge, et teie pakendis on kõik järgmised esemed:
- Vivitar VIV-385HV Professional Flash Unit
- 20mm Wide Angle Lens (Diffuser)
- Peegeldav plaat
- Kasutusjuhend
4. Toote lõppview
Familiarize yourself with the main components of your Vivitar VIV-385HV flash unit:
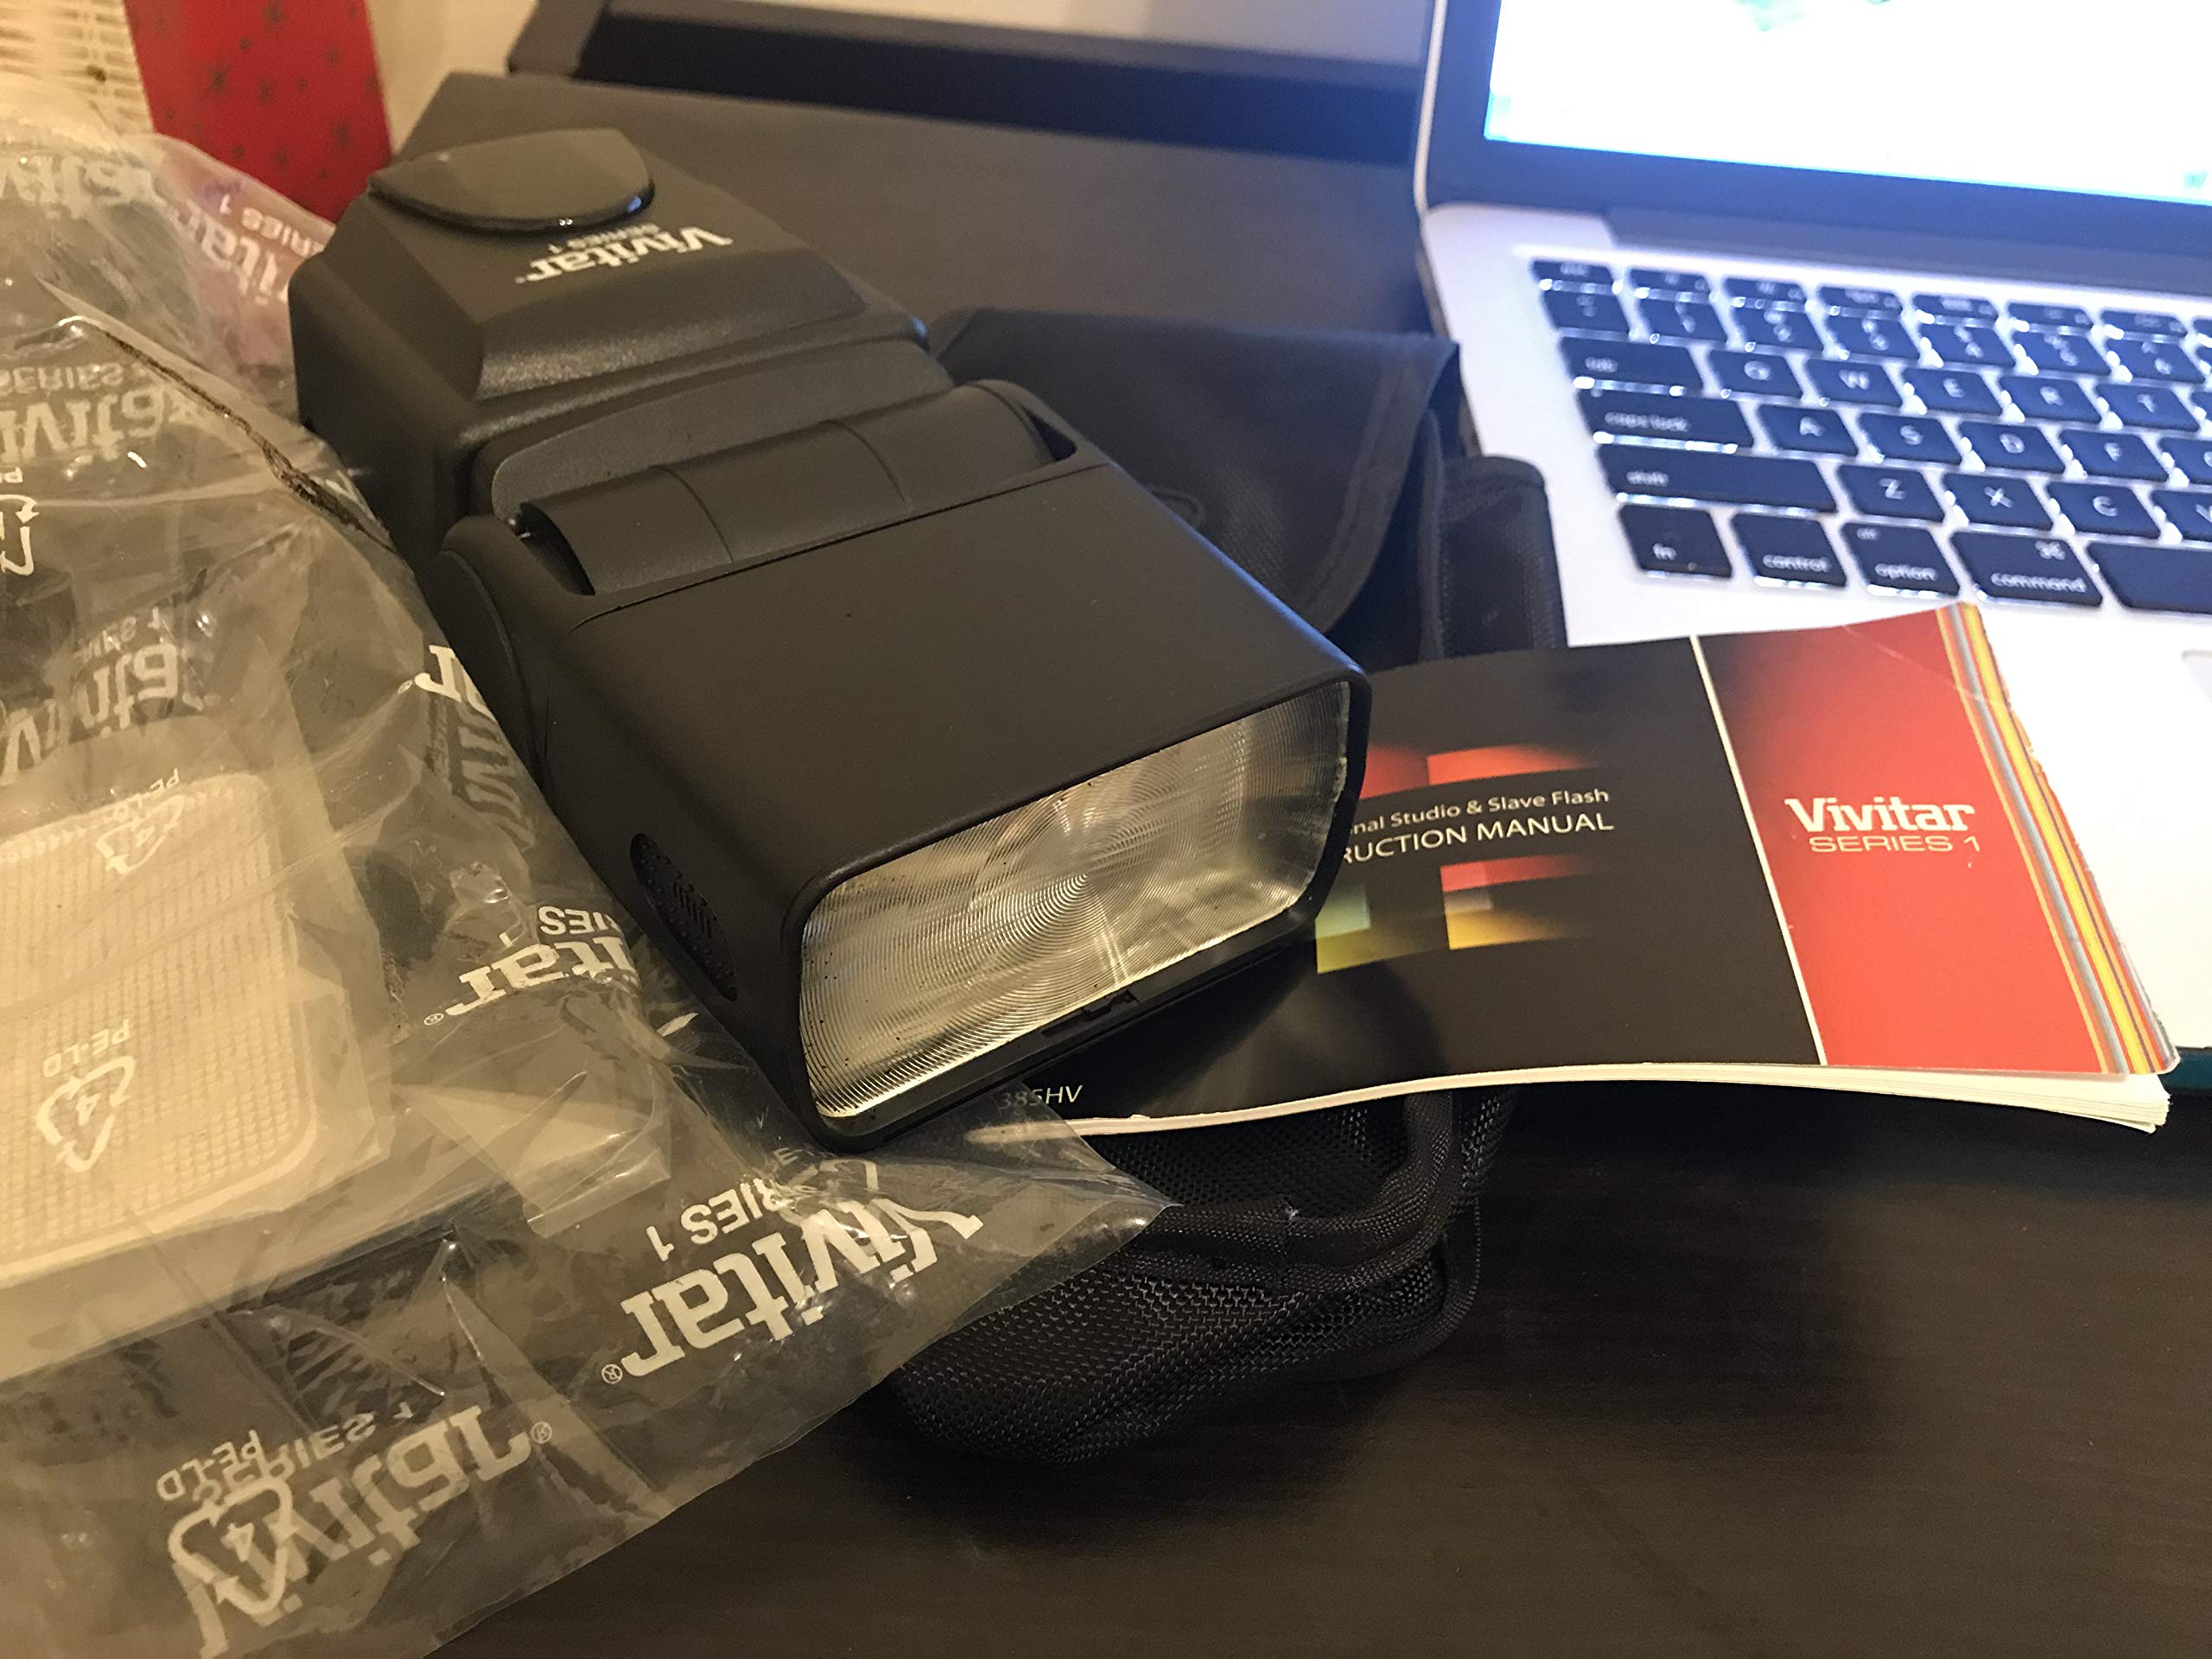
Figure 1: Vivitar VIV-385HV Professional Flash Unit. This image displays the main flash unit, typically showing the flash head, LCD screen, and control buttons.
- Välgupea: Emits light. Can be zoomed and tilted/swiveled for bounce flash.
- LCD ekraan: Shows current settings, mode, and battery status.
- Juhtnupud: For power, mode selection, power adjustment, and other settings.
- Välkkinnituse kinnitus: Connects the flash to your camera's hot shoe.
- Akupesa: Holds the AA batteries.
- Arvuti sünkroonimisport: Kaamerate või päästikutega ühendamiseks arvuti sünkroniseerimiskaabli abil.
5. Seadistamine
5.1 Aku paigaldamine
- Locate the battery compartment cover on the back or side of the flash unit.
- Open the cover by sliding or lifting it according to the indicator.
- Sisestage neli (4) AA-patareid, jälgides õiget polaarsust (+/-), nagu on näidatud sahtlis.
- Sulgege akupesa kaas kindlalt.
Märkus. Always use fresh, high-quality AA alkaline or NiMH rechargeable batteries for optimal performance. Remove batteries if the flash will not be used for an extended period.
5.2 Kaamerale kinnitamine
- Veenduge, et nii kaamera kui ka välk on välja lülitatud.
- Lükake välklambi välgukinga kinnitus kaamera välgukinga pessa.
- Tighten the locking mechanism (if present) on the flash unit to secure it firmly to the camera. Do not overtighten.
- Alternatively, the flash can be used off-camera via a PC sync cable connected to the PC sync port, or as a slave unit.
6. Kasutusjuhised
6.1 Toide sisse/välja
- Välguseadme sisse- või väljalülitamiseks vajutage ja hoidke toitenuppu all.
- The LCD display will illuminate, showing the current settings.
6.2 Režiimi valimine
The VIV-385HV offers several operating modes:
- Auto Mode (A): The flash automatically adjusts its output based on the ambient light and subject distance. This mode utilizes the flash's auto aperture feature.
- Käsirežiim (M): Allows you to manually set the flash power output (e.g., 1/1, 1/2, 1/4, up to 1/128). Use the control buttons to adjust the power level.
- Slave Mode (S): The flash will fire in sync with another flash unit. Set your camera's built-in flash or another external flash to fire, and the VIV-385HV will detect the light pulse and fire simultaneously.
Press the "Mode" button to cycle through the available modes.
6.3 Adjusting Flash Power (Manual Mode)
In Manual Mode, use the directional buttons or dial (if present) to increase or decrease the flash power output. The LCD will display the current power setting (e.g., 1/1 for full power, 1/8 for one-eighth power).
6.4 Zoom Flash Head
The flash head can be manually zoomed to match the focal length of your lens, optimizing light coverage. Adjust the zoom head by sliding it forward or backward. The current zoom setting (e.g., 28mm, 50mm, 85mm) will be displayed on the LCD.
6.5 Bounce Flash and Reflecting Plate
- Peegeldav välk: The flash head can be tilted upwards and swiveled horizontally. This allows you to bounce the flash light off a ceiling or wall for softer, more natural illumination, reducing harsh shadows.
- Reflecting Plate: Pull out the small white reflecting plate from the flash head. When bouncing the flash, this plate can direct a small amount of light forward to add a catchlight to your subject's eyes.
6.6 Wide Angle Diffuser
For wider lens coverage (e.g., 20mm), pull out the built-in wide-angle diffuser from the flash head. This spreads the light over a broader area, ideal for wide-angle shots.
6.7 Advanced IGBT Circuit
The flash incorporates an Advanced IGBT (Insulated Gate Bipolar Transistor) circuit, which allows for precise control over flash duration and power output, contributing to consistent and efficient performance.
7. Hooldus
- Puhastamine: Välguseadme puhastamiseks kasutage pehmet ja kuiva lappi. Kangekaelse mustuse korral nühkige seda kergeltampen the cloth with water and then wipe dry. Do not use solvents or abrasive cleaners.
- Hoiustamine: Hoidke välklampi jahedas ja kuivas kohas, eemal otsesest päikesevalgusest ja äärmuslikest temperatuuridest. Eemaldage patareid pikemaajalisel hoiustamisel, et vältida lekkeid.
- Aku hooldus: Replace batteries when the low battery indicator appears on the LCD. Dispose of used batteries responsibly.
8. Veaotsing
| Probleem | Võimalik põhjus | Lahendus |
|---|---|---|
| Välk ei lülitu sisse. |
|
|
| Välk ei sütti. |
|
|
| Flash settings reset after power cycle or sleep. |
|
|
| Flash does not fire in Auto mode in bright daylight (for fill flash). |
|
|
9. Tehnilised andmed
| Mudeli number | VIV-385HV |
| Juhendi number | 126' (42 m) at ISO 100 @ 85mm |
| Vooluahela disain | Advanced IGBT Circuit |
| Välgurežiimid | Auto, Manual, Slave |
| Zoom Head | Jah |
| Bounce/Swivel Head | Jah |
| Võimsuse juhtimine | Built-In Vari-Power Control |
| Toiteallikas | 4 x AA patareid (ei kuulu komplekti) |
| Toote mõõtmed | 9 x 5 x 4 tolli |
| Kauba kaal | 1.2 naela |
| Tootja | Sakar International, Inc. |
10. Garantii ja tugi
For warranty information and technical support, please refer to the documentation included with your purchase or visit the official Vivitar websait. Klienditeeninduse kontaktandmed on tavaliselt saadaval tootja tugilehel.
Manufacturer: Sakar International, Inc.


