Sissejuhatus
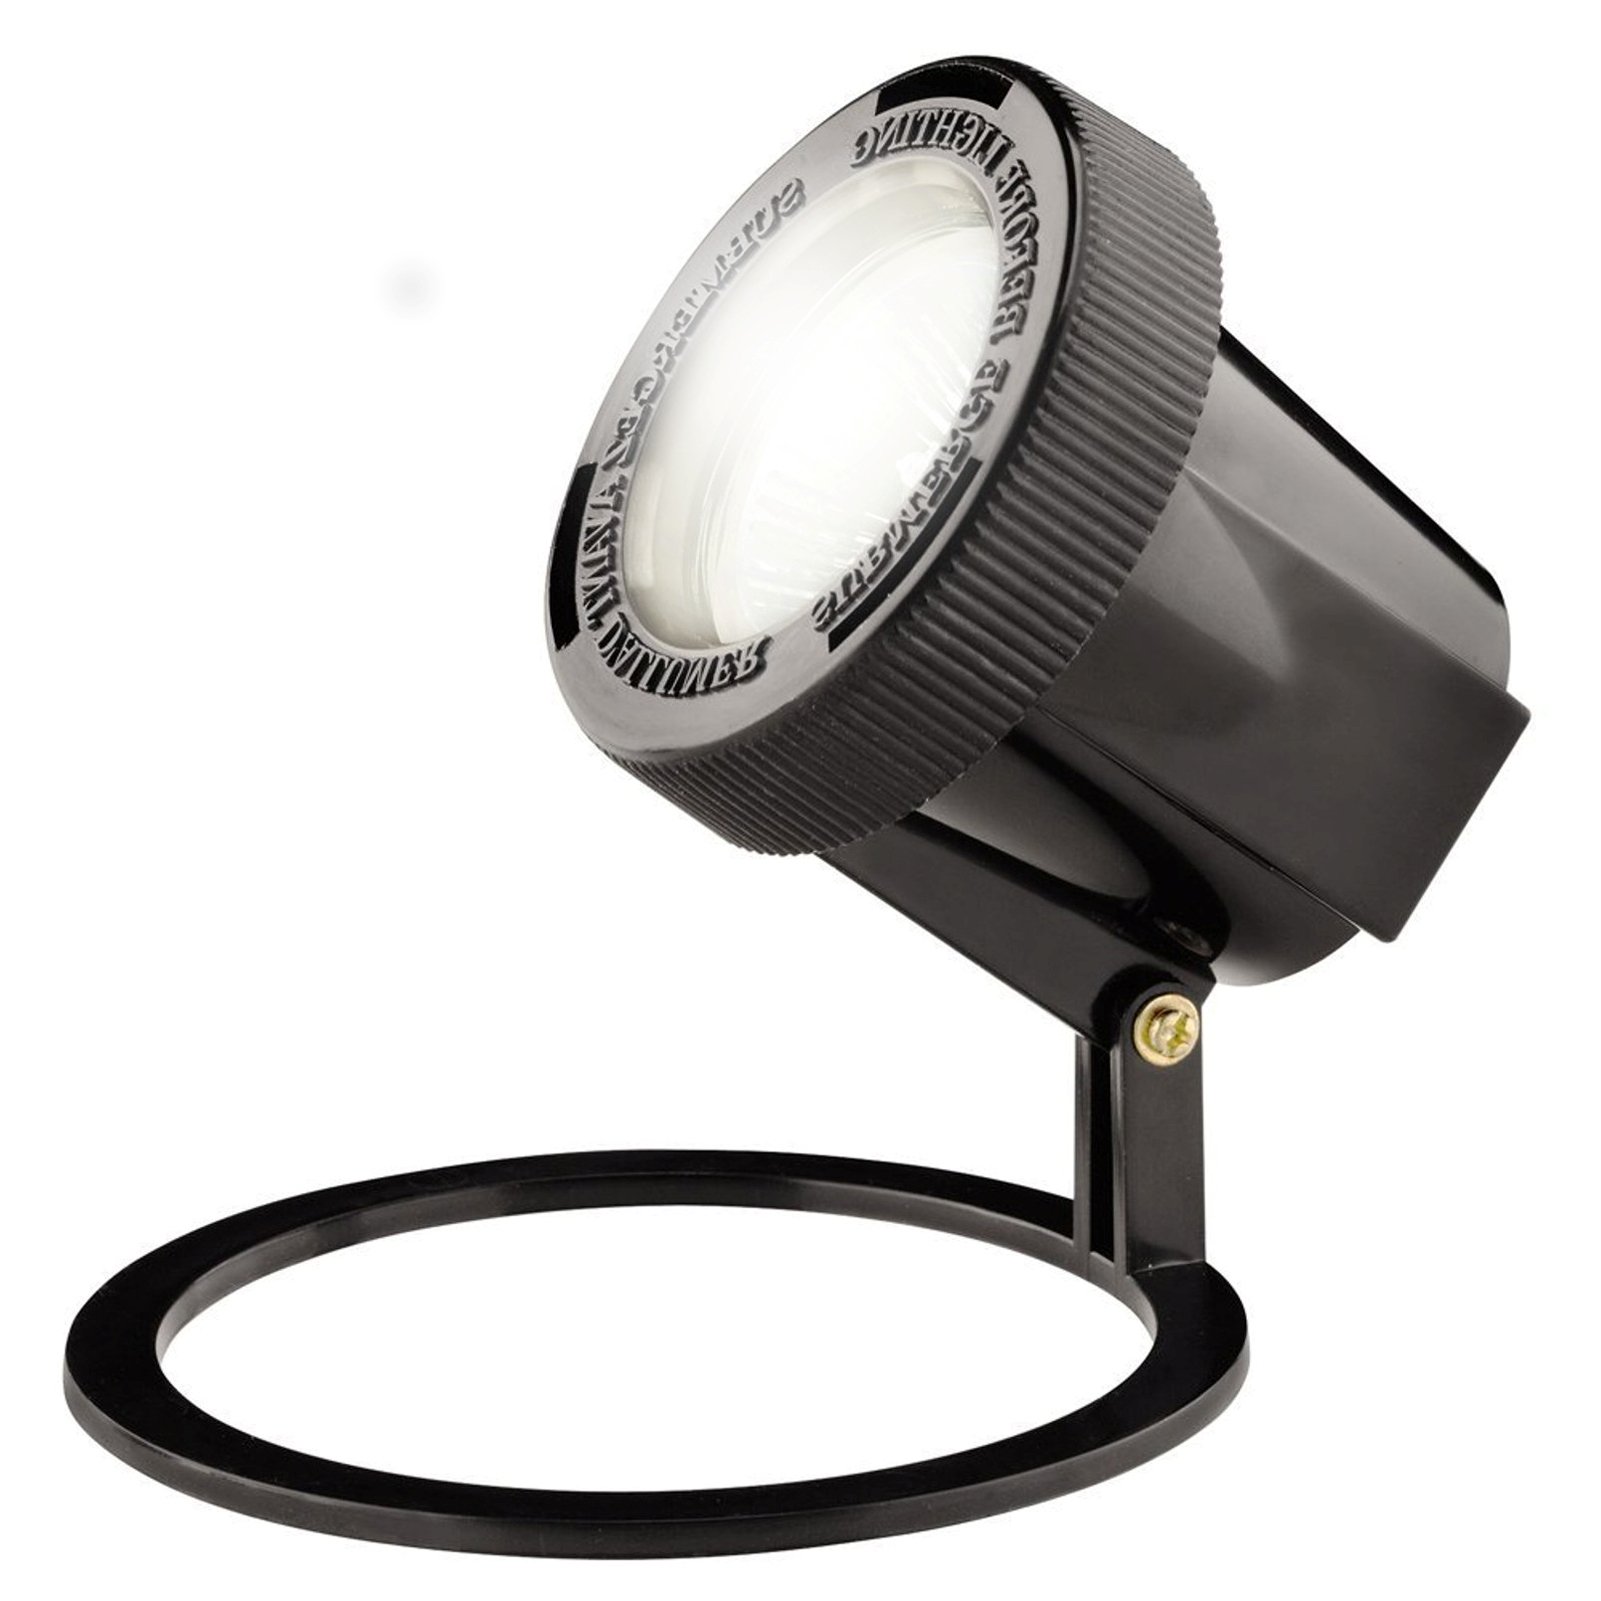
This manual provides essential instructions for the safe and effective installation, operation, and maintenance of your Intermatic CL115 Malibu Outdoor One-Light 20-Watt Submersible Light. Designed for underwater use, this low-voltage light enhances garden ponds and pools with dramatic nighttime illumination. Please read all instructions carefully before installation and retain this manual for future reference.
Ohutusteave
HOIATUS: Risk of electric shock. Install only to a circuit protected by a ground-fault circuit interrupter (GFCI).
- Always disconnect power at the source before installing, servicing, or replacing any components.
- This product is designed for low-voltage (12V) systems and requires a compatible low-voltage landscape transformer (not included). Do not connect directly to standard household voltage (120 V).
- Ensure all connections are secure and waterproof to prevent water ingress and electrical hazards.
- Do not operate the light if the cable or housing is damaged.
- Keep children and pets away from the installation area during setup and maintenance.
- Kui te pole paigaldusprotsessi mõnes osas kindel, pidage nõu kvalifitseeritud elektrikuga.
Pakendi sisu
- One (1) Intermatic CL115 Submersible Light Fixture
- One (1) 20-foot Low-Voltage Cable (attached)
- One (1) 20-Watt Halogen Bulb (pre-installed or included separately)
- Mounting Base/Stand
Note: A low-voltage landscape transformer is required for operation and is sold separately.
Seadistamine ja installimine
- Plaani paigutus: Determine the desired location for your submersible light within your garden pond or pool. Consider the area you wish to illuminate for optimal effect.
- Prepare Power Source: Ensure your low-voltage landscape transformer is installed according to its own instructions and is disconnected from power before making any connections to the light fixture. The transformer must be rated for outdoor use and protected by a GFCI outlet.
- Connect the Light:
- Route the 20-foot low-voltage cable from the light fixture to your landscape transformer. Bury the cable a few inches deep or conceal it to prevent tripping hazards and damage.
- Connect the light's cable to the low-voltage output terminals of your transformer. Follow the transformer's specific instructions for making secure, waterproof connections. Typically, this involves stripping the wire ends and inserting them into terminal blocks or using specialized connectors.
- Valguse paigutus: Place the submersible light in its intended underwater location. The included mounting base can help stabilize the light on the pond bottom or a submerged surface. Ensure the light is fully submerged for proper operation and cooling.
- Testoperatsioon: Once all connections are secure and the light is positioned, connect your landscape transformer to the GFCI-protected power outlet. Turn on the transformer to test the light. If the light does not illuminate, refer to the Troubleshooting section.
Kasutusjuhised
The Intermatic CL115 submersible light operates as part of your low-voltage landscape lighting system. Once properly installed and connected to a compatible low-voltage transformer, the light will turn on and off according to the transformer's settings (e.g., timer, photocell, or manual switch).
- Ensure the light is fully submerged when operating to prevent overheating and ensure proper function.
- Avoid direct contact with the light fixture when it is operating, as the bulb can become hot.
Hooldus
Regular maintenance ensures optimal performance and longevity of your submersible light.
- Puhastamine: Periodically clean the lens of the light fixture to remove algae, mineral deposits, or debris that may accumulate and reduce light output. Disconnect power before cleaning. Use a soft cloth and mild, non-abrasive cleaner.
- Pirni vahetus:
- Disconnect power to the light fixture at the transformer.
- Carefully remove the light from the water.
- Unscrew the front bezel or access panel to expose the bulb.
- Gently pull out the old 20-watt halogen bulb. Avoid touching the new bulb with bare hands, as oils can reduce its lifespan. Use a clean cloth or gloves.
- Insert the new 20-watt halogen bulb, ensuring it is seated firmly in the socket.
- Reassemble the fixture, ensuring all seals are properly seated to maintain its waterproof integrity.
- Return the light to its submerged position and restore power.
- Kaabli kontroll: Regularly inspect the 20-foot cable for any signs of damage, cuts, or fraying. Replace the entire fixture if the cable is damaged.
Veaotsing
| Probleem | Võimalik põhjus | Lahendus |
|---|---|---|
| Valgus ei lülitu sisse. |
|
|
| Valgus väreleb või on hämar. |
|
|
| Vesi valgusti sees. |
|
|
Tehnilised andmed
- Mudel: CL115
- Kaubamärk: Intermaatiline
- Tüüp: Outdoor One-Light Submersible
- Lambi tüüp: 20-Watt Halogen (included)
- Voltage: 12 Volts AC (Low Voltage)
- Kaabli pikkus: 20 jalga
- Värv: Must
- Mõõdud: Ligikaudu 5.25 x 5 x 9.25 cm (toote mõõtmed)
- Kaal: Umbes 1.6 naela
- Erifunktsioon: Veekindel
- Vajalik kokkupanek: Yes (connection to transformer)
Garantii ja tugi
For warranty information or technical support, please contact Intermatic customer service directly. Refer to the product packaging or the official Intermatic webKõige ajakohasemad kontaktandmed ja garantiitingimused leiate veebisaidilt.
Intermaatiline Websait: www.intermatic.com


