1. Sissejuhatus
This manual provides detailed instructions for the setup, operation, and maintenance of your Sharp VC-H965U 4-Head Hi-Fi VCR. The VC-H965U is designed for recording and playback of VHS videocassettes, offering features such as a 4-head design for clear still-frame and slow-motion playback, hi-fi stereo sound, and Sharp Super Picture technology for enhanced image details. Please read this manual thoroughly before using your VCR to ensure proper operation and to maximize its performance.
2. Oluline ohutusteave
Elektrilöögi, tulekahju või seadme kahjustuste vältimiseks järgige järgmisi ohutusnõudeid.
- Elektrilöögi oht: Do not open the VCR casing. Kõik hooldustööd suunake kvalifitseeritud hoolduspersonali poole.
- Toiteallikas: Connect the VCR only to an AC 120V, 60Hz power supply.
- Ventilatsioon: Tagage seadme ümber piisav ventilatsioon. Ärge blokeerige ventilatsiooniavasid.
- Niiskus: Ärge jätke videomakki vihma ega niiskuse kätte.
- Analog Broadcast Tuner: This television receiver has only an analog broadcast tuner. After February 17, 2009, it requires a converter box to receive over-the-air broadcasts with an antenna due to the U.S. transition to digital broadcasting. Analog-only TVs should continue to work as before with cable and satellite TV services, gaming consoles, VCRs, and DVD players.
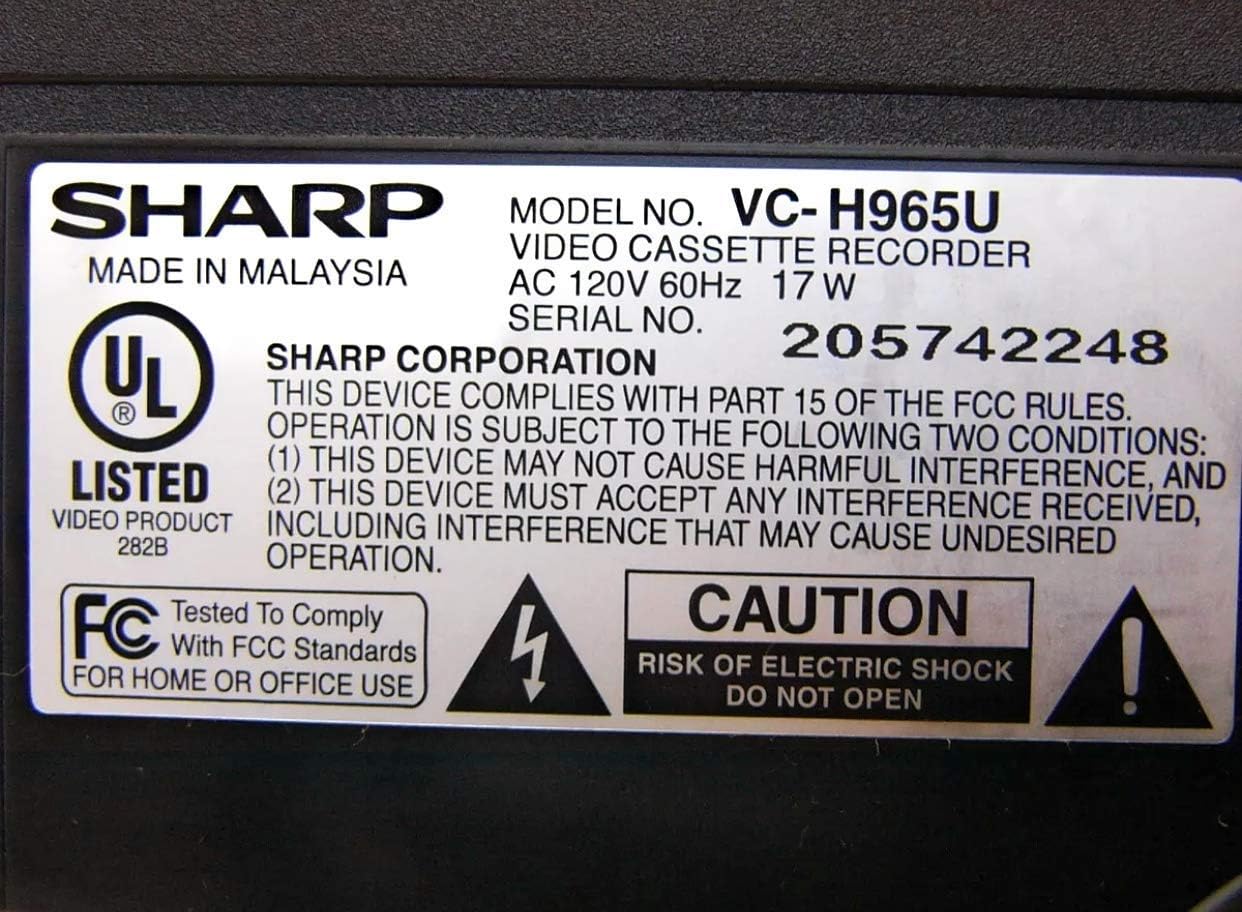
Figure 2.1: Product label with safety warnings and specifications.
3. Seadistamine
3.1 Lahtipakkimine ja paigutamine
Carefully remove the VCR from its packaging. Place the unit on a stable, flat surface, ensuring proper ventilation around all sides.

Figure 3.1: Front panel of the Sharp VC-H965U VCR.
3.2 Televiisori ja muude seadmetega ühendamine
Connect the VCR to your television using appropriate audio/video cables. For optimal sound, use the stereo audio outputs to an AV receiver if available. The VCR also features front-panel AV inputs for easy connection of camcorders or gaming consoles.
- Video ühendus: Connect the yellow VIDEO OUT jack on the VCR to the VIDEO IN jack on your TV.
- Audioühendus: Connect the white AUDIO L OUT and red AUDIO R OUT jacks on the VCR to the corresponding AUDIO IN jacks on your TV or AV receiver.
- Antenni/kaabli ühendus: Connect your antenna or cable TV line to the VHF/UHF/CATV IN jack on the VCR. Then, connect the VHF/UHF/CATV OUT jack on the VCR to the antenna input on your TV.
- Front AV Inputs: For temporary connections like a camcorder, use the yellow VIDEO IN, white AUDIO L IN, and red AUDIO R IN jacks located on the front panel.

Figure 3.2: Rear panel connections of the Sharp VC-H965U VCR.

Joonis 3.3: üksikasjalik view of rear AV and antenna connections.
3.3 Initial Setup and Channel Tuning (EZ Set Up)
The VC-H965U features an "EZ Set Up" function that automatically tunes and stores available channels. Follow these steps:
- Ensure the VCR is connected to your antenna or cable source.
- Lülitage videomakk ja teler sisse.
- Access the VCR's menu system (refer to your remote control for the "MENU" button).
- Select the "EZ Set Up" or "Auto Channel Search" option.
- The VCR will automatically scan and store all available air and cable channels, and set the clock.
Märkus. If you experience issues with picture loss after setting up cable channels, especially if you have a live signal on channel 3, consult the troubleshooting section or contact customer support for specific guidance.
4. Kasutusjuhised
4.1 Põhiline taasesitus
- Insert a VHS videocassette into the VCR.
- Vajutage nuppu MÄNGI nuppu videomakil või kaugjuhtimispuldil.
- Taasesituse peatamiseks vajutage STOP nuppu.
- Taasesituse peatamiseks vajutage nuppu PAUS / STILL nuppu. Jätkamiseks vajutage uuesti.
4.2 Salvestusprogrammid
- Insert a recordable VHS videocassette.
- Tune the VCR to the desired channel.
- Vajutage nuppu REC button to begin recording. Press STOP salvestamise lõpetamiseks.
- For timed recordings, use the VCR's timer programming function (refer to the remote control and on-screen menu for detailed steps).
4.3 Täiustatud taasesitusfunktsioonid
- Slow-Motion Playback: The 4-head design allows for smooth slow-motion playback in both forward and reverse. Use the PAUS / STILL nuppu ja seejärel nuppu FF or REW buttons to adjust speed.
- Clear Still-Frame: Achieve clear still images by pressing the PAUS / STILL nuppu taasesituse ajal.
- Skip Search: Vajutage taasesituse ajal nuppu JÄTA OTSING VÄLJA button (if available on remote) to advance the tape in 30-second intervals, useful for bypassing commercials.
- Kohene taasesitus: Vajutage nuppu KOHE TAASTAMINE button (if available on remote) to quickly rewind the tape in 20-second intervals and then resume playback.
- Fast Rewind/Forward: The VCR rewinds a T-120 tape in approximately 54 seconds. Note that rewind speed may vary for other tape lengths.
5. Hooldus
5.1 Videomaki puhastamine
Optimaalse jõudluse ja välimuse säilitamiseks:
- Pühkige videomaki välispind pehme ja kuiva lapiga.
- Ärge kasutage vedelaid ega aerosoolpuhastusvahendeid, kuna need võivad kahjustada viimistlust või sisemisi komponente.
- Avoid inserting cleaning tapes frequently, as some can cause excessive wear on the video heads. Use only when necessary and follow the cleaning tape manufacturer's instructions.
5.2 Teibi hooldus
Store videocassettes in their cases, away from direct sunlight, extreme temperatures, and magnetic fields, to preserve tape quality.
6. Veaotsing
If you encounter problems with your VCR, refer to the following common issues and solutions before seeking service.
| Probleem | Võimalik põhjus/lahendus |
|---|---|
| Pole jõudu | Ensure the power cord is securely plugged into the VCR and a working electrical outlet. |
| Pole pilti ega heli |
|
| Poor picture quality (noisy, ghosty, dark) |
|
| VCR is noisy during rewind | This model may exhibit a slightly louder rewind function compared to some other VCRs. This is generally normal operation. |
| Picture loss after cable channel setup | If you have a live signal on channel 3, this can sometimes interfere with the auto-set process. Refer to the manual's specific section on channel tuning or contact Sharp customer service for assistance. |
7. Tehnilised andmed
- Kaubamärk: Terav
- Mudeli number: VC-H965U (Internal Model: VCA965U)
- Tüüp: 4-Head Hi-Fi VCR
- Toiteallikas: AC 120V, 60Hz, 17W
- Kauba kaal: Umbes 5 naela
- Pakendi mõõtmed: Ligikaudu 14.1 x 8.3 x 3.6 tolli
- Rewind Speed (T-120 tape): Umbes 54 sekundit
- Omadused: Sharp Super Picture, 19 Micron Exact-Track heads, EZ Set Up, Skip Search, Instant Replay, Front-panel AV inputs.
- ASIN: B00006FXF5
- Esmakordse saadavaloleku kuupäev: 29. september 2005
8. Garantii ja tugi
Garantiiteabe saamiseks vaadake ostuga kaasasolevat dokumentatsiooni või külastage Sharpi ametlikku veebilehte. website. If you require technical assistance or have questions not covered in this manual, please contact Sharp customer service. Previous users have noted the customer service staff to be very polite and helpful.
Tavaliselt leiate tugiteenuste kontaktandmed tootja ametlikult veebisaidilt. website or by searching for "Sharp customer support" online.


