1. Sissejuhatus
This manual provides essential information for the installation, care, and troubleshooting of your Generic Replacement Lens for Insta360 One X2, One X, One R, and One RS Twin Edition action cameras. This product is designed as a repair part to replace a damaged camera lens.
It is important to read and understand all instructions before attempting any repair or installation.
2. Ohutusjuhised
- Professionaalne paigaldamine: Replacing a camera lens requires precision and specialized tools. For optimal results and to prevent further damage to your camera, it is highly recommended to seek professional installation at a local repair store.
- Käsitsege ettevaatlikult: The lens is a delicate optical component. Avoid touching the lens surface directly with your fingers. Use appropriate tools and gloves if performing self-installation.
- Väljalülitusseade: Always ensure your action camera is powered off and disconnected from any power source before beginning the lens replacement process.
- Staatiline elekter: Take precautions against static electricity, which can damage electronic components. Work in a clean, dry environment.
3. Pakendi sisu
Veenduge, et pakis on kõik esemed olemas:
- 1 x Replacement Camera Lens

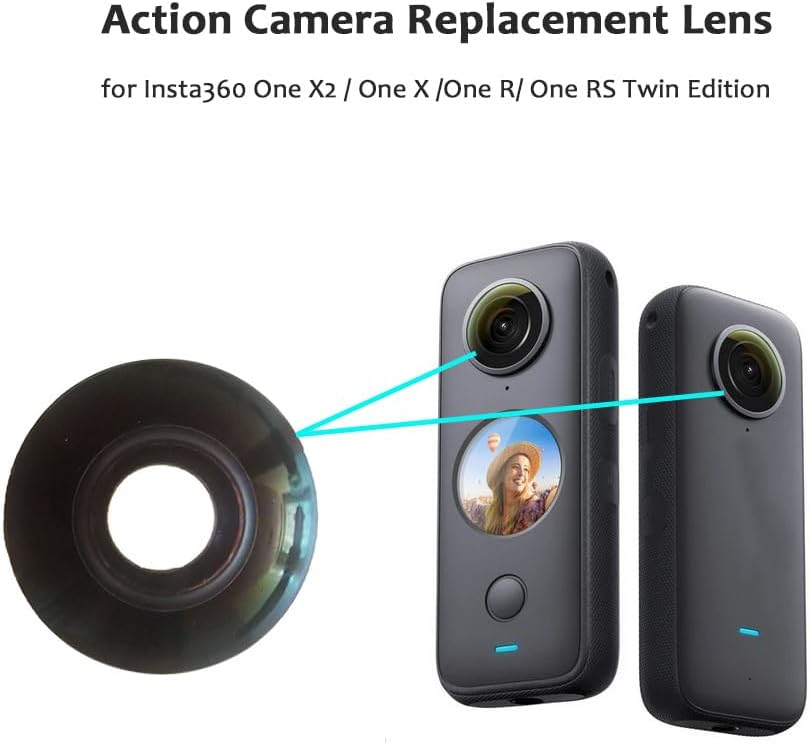
4. Ühilduvus
This replacement lens is compatible with the following Insta360 action camera models:
- Insta360 One X2
- Insta360 One X
- Insta360 One R
- Insta360 One RS Twin Edition
5. Paigaldusjuhised
Märkus. As previously stated, professional installation is strongly recommended due to the delicate nature of camera components. If you choose to proceed with self-installation, do so at your own risk and ensure you have the necessary tools and technical expertise.
- Ettevalmistus: Ensure your Insta360 camera is powered off. Gather any specialized tools required for disassembling your specific camera model (e.g., small screwdrivers, prying tools, adhesive removers).
- Remove Damaged Lens: Carefully follow your camera model's specific disassembly guide to access and remove the damaged lens. This typically involves detaching the outer casing and carefully prying or unscrewing the lens module.
- Puhas paigaldusala: Before installing the new lens, ensure the mounting area on the camera body is free of any dust, debris, or adhesive residue. Use a lint-free cloth and appropriate cleaning solution if necessary.
- Uue objektiivi paigaldamine: Position the new replacement lens into the designated slot. Ensure it sits flush and is correctly aligned. Secure it using the original screws or adhesive as per your camera's design.
- Reassemble Camera: Carefully reassemble your camera, ensuring all components are correctly seated and secured. Do not force any parts.

6. Paigaldusjärgne kontroll
After installing the replacement lens and reassembling your camera, perform the following checks:
- Toide sisse: Turn on your camera and check if it powers on normally.
- Visuaalne kontroll: Visually inspect the new lens for any dust, fingerprints, or misalignment.
- Testi salvestamine: Take a short test video or photo in various lighting conditions. Review lolltage on a larger screen to check for clarity, focus, and any anomalies.
- Stitching Check: For 360 cameras, verify that the stitching between the two lenses is seamless and free from noticeable lines or distortions.
7. Hooldus ja hooldus
To ensure the longevity and optimal performance of your replacement lens:
- Puhastamine: Use a soft, lint-free microfiber cloth specifically designed for optical lenses to clean the lens surface. For stubborn smudges, use a small amount of lens cleaning solution applied to the cloth, not directly to the lens.
- Kaitse: When not in use, store your camera with a lens cap or in a protective case to prevent scratches and dust accumulation.
- Vältige karmi keskkonda: Protect the lens from extreme temperatures, direct sunlight for prolonged periods, and corrosive chemicals.

8. Veaotsing
If you encounter issues after replacing the lens, consider the following:
- Blurry Images/Video:
- Kontrollige paigaldust: Ensure the lens is seated correctly and securely. Improper seating can lead to focus issues.
- Puhas objektiiv: Verify the lens surface is clean and free from smudges or dust.
- Sisemised kahjustused: If the original camera fall or impact was severe, internal components beyond the lens might be damaged, affecting image quality.
- Lens Quality: While this lens is designed as a replacement, variations in manufacturing can occur. If images remain blurry despite correct installation and cleaning, the replacement lens itself might be faulty.
- Visible Stitching Lines (360 Cameras): This can indicate misalignment of the lens during installation or an issue with the camera's internal calibration. Re-check lens seating.
- Kaamera ei lülitu sisse: Re-check all internal connections made during reassembly. Ensure no cables were pinched or disconnected.
If troubleshooting steps do not resolve the issue, it is advisable to consult a professional camera repair service.
9. Toote spetsifikatsioonid
| Funktsioon | Spetsifikatsioon |
|---|---|
| Kaubamärk | Üldine |
| Mudeli nimi | Asendusobjektiiv |
| Ühilduvad mudelid | Insta360 One X2, One X, One R, One RS Twin Edition |
| Objektiivi tüüp | Standardne |
| Fookuskaugus | 28 Millimeters (Fixed) |
| Maksimaalne ava | 2 millimeetrit |
| Minimaalne ava | 11 millimeetrit |
| Real Angle Of View | 360 kraadi |
| Fookuse tüüp | Fikseeritud fookus |
| Värv | Must |
| Materjal | Kvaliteetne klaas |
10. Garantii ja tugi
Information regarding product warranty is not provided with this manual. For any warranty claims or technical support, please contact the seller or retailer from whom you purchased this product. Ensure you retain your proof of purchase.